How to Trim Cannabis: The Harvest Step That Decides How It Smokes
You spent three or four months getting this plant to harvest. The trim is the part where you can undo a chunk of that work in an afternoon with a bad pair of scissors and a rushed mood. Learning how to trim cannabis properly is less about making buds pretty and more about what gets left behind: leaf material holds water and chlorophyll, and water and chlorophyll are what give you a slow mold risk and a harsh, hay-like smoke three weeks later.
Here is the honest version of how to trim cannabis, including the thing the top results genuinely disagree about and the thing several of them get flatly wrong. Laws on growing differ enormously by state and country, so treat this as information for adults 21+ who are already growing legally where they live.
How to trim cannabis: the short answer
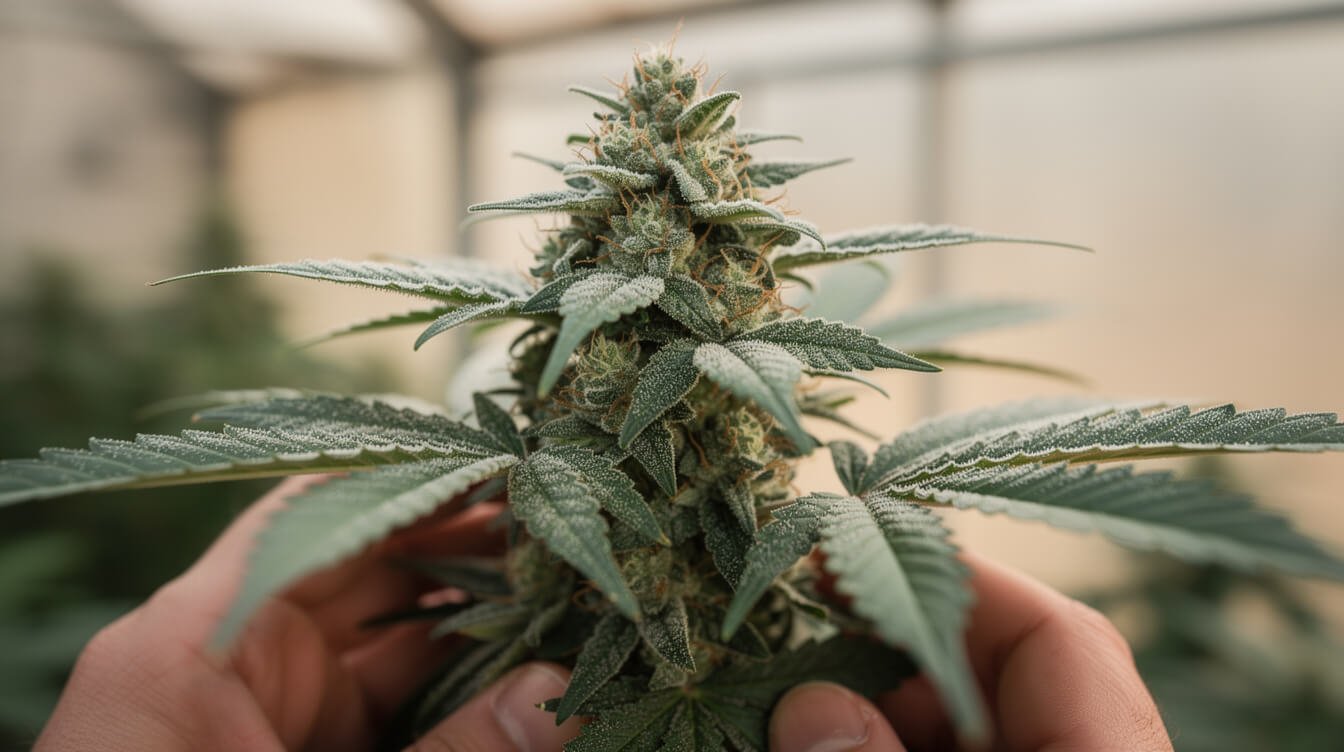
Remove the big fan leaves first, then the small sugar leaves that stick out past the bud, and stop. That is the entire job. Everything else is detail.
The slightly longer answer, in order:
- Buck the branches down to a size your drying space can hang or hold.
- Strip the fan leaves — the big, long-stemmed, five-or-seven-finger leaves. They have essentially no resin on them. They always come off.
- Trim the sugar leaves — the small leaves tucked into the flower. Take the parts that stick out past the bud’s outline. Leave the frosty bases.
- Do not cut into the calyxes. Those are the resin-covered little pods that make up the bud itself. Shave those and you are throwing away the good part.
- Keep the trim that has visible resin on it. Compost the rest.
The one real decision is when you do steps 3 through 5: right after you cut the plant down (wet trim), or after it has hung and dried for a week or so (dry trim). That choice belongs to your room’s humidity more than your preference, and we get into it below.
Trimming vs. pruning: the two jobs the search results keep mixing up
Search “how to trim cannabis” and the results will hand you two completely different operations as if they were the same thing. They are not, and the confusion costs beginners real plants.
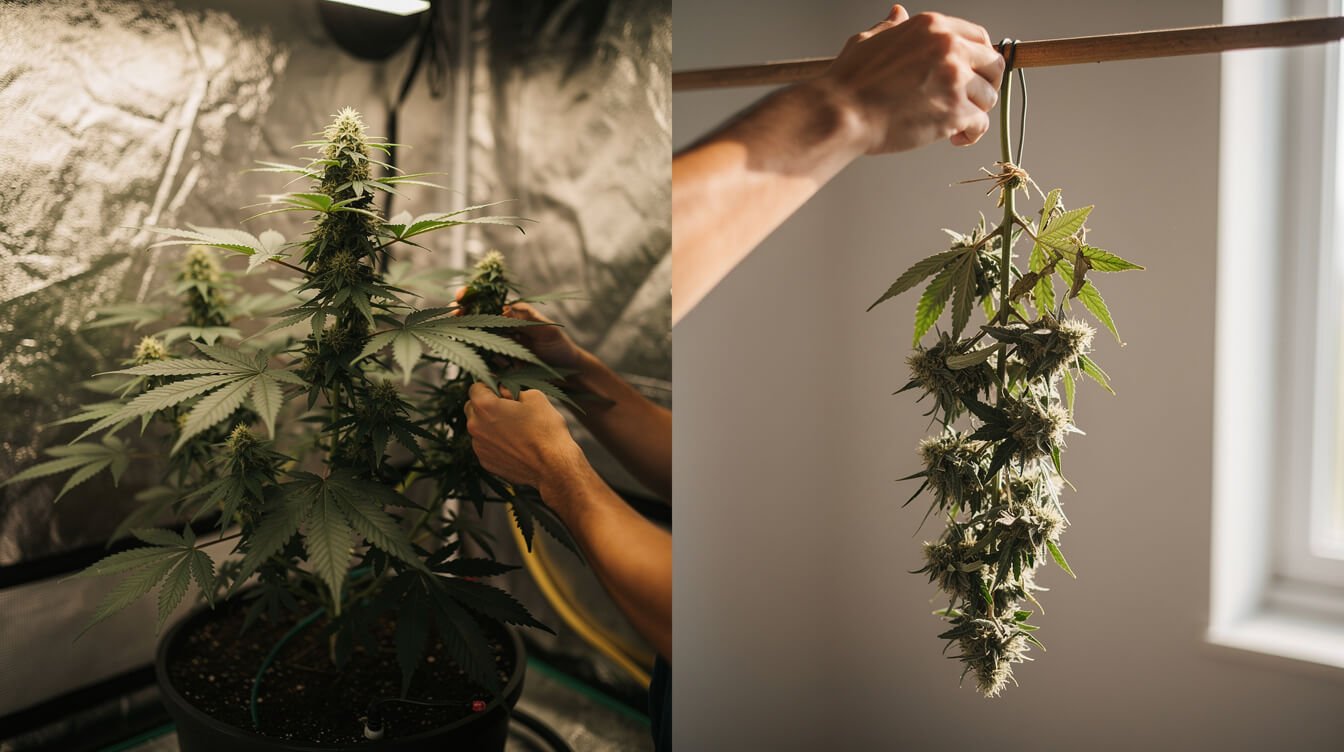
Pruning or defoliation happens to a living plant, weeks before harvest. You remove leaves to open up airflow, get light to lower bud sites, and shape the canopy. It is a cultivation technique, it is debatable, and overdoing it genuinely hurts yield because the plant needs leaves to photosynthesize. If that is what you came for, our guide to low stress training covers the shaping side, and the indoor grow walkthrough covers where it fits in the schedule.
Trimming or manicuring happens to a harvested plant. The plant is already cut. Nothing you do now affects yield, potency, or terpene production, because the plant is no longer producing anything. You are preparing material for drying and curing.
Several pages ranking for harvest-trim queries are entirely about defoliating a living plant — one dispensary guide titled around grooming buds never discusses harvest trimming at all. Follow that at the wrong moment and you are doing surgery on a plant that needed those leaves. This page is about the second job: the post-harvest manicure.
What trimming actually does to your buds — and the potency myth
Three of the pages ranking for this topic tell you that trimming makes your weed more potent. One says it “increases the plant’s potency.” Another says a particular trim method leaves the end product “slightly more potent.” That is not how this works, and the myth matters because it pushes people to over-trim.
Trimming cannot create cannabinoids. The plant is cut; chemistry is winding down, not ramping up. What trimming changes is a ratio: remove low-resin plant material and the resin you already have makes up a larger share of what is left by weight. Your jar gets stronger per gram because there is less filler in it, not because any THC appeared.
What trimming genuinely does, and these are worth the effort:
- It removes water. Leaves hold far more moisture than flower, so less leaf means a more predictable dry and less trapped moisture inside a dense bud.
- It removes chlorophyll. This is the big one for flavor. Chlorophyll-heavy leaf is what produces that grassy, wet-hay smell that survives a cure and makes the smoke scratchy.
- It lowers mold risk. Leaf folded against a bud makes a damp pocket, which is exactly the microclimate Botrytis cinerea likes. Contaminated flower is a safety issue, not a cosmetic one.
- It makes the bud burn evenly. Protruding dry leaf lights fast and goes out, which is why under-trimmed flower canoes in a joint.
Notice what is missing: terpenes. Trimming does not increase terpene content either. Handling buds roughly can cost you terpenes and trichomes, which is the honest argument for being gentle rather than thorough.
Wet trim or dry trim? Where the top guides flatly contradict each other
This is the question everyone asks, and page one cannot agree on it. Here is what the leading guides actually say, side by side:
| Source type | Recommends for beginners | Dry-trim timing | Stated reason |
|---|---|---|---|
| Large seed-company guide | Wet trim | 7–14 days | Fresh leaves stand up and away from the bud, so it is easier |
| Equipment-vendor grow guide | Dry trim | Not specified | Protects trichomes, slower dry, smoother smoke |
| Trimming-machine vendor | Dry trim | 4–10 days | Suits machines and dry climates |
| Commercial supply blog | No recommendation | Not specified | Depends on throughput and dry-room turns |
So a beginner reading the top four results is told to wet trim because it is easier, to dry trim because it is better, and that the dry-trim window is either four days or fourteen. No wonder people freeze.
The resolution is not a compromise — it is the deciding variable most of those pages mention only in passing. Your drying environment picks the method, not your skill level.
- Room above roughly 60% relative humidity → wet trim. You need the material drying faster and those damp leaf pockets gone. This is the humid-garage, humid-summer, no-dehumidifier case, and it is the most common one.
- Room below roughly 50% RH → dry trim, leaves on. Dry air will rip moisture out of bare flower in two days, which locks in chlorophyll and gives you that hay smell. Leaving the leaves on is a brake. They curl around the buds and slow the whole thing down.
- Between 50% and 60% → either works. Pick based on your space and your patience.
The full version of this decision, with the temperature and humidity targets that go with it, is in our guide to how to dry cannabis — the dry is the step the trim is serving, and the two choices are really one choice made twice.
On the timing disagreement: both numbers are wrong to quote as numbers. You dry-trim when the material is dry, judged by the small stems snapping rather than bending. In a humid room that might be fourteen days; in a dry one, five. Trusting the calendar over the plant is how people trim buds that are still wet inside.
GanjaTech, weekly
Cannabis, explained. In your inbox.
One email a week: the clearest explainers, honest gear picks, and what the science actually says. 21+ only. No spam, unsubscribe anytime.
Your trim station, and the hours nobody warns you about
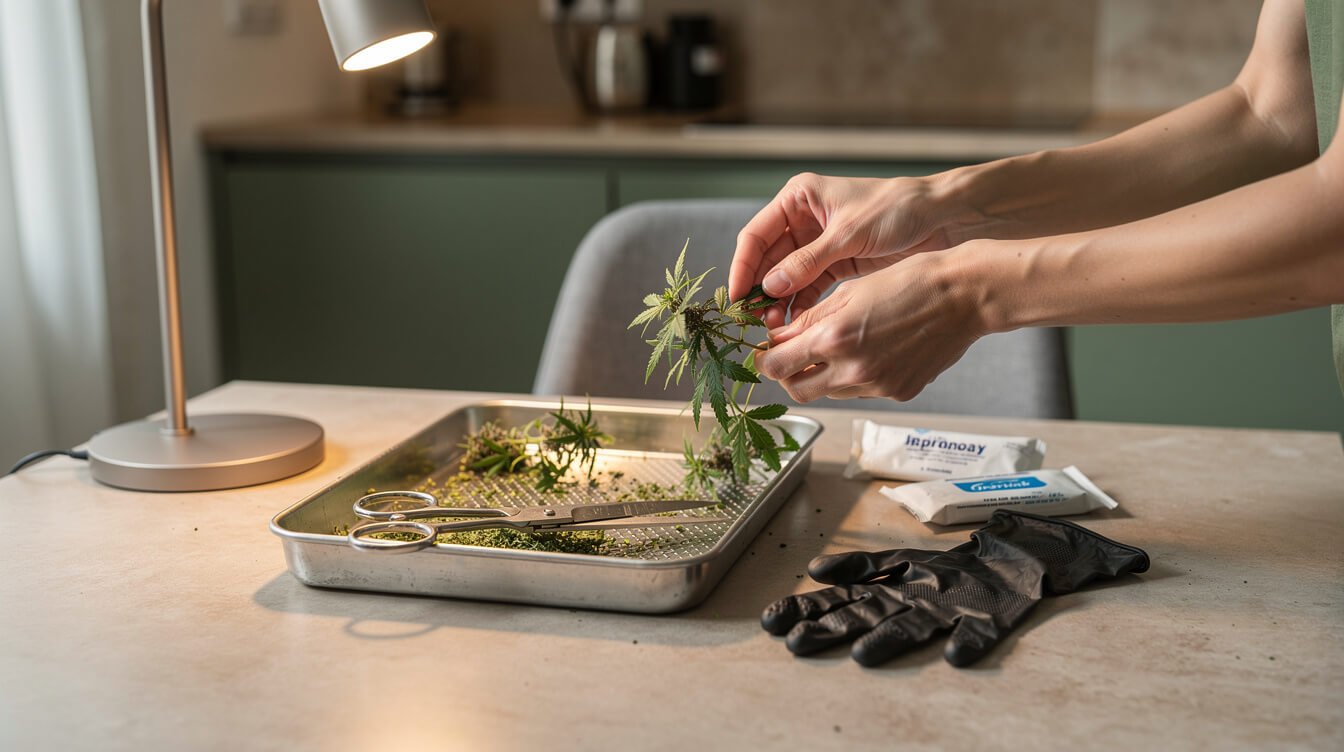
Nearly every guide on how to trim cannabis includes a tool list. Almost none tell you the thing that surprises first-time growers: one decent-sized plant is a two to five hour job. Not fifteen minutes. A big outdoor plant can be a full weekend. Set up like you are going to be sitting there a while, because you are.
What you actually need
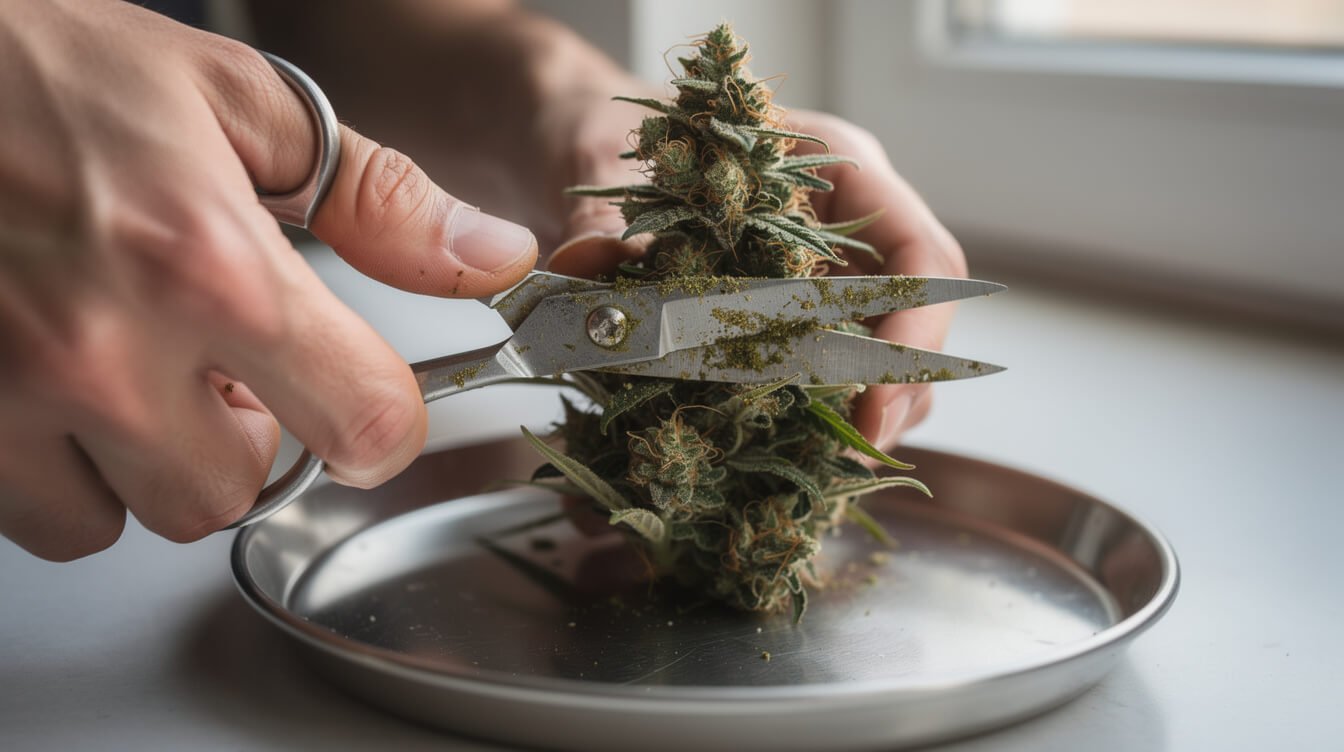
- Fine-tipped spring-loaded scissors. The one piece of gear worth spending on. Spring-loaded blades reopen themselves, which removes roughly half the hand movements in the session. Curved tips reach into the bud without shaving calyxes.
- Pruning shears or heavy snips for breaking branches down. Do not do that work with your detail scissors.
- A trim tray, ideally screened. Everything you drop gets caught, and what falls through the screen is pure resin.
- Nitrile gloves. Resin sticks to skin, and skin oils transfer back to the flower.
- 70–90% isopropyl alcohol and a rag. Scissors gum up with resin within about twenty minutes and a gummed blade crushes instead of cutting.
- Good light. Cool, bright, from the side. You are telling a frosty sugar leaf from a dull one, and warm dim light makes everything look the same.
The part that is genuinely a health issue
Trimming is repetitive, fine-motor, sustained hand work — a recognized risk factor for strain injuries in the wrist and forearm. CDC occupational health investigators have looked at cannabis trimming operations specifically and flagged musculoskeletal disorders among the hazards for people who do this all day. You are not a production trimmer, but five hours with bad scissors and a kitchen chair is still five hours.
Practical, not precious:
- Use spring-loaded scissors. Non-spring scissors double the work your hand does.
- Sit at a proper height with your forearms supported. Hunching over a coffee table is the common mistake.
- Break every 45 minutes or so, and swap hands if you can stand it.
- Stop if you get tingling or numbness in your fingers. That is a signal, not a badge, and if it does not settle, see a doctor — we are a grow guide, not a medical one.
- Split a big harvest across two or three days. The buds do not mind. Your wrists do.
How to trim cannabis step by step
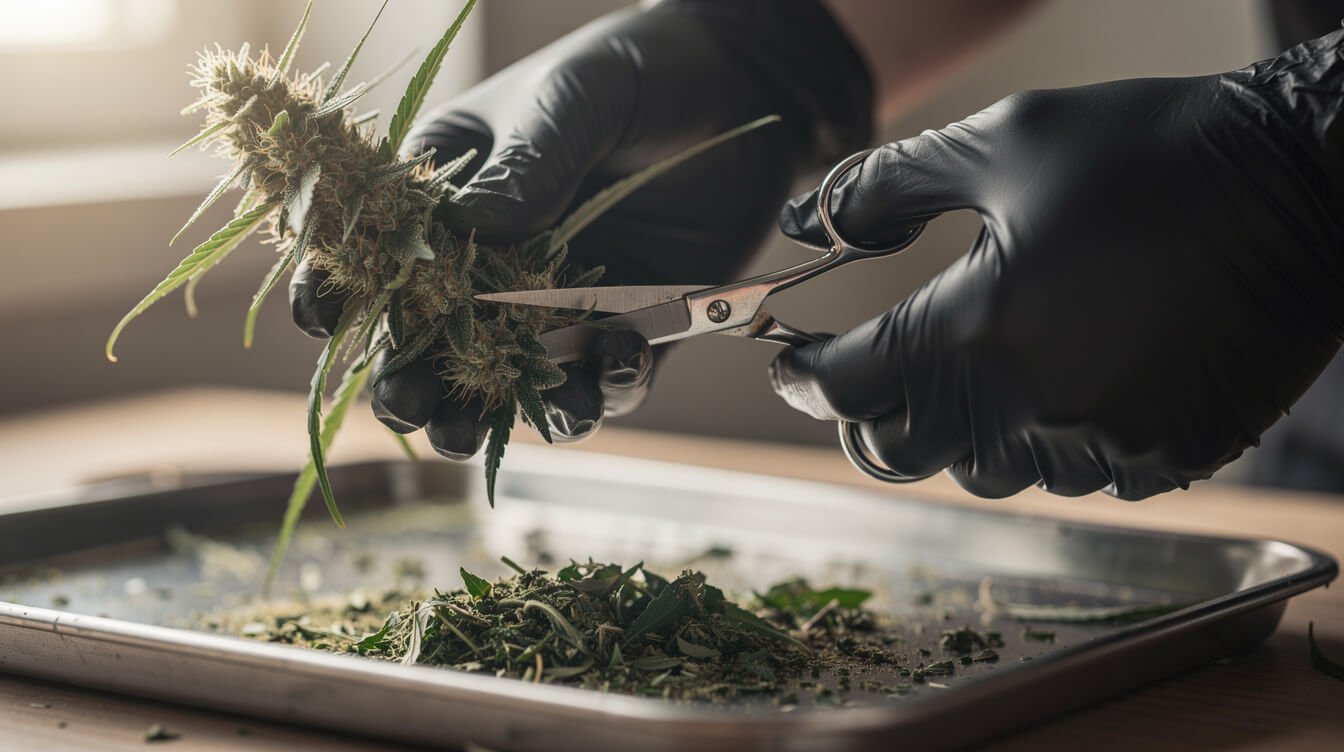
This is how to trim cannabis wet, start to finish. For a dry trim, do step 2 at harvest, hang the branches with everything else still on, and come back for steps 3 through 7 once the stems snap.
1. Buck the plant down
Cut the plant into branches you can hold comfortably in one hand — roughly 12 to 18 inches. Resist breaking it down further than your space requires; larger pieces dry more slowly and gradually, which is what you want. Bucking into individual buds is a last resort for very small spaces.
2. Strip every fan leaf
The big leaves on long stems coming out of the branch. Pull or snip them at the base. No judgment call here — they are not frosty, not worth keeping, and they are the single biggest source of chlorophyll on the plant. Many growers do this standing at the plant before it comes down.
3. Hold by the stem, never the bud
Pick the branch up by the woody stem. Every time you squeeze a flower between your fingers you roll trichomes off it and onto your gloves. Rotate the branch to bring each face to the light instead of regripping the bud.
4. Take the sugar leaves that stick out
Work the scissor tips in and clip each protruding leaf at its base. The mental model: picture the bud’s outline, then remove anything breaking it. Leaf tucked inside the flower and covered in resin stays. Leaf fanning out past the edge goes.
5. Work top to bottom, one branch at a time
Pick a direction and keep it. Jumping around is how you end up with half-trimmed buds and a session that runs twice as long.
6. Clean the blades, often
Wipe the scissors with isopropyl every fifteen to twenty minutes. Clean blades cut; sticky blades tear and crush. The resin you wipe off is scissor hash, and it is worth scraping into a small jar as you go.
7. Hang or rack immediately
Wet-trimmed buds go straight to the drying space, on racks or hung by their stems. Never leave freshly trimmed wet flower sitting in a heap — that is a mold head start. Dry-trimmed buds go straight into jars to begin the cure.
How much to take off: the frosty-leaf test
This is the part of how to trim cannabis that separates a good trim from a destructive one, and it is easier than it sounds. The question is never “should I remove this leaf,” it is “does this leaf have resin on it.”
Hold it up to the light and look. If the leaf glitters, it is worth something: leave it, or clip only the bare tip extending past the bud. If it is flat green and dull, it comes off at the base. Modern cultivars put resin on their sugar leaves generously, so a surprising amount of what looks trimmable is worth keeping. Our explainer on trichomes and harvest timing covers the same glands from the other end of the process.
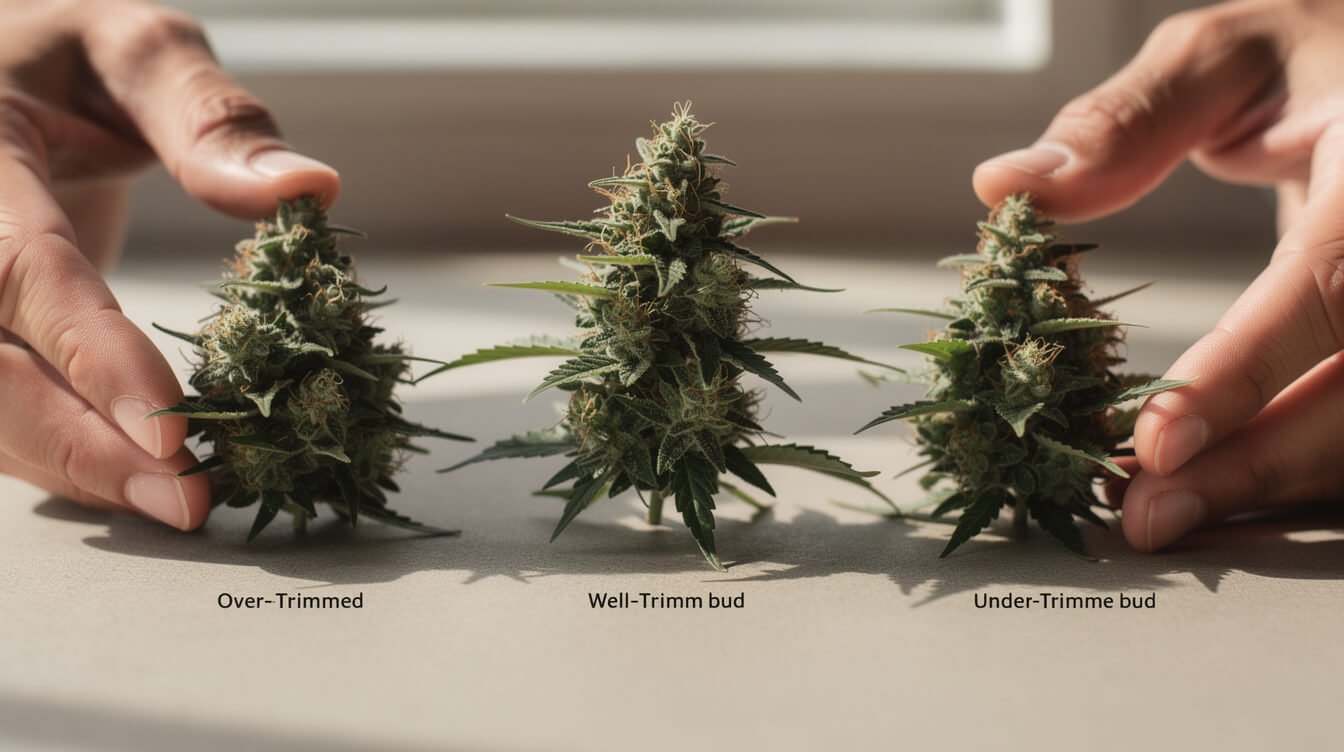
The two failure modes, and what each one looks like:
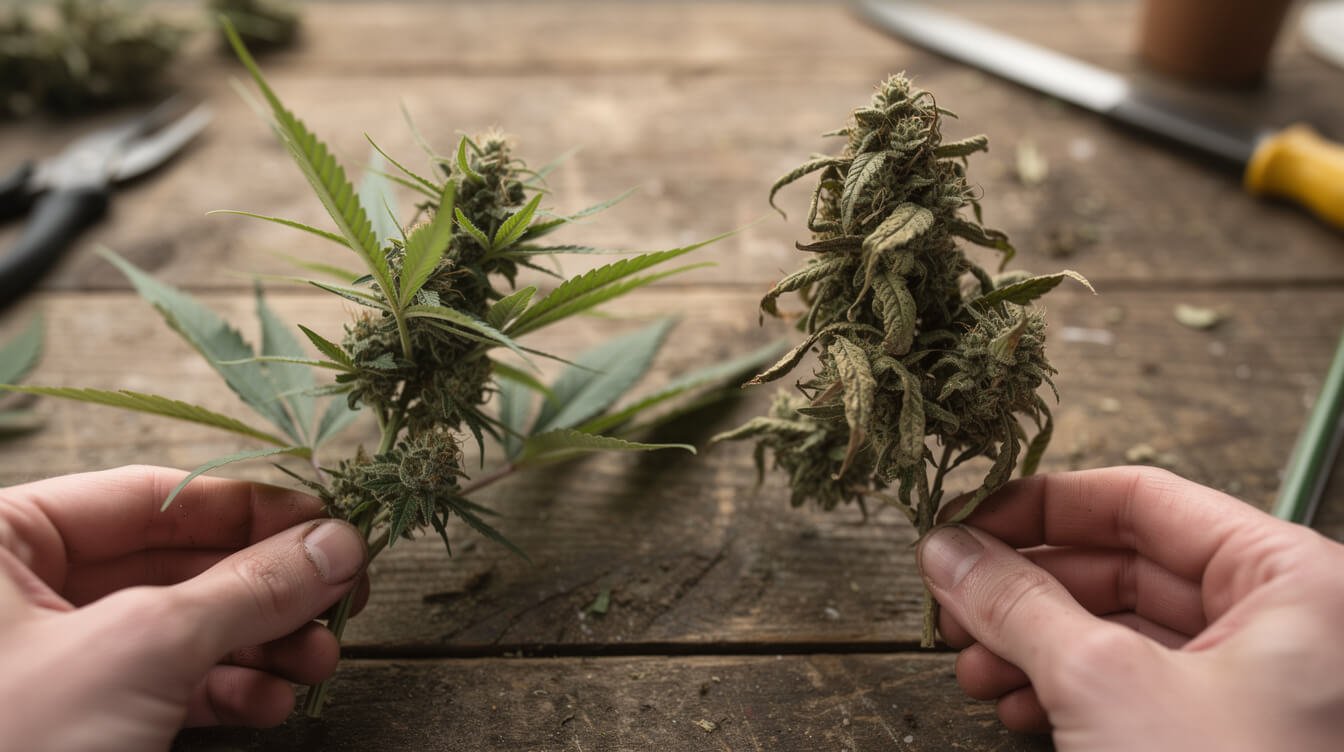
- Over-trimmed: the bud looks naked and ragged, with scissor marks across the calyxes, and may be falling apart. You cut into the structure holding the flower together. Unrecoverable — the resin you shaved off is on your blades.
- Under-trimmed: leaf tips fan out everywhere, the bud looks fluffy and green rather than dense, and after curing it smells grassy. This one is recoverable — you can re-trim once it is dry, which is the real argument for erring light the first time through.
Err light. Under-trimming is a do-over; over-trimming is not.
What to do with your trim (and what to compost)
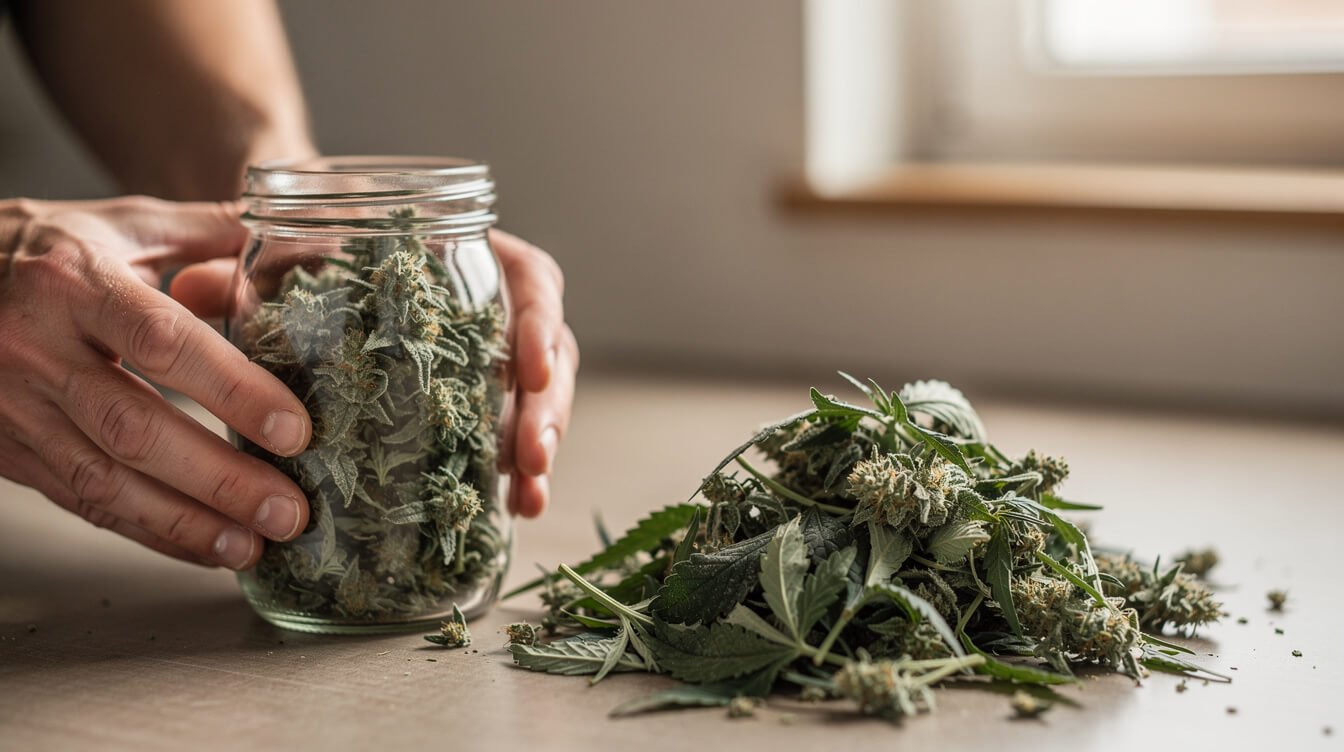
Every guide ends with “save your trim” and then stops, which is unhelpful, because about half of what comes off the plant is worth nothing. Sort as you work:
Keep — sugar leaf trim. The small leaves from in and around the buds, the ones with visible frost. Raw material for edibles and simple home extraction, with real cannabinoid content — well below flower, but far from zero.
Compost — fan leaves. People will tell you to make tea with them. You can, but there is almost no resin there, and processing a pound of fan leaf for a trace of anything is a bad trade for an afternoon.
Keep separately — scissor hash. The black resin that builds up on your blades is the most concentrated thing to come out of this entire process, and it is free. Scrape it off with a dull knife into a small jar.
The one trim rule people break
Never jar or bag wet trim. It molds within a day or two and moldy trim is not salvageable. Spread it thin on a tray or paper towel, let it dry until crisp to the touch, then seal it somewhere cool and dark. Dried trim keeps for months.
Raw trim does nothing on its own — the cannabinoids need heat first. Our decarb temperature and time guide covers the trade-off between potency and terpene loss, and the cannabutter with shake walkthrough is written for low-grade material like trim, including how to think about dosing when you do not know the strength. Start low and go slow with anything you make from your own trim — you have no lab test and no reliable way to guess.
Machine trimmers: who actually needs one
Several pages ranking for this topic recommend a trimming machine. Every one of them sells trimming machines. That does not make them wrong, but it does mean nobody in the top results will tell you when a machine is a bad idea.
Worth it if you process many pounds, you are on a clock, and a uniform commercial finish is the goal. At that scale the labor math is not close.
Not worth it if you grow one to four plants at home. Tumbler-style trimmers run several hundred to several thousand dollars, they are rougher on trichomes than careful hands, they leave that slightly bald, uniformly rounded look, and they need cleaning after every run. You would be buying a machine to save five hours once or twice a year and getting a worse result for it.
The honest middle ground is good spring-loaded scissors and a screened trim tray — thirty to fifty dollars — plus splitting the session across two evenings. If you grow a single plant or two indoors, that is the whole kit.
When trimming goes wrong: common mistakes and real fixes
Buds smell like hay after curing
Under-trimming plus a fast dry: leaf stayed on, chlorophyll stayed in. Re-trim the dry buds to remove what is left, and give it a longer, slower cure — see our guide to curing cannabis properly. It will get better. It will not get all the way back.
Buds fell apart while trimming
Either you cut into the calyx clusters, or the material was bone dry. Over-dried flower shatters at a touch. If this starts happening mid-session on a dry trim, you waited too long — the fix for next time is checking the stem-snap earlier.
Mold showed up a few days into the dry
Remove and discard every affected bud, and do not try to rescue it — moldy flower is a contamination problem, not a cosmetic one. Then look at the two likely causes: too much leaf left on in a humid room, or buds piled up instead of spread out. Our jar-curing troubleshooting guide covers telling mold apart from the normal “must” smell of an early cure, which is the distinction that trips most people up.
Everything is sticky and the scissors stopped cutting
Normal, and the fix is the isopropyl rag. If you are reaching for it every ten minutes rather than every twenty, that is a very resinous plant and a good problem.
The trim is taking far longer than planned and the rest is sitting there
Get the untrimmed branches hanging right now, leaves and all, and finish them as a dry trim tomorrow. Material waiting in a pile at room temperature is the actual risk; hung material is fine.
You over-trimmed the first few buds before finding your rhythm
Everyone does. Set those aside and smoke the ugly ones yourself. They will be perfectly good — just less pretty than they should have been.
Frequently asked questions about how to trim cannabis
Do I have to trim at all?
You can skip it, and some growers do a “rough trim” of fan leaves only. The result is harsher, grassier, and more mold-prone. For a small personal harvest where nobody is judging the look, a thorough fan-leaf strip plus a light sugar-leaf pass gets most of the benefit for a fraction of the time.
How long does it take to trim one plant?
Two to five hours for a typical indoor plant, by hand, as a beginner. You will get maybe twice as fast by your third harvest. A large outdoor plant can run eight hours or more.
Should I trim before or after drying?
Before, if your space is humid (above roughly 60% RH). After, if it is dry (below roughly 50%). Both work in between. Fan leaves come off at harvest either way.
Can I trim after curing?
Not well. Fully cured buds are brittle and crumble under scissors. Tidy anything up at the end of the dry, before it goes into jars.
Does trimming affect how long my weed takes to dry?
Significantly. A wet-trimmed bud can dry in three to five days where an untrimmed branch takes ten to fourteen. That is exactly why your room’s humidity should drive the decision rather than which method sounds more professional.
Why do my buds look smaller after trimming?
Because they were always that size — you were looking at leaf. Everybody hits this on their first harvest, and it is a big part of why the “wet weight” numbers people quote online are close to meaningless. Our honest grow timeline covers what actually comes off a plant.
Does trimming change the smell?
In both directions. Removing chlorophyll-heavy leaf makes the finished smell cleaner and more like the cultivar is supposed to smell. But heavy handling knocks terpenes loose, and those aromatic compounds are what give each plant its character, as our terpene reference gets into. Gentle and adequate beats aggressive and perfect.
Final thoughts on how to trim cannabis
Trimming is the least glamorous job in the grow and one of the most consequential, which is an unfair combination. Nothing about it is difficult. It is just long, repetitive, and easy to rush at exactly the moment you are most impatient to be done.
Everything worth knowing about how to trim cannabis fits in three lines. Fan leaves always go. Frosty leaves mostly stay. Let the humidity in your room decide whether the detail work happens wet or dry. The rest is experience, and you will have plenty by the end of your first session.
Then get it drying properly and give it a real cure, because a flawless trim on a rushed dry still smokes like hay. And as always: growing laws vary enormously between states and countries, and nothing here should be read as a claim that any of it is legal where you live. Know your local rules, keep it 21+, and enjoy the slow part.
Before you go
Get the next explainer first
We publish a new one every day. The best of the week, plus what's new in the shop, lands in one short email.