How to Dry Cannabis: The Step That Decides Your Harvest
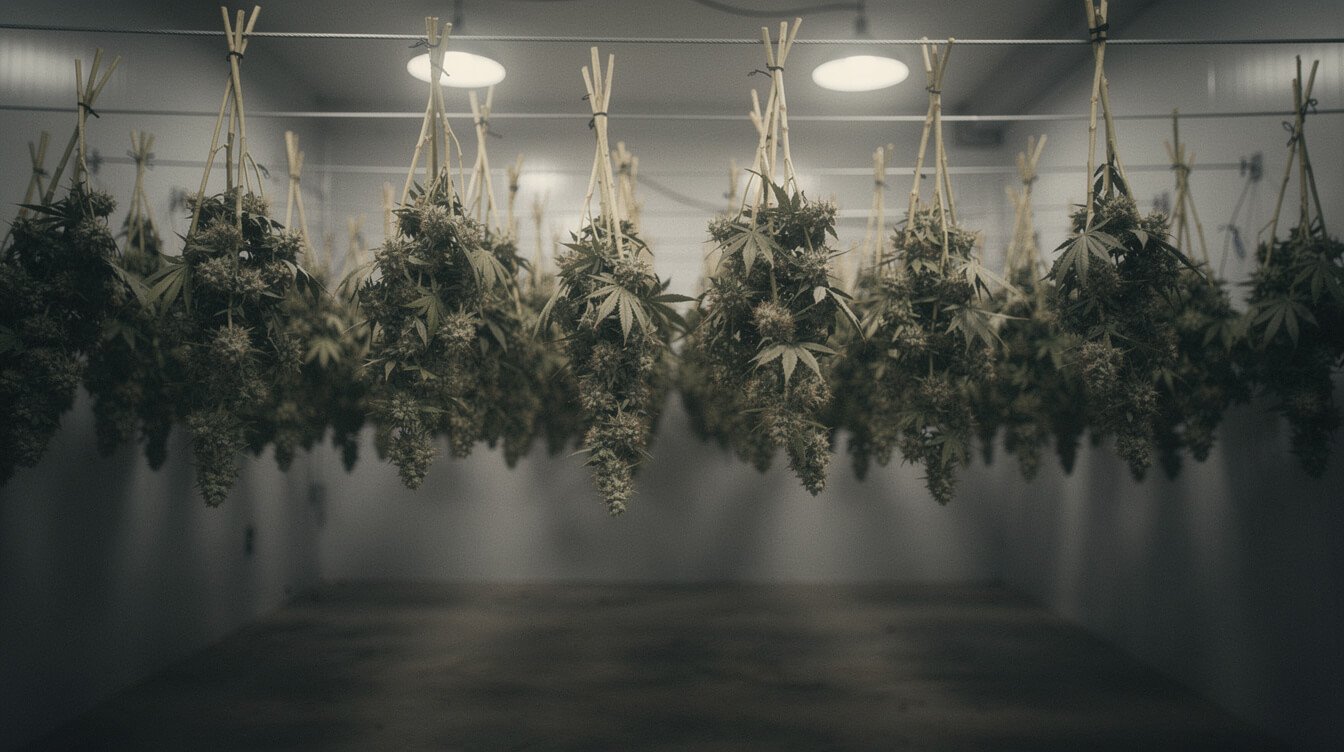
Here is the honest answer up front: how to dry cannabis is mostly a question of patience and humidity control, not technique. You hang your harvest in a dark room at 60–68°F (15–20°C), hold the humidity near 50% for the first two days and around 55% after that, keep the air moving gently without pointing a fan at the buds, and wait 7 to 14 days until a thin stem snaps instead of bending. That is the whole method. Everything else is troubleshooting.
And yet this is where more good harvests die than anywhere else in the grow. You can do everything right for four months and undo it in six rushed days. A fast dry bakes the smell out of your flower permanently. A slow, humid dry grows mold on it. No cure, jar, or humidity pack gets back what a bad dry takes.
Before we start: this is written for adults 21 and over, growing where it is legal to do so. Home cultivation is legal in a number of US states and a crime in others, and the states that allow it set their own plant counts and rules. Check your own state and local law before you plant anything — nothing here should be read as a claim that it is legal where you live.
How to dry cannabis: the short answer
The whole process in one block you can act on today:
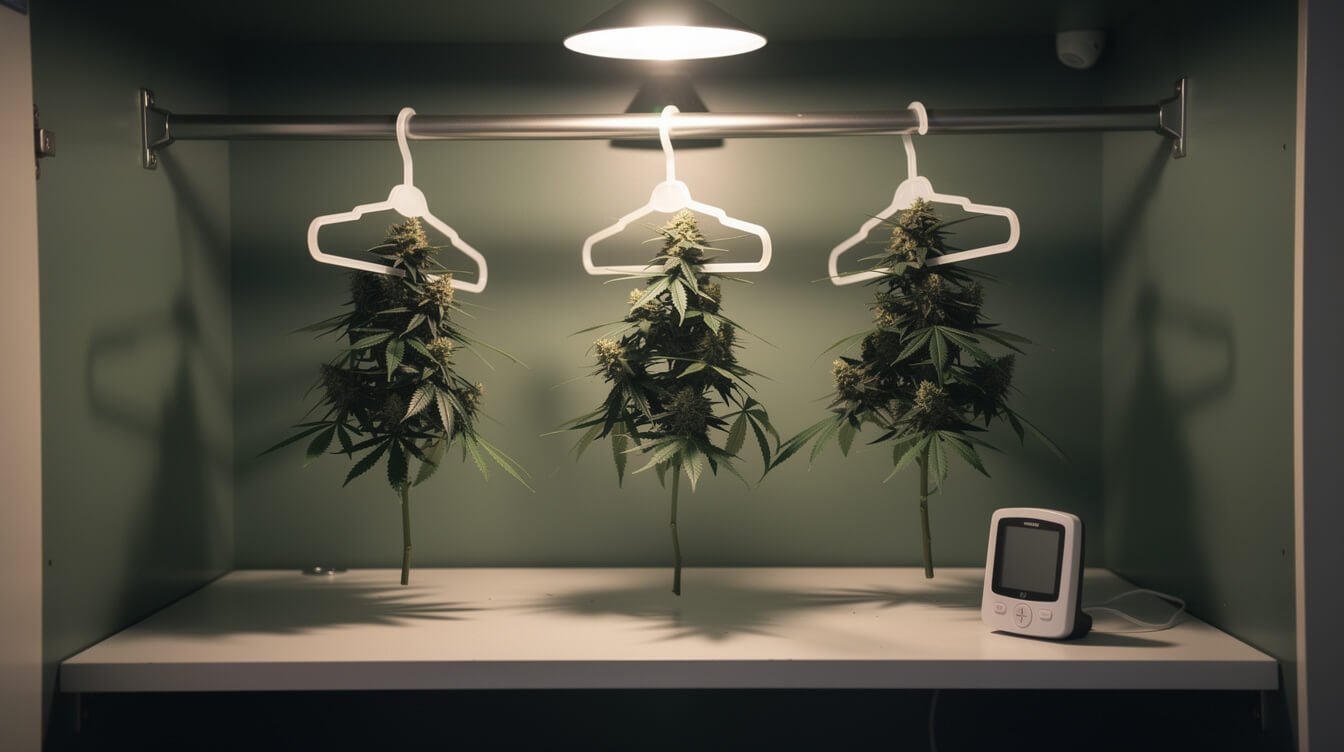
- Space: dark, enclosed, clean. A closet, a spare bathroom, or your grow tent with the light unplugged.
- Temperature: 60–68°F (15–20°C). Cooler is gentler, down to about 55°F (13°C), below which drying stalls.
- Humidity: about 50% relative humidity for the first two days, then about 55% until the stems snap.
- Airflow: one small fan pointed at a wall or the floor, never at the flower.
- Form: hang whole plants or branches upside down, or lay trimmed buds on a mesh rack if your room runs humid.
- Time: 7 to 14 days. Most flower is ready around day 7; dense colas take longer.
- Done when: a thin lateral stem snaps with an audible crack and the branch has lost roughly 75–80% of its wet weight.
Then, and only then, the buds go into jars and the cure begins. Drying and curing get bundled onto one page almost everywhere you read about this, which is a shame, because they are two different jobs. Drying removes most of the water. Curing redistributes the little that is left and lets the flower finish in a sealed environment. Confusing them is how people end up jarring wet buds.
The rest of this guide is the nuance behind those seven bullets — including the part where the most popular guides on how to dry cannabis disagree with each other about the two numbers that matter most.
Why the dry is where good harvests die
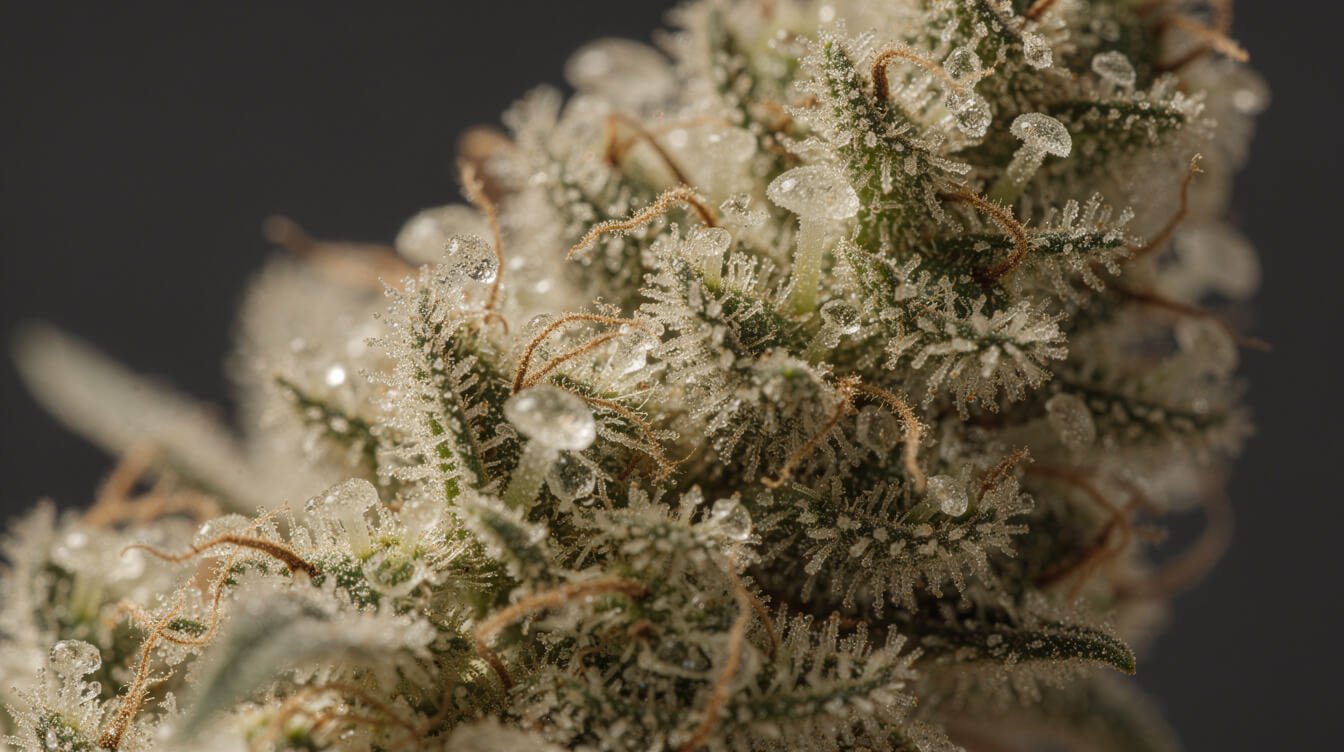
Fresh-cut cannabis is full of chlorophyll and other compounds that taste green and harsh — that unmistakable fresh-cut-lawn flavor. Given time, they degrade. Rushed, they stay put. The “hay smell” people blame on bad genetics is almost always a drying artifact: the water left faster than the chlorophyll could break down, and now it is locked in.
Then there is the expensive part. Terpenes are the volatile aromatic compounds that give each cultivar its smell and much of its character. “Volatile” is the operative word: they evaporate at room temperature, faster with every degree of heat, and the light monoterpenes go first — myrcene, limonene, and pinene. Myrcene’s listed boiling point is 167°C (333°F), but it needs nothing close to that to drift off. Measurable terpene losses show up once drying runs above roughly 40°C (104°F), while cannabinoid levels stay largely put. A bud dried in four days really does smell flatter than the same bud dried in ten. For the deeper version, we keep a full reference on terpenes and their reported effects.
Light matters too, which is why the room is dark: UV degrades cannabinoids, and THC photo-oxidizes toward CBN.
One honest caveat, because this gets oversold. Drying does not make your flower stronger. It concentrates what is already there by removing water, and it protects the aroma you grew. It does not raise THC. Any guide claiming a drying trick increases potency is selling something.
The drying numbers the top guides disagree on
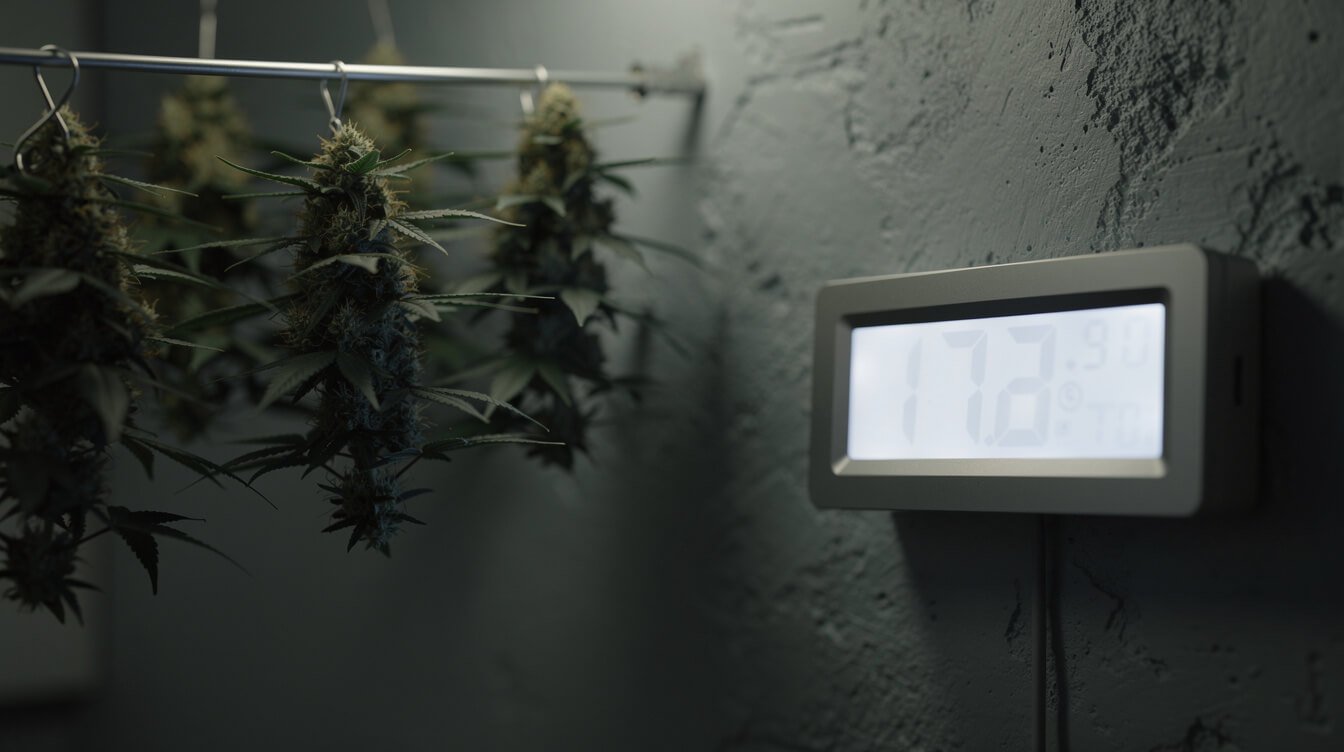
Here is something nobody tells you: read the first five results on how to dry cannabis and you come away with wildly different instructions. We read them all. The disagreement is not subtle.
| Source | Drying time | Humidity | Temperature |
|---|---|---|---|
| Leafly | 2–7 days | 55–65% RH | 60–70°F |
| Weedmaps | 5–14 days | 45–55% in its steps, 50–60% in its room section | 60–70°F, “around 70°F” for the room |
| GrowWeedEasy | Varies with your local humidity | 50–60% called ideal | 60–70°F (16–21°C) |
| BudTrainer | 7–14 days | 50% for two days, then 55% | 60–68°F (15–20°C) |
A first-time grower reading those in order is told drying takes two days and that it takes fourteen, and that 65% humidity is fine and that it is too wet. Both cannot be true. Our read, with the reasoning:
On time, the 7–14 day range is the right one. Two days is physically achievable — on wet-trimmed small buds laid flat in a dry room — but that is precisely the fast dry that produces the hay smell. Anything finishing under about five days finished too fast. Past roughly two weeks, you are betting against mold for no additional benefit.
On humidity, the high end of the advice is the risky end. The postharvest literature puts cannabis drying around 18–21°C (64–70°F) and 50–55% RH. The famous “60/60 rule” — 60°F at 60% humidity — is grower folklore that got repeated into authority; it does not trace back to a published standard. And 55–65% RH at 70°F, a combination you will see recommended, is the one we would genuinely avoid: that is comfortable territory for Botrytis cinerea, the gray mold behind bud rot, and the first 48 hours after the chop is exactly when your buds are wettest.
The fix is to step the humidity rather than pick one number. Run near 50% for the first two days, when mold risk is highest and the buds have plenty of water to give. Ease up to about 55% after that, when the buds are nearly dry and terpene loss is what you are managing. You move the target as the threat changes, which beats any single setpoint. Stability matters as much as the number itself, too — a controlled room beats a merely long dry.
One last field note. Growers often read a strong smell in the drying room as a good sign. It is the opposite. Terpenes you can smell in the air are terpenes no longer on the plant. A cool drying room that smells faintly of very little is doing its job.
Set up your drying space before you cut anything
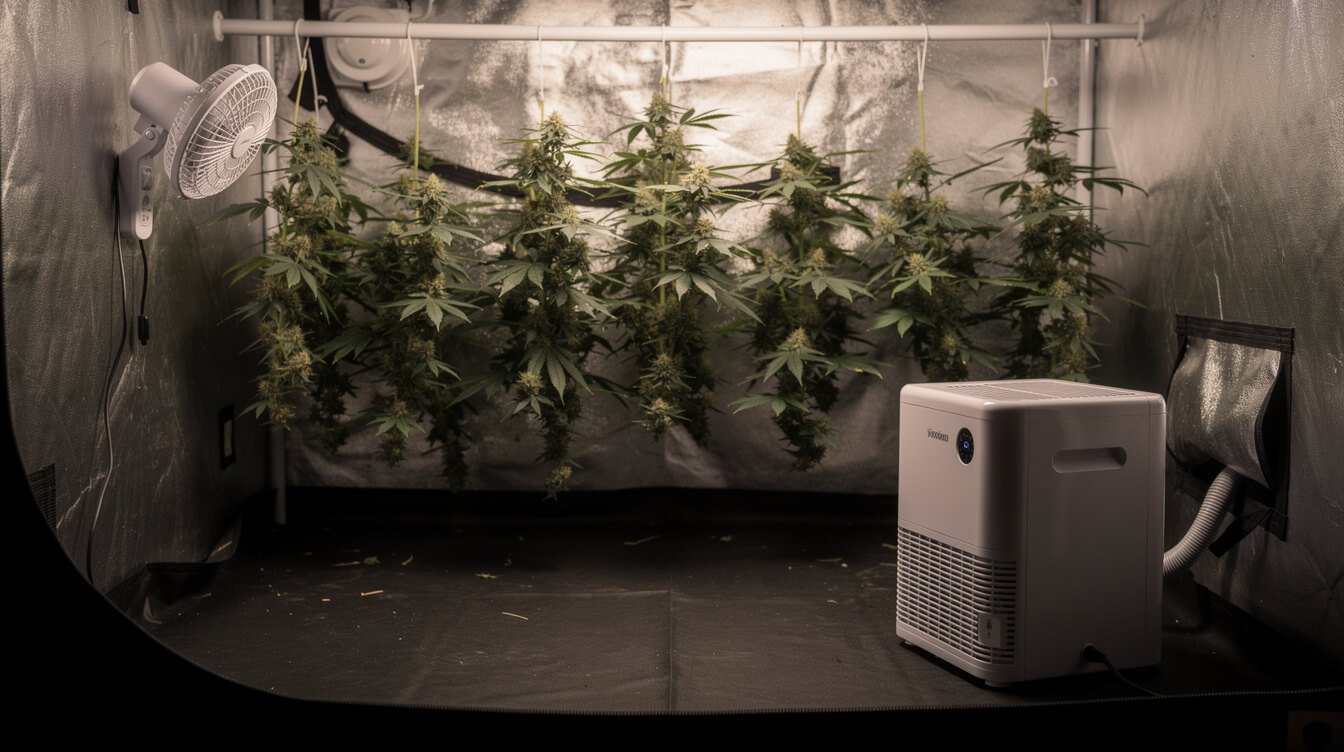
Half of how to dry cannabis well is decided before you cut anything. The most common preventable failure is discovering on day two that your space cannot hold the numbers — by then you have a wet harvest and no options. Set the room up, run it empty for 24 hours, and confirm it holds steady before a single branch comes down.
- A hygrometer. Non-negotiable, and the cheap hardware-store kind is fine. You cannot manage humidity you are not measuring.
- A dehumidifier, ideally with a humidistat so it holds a setpoint. Two details most guides skip: size it for day one, not day seven, because the first 48 hours release far more water than people expect — and if it has a drain port, run a hose to a drain. A full tank shuts the machine off, and a room you believe is at 50% can climb all night.
- One small fan, pointed at a wall, the ceiling, or the floor. Two fans aimed to send air in a slow loop around the room is better still.
- Something to hang from — a closet rail, a clothesline, or plastic hangers with garden twist ties. A mesh rack if you are going flat.
- Darkness. A tent, a closet, a windowless room, or a sheet over the rack.
Most writing about drying describes commercial rooms, which is little help if you grew one plant in a tent. Nothing about the method changes with scale, only the equipment size: a closet with one hygrometer, one fan aimed at the wall, and two hangers will dry a single plant beautifully. A tall cardboard wardrobe box from a moving-supply store is a good trick, too — roughly tent-sized, it comes with a rail to hang branches from and blocks all light.
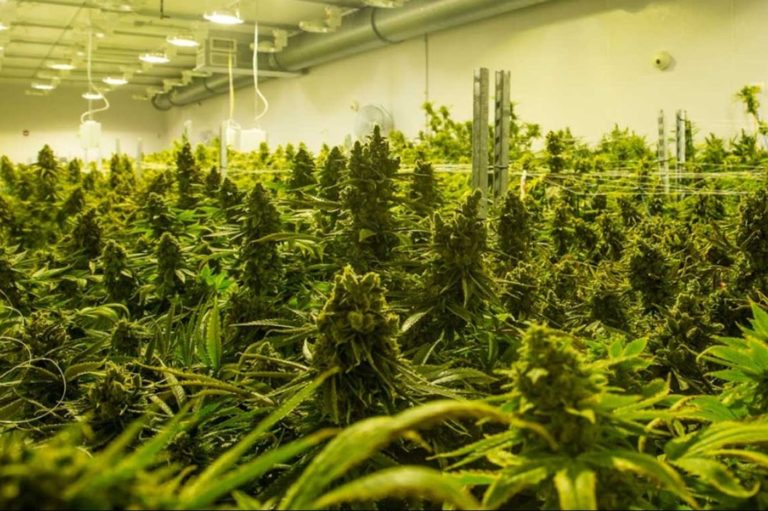
If your grow tent is your only enclosed space, dry in it — unplug the light, leave the exhaust on low, and accept that you cannot start a new grow there for two weeks; see our breakdown of how long a full grow actually takes. And plan for the smell: the space will smell for a week or two, and carbon filtration on the exhaust helps.
GanjaTech, weekly
Cannabis, explained. In your inbox.
One email a week: the clearest explainers, honest gear picks, and what the science actually says. 21+ only. No spam, unsubscribe anytime.
Wet trim or dry trim? Let your room’s humidity decide
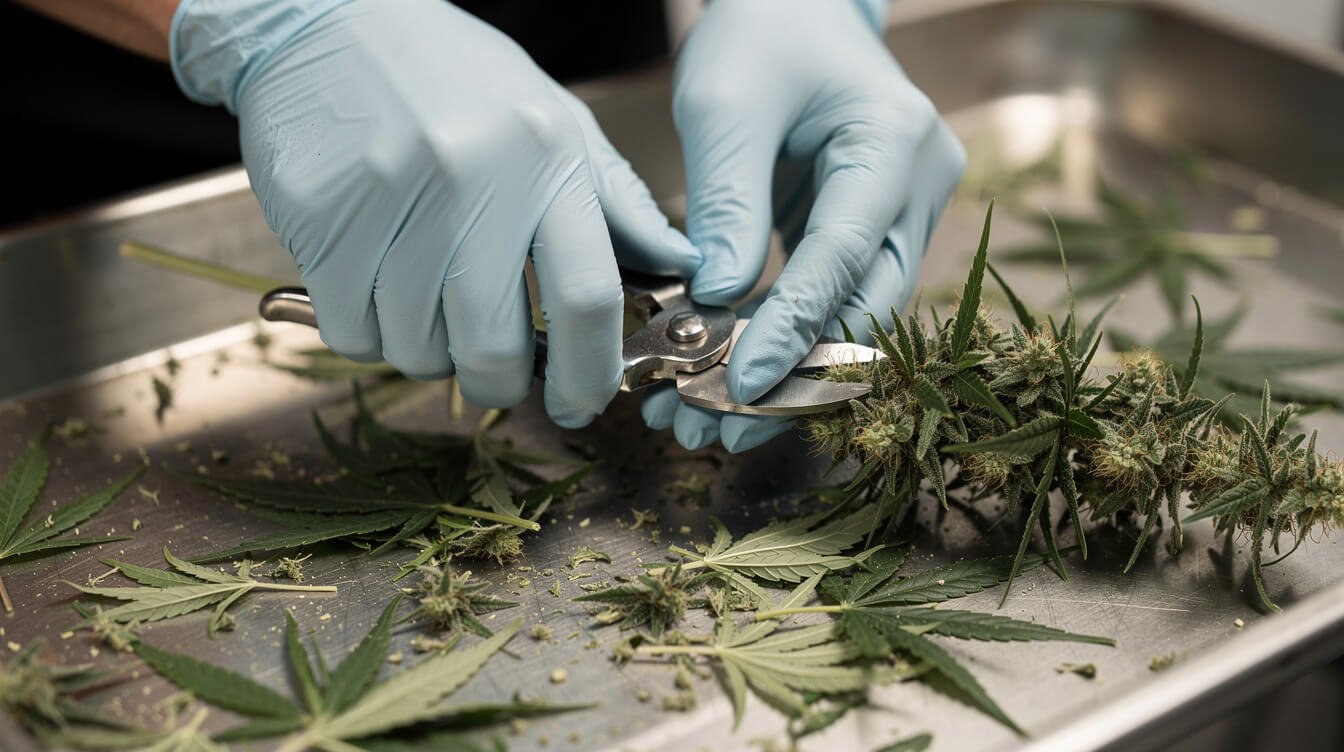
Wet trimming means you manicure the buds right after the chop and dry bare flower. Dry trimming means you hang everything as-is and manicure after. Most guides present this as a matter of taste. It is not — it is a humidity decision, because leaf mass is insulation: leaves slow the loss of water and protect the flower underneath.
So pick based on the room you actually have:
- Above 60% RH: wet trim. Strip it down. Less plant material means faster drying and much less mold risk, and in a humid room that is the only risk worth optimizing for.
- Below 50% RH: dry trim, and leave as much on as you can, fan leaves included. In a very dry space, growers hang the whole plant intact specifically to slow things down, and filling the space with more plant material raises ambient humidity in your favor.
- 50–60% RH: the middle path, and where most homes land. Pull the fan leaves at harvest, leave the small sugar leaves on through the dry, and manicure them off afterward.
| Method | Typical time | Aroma retention | Space | Best when |
|---|---|---|---|---|
| Whole plant hung upside down | Up to 14 days | Best | High | Dry room, and you have the headroom |
| Individual branches | About 7 days, dense colas longer | Very good | Medium | The default for most home grows |
| Trimmed buds on a mesh rack | 7–10 days | Good | Low | Humid room, wet-trimmed flower, tight space |
If you cannot decide, hang branches. One detail for flat racks: buds develop a flat side where they rest, so turn each one daily, holding it by the stem.
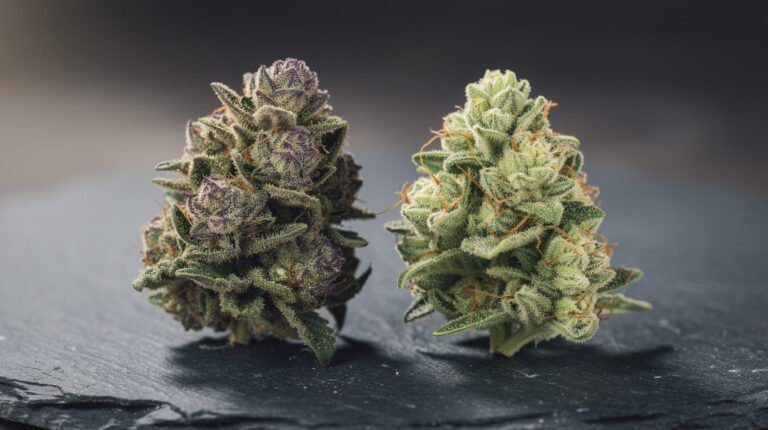
Bud density matters here too. Tight, dense colas — the kind an even canopy and techniques like low stress training produce — hold water in their centers and dry more slowly than airy flower, so give them extra days rather than pulling the whole harvest on a schedule.
How to dry cannabis step by step, day by day
Day 0 — the chop
Harvest when the trichomes tell you to, not when the calendar does; our guide to reading trichomes to time your harvest covers that call. Cut at the base, or take branches off into 12–16 inch lengths that are easy to hang. Pull fan leaves now if your room’s humidity says to, hang everything with nothing touching, and leave it alone.
Days 1–2 — the dangerous part
Hold the room near 50% RH. The buds are wettest now and this is mold’s only real chance, so this is where you let the room run dry. If humidity climbs above 55% despite the dehumidifier, add a fan. Above 60%, point a fan directly at the buds for these two days and move it away afterward. Two days of direct air costs you less than mold does — that is the one exception to the fan rule, and the trade is worth it.
Days 3–6 — hands off
Ease up to about 55% and hold it. Check once a day for three things: humidity on target, no visible mold in the dense centers of colas, and branches getting noticeably lighter. The outsides of buds tighten before the insides — normal, because water migrates from the core outward and evaporates at the surface. Look, do not touch: every squeeze knocks resin glands off.
Day 7 onward — start testing
Most flower is ready around day 7; dense colas can want 10 to 14. Run the readiness tests below daily and let the plant tell you when it is done. Near two weeks and still not there? Raise the temperature a couple of degrees before you drop the humidity — and check carefully for mold first.
The handoff to curing
Once the stems snap, dry trim if you went that route, then pack the buds into airtight glass jars about three-quarters full and start burping. That is a different discipline with its own failure modes, and we have walked it twice: the full method in how to cure cannabis, and a no-equipment troubleshooting version in how to cure buds in jars properly.
How to tell when your buds are actually dry
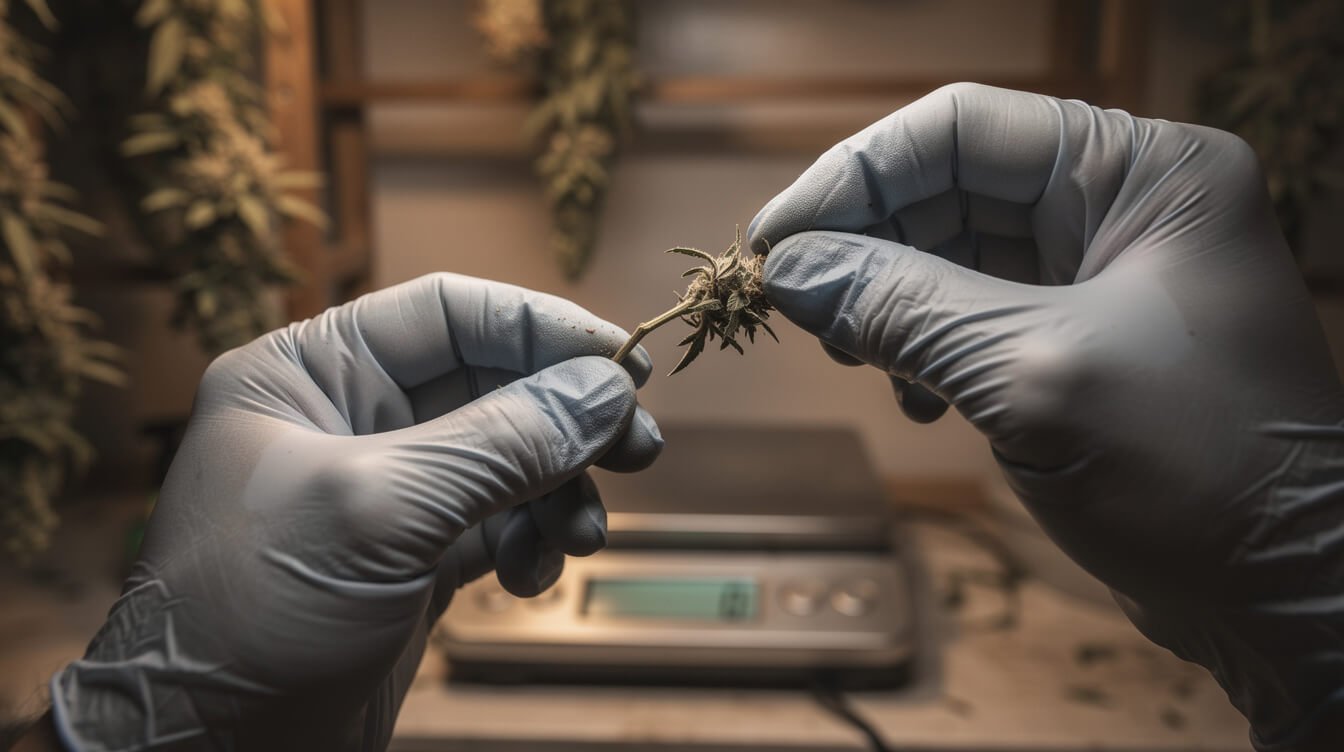
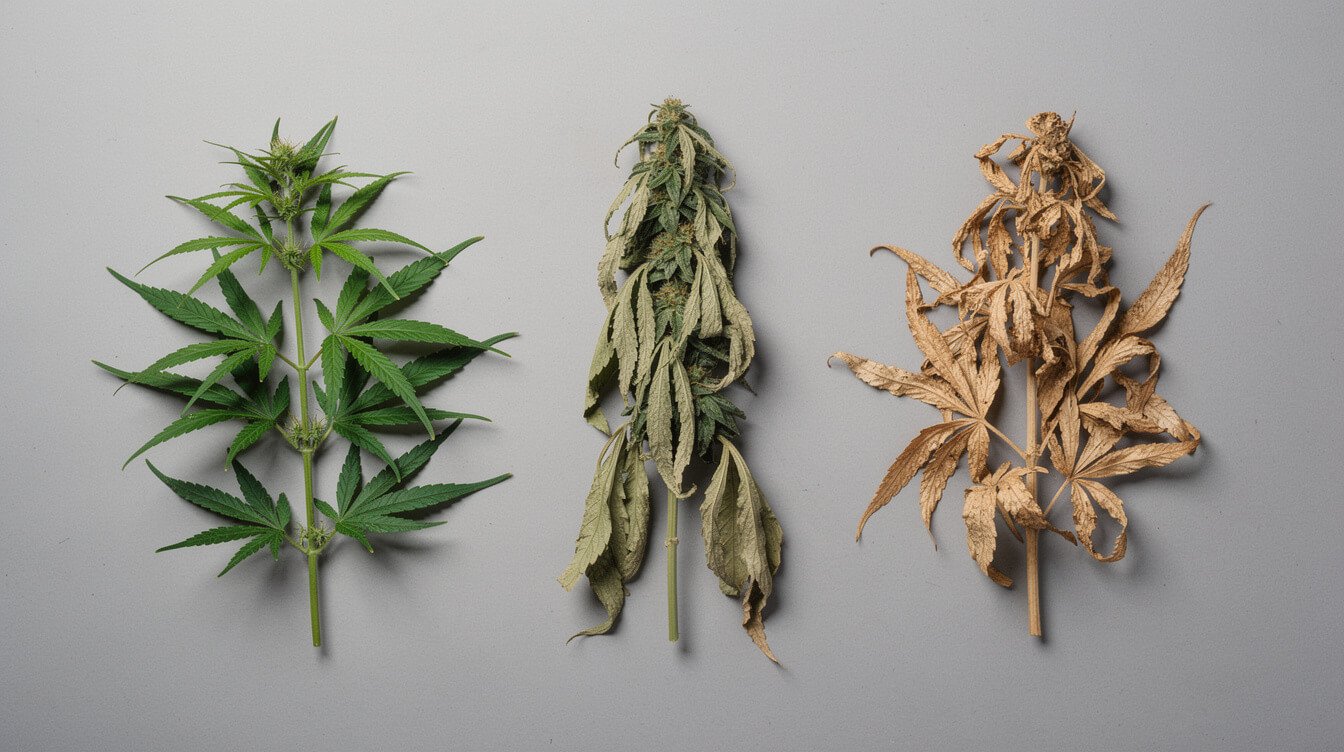
Almost every guide on how to dry cannabis gives you the stem snap test and stops there. The stem snap is a good test. It is also the single most common way people mold a finished harvest, because it can lie to you.
Test 1: the stem snap
Bend a thin lateral stem. If it bends without breaking, wait another 24 to 48 hours. If it snaps with a clean crack, that is your signal. If the buds themselves crumble to dust between your fingers, you went too far.
Test 2: the weight benchmark, which does not lie
This is the test the field mostly ignores, and the most reliable one you have. On day 0, pick one representative branch, tag it, and weigh it. Weigh the same branch when the stem snaps. A finished dry has shed roughly 75–80% of its original weight — a branch that started at 100 grams should land near 20–25 grams. If your stem snapped but you have only lost 60%, the snap misled you: the exterior dried well ahead of the core, and the inside is still wet.
That is where the wet-to-dry ratio comes from, too: a plant weighing a kilo at the chop finishes around 200–250 grams, so if someone quoted you a wet weight, divide by four or five.
Test 3: the jar test
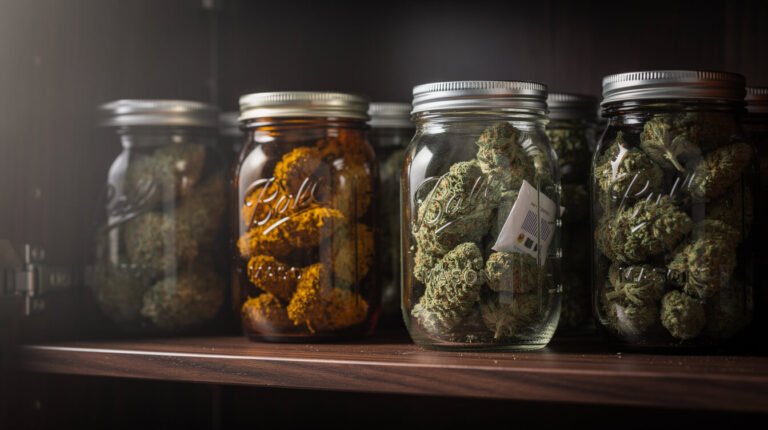
A free safety net. Jar the buds, put a small hygrometer in, and read it after 12 hours. Settling at 58–62% RH means your dry was right and you are curing. Climbing past 65% means more water was in there than the snap suggested: open the jars, let them breathe 6 to 12 hours, and hang another day or two. Condensation inside the glass says the same thing. Caught here, jarring early costs nothing; missed, it is how a harvest molds after you thought you were finished.
Fast-dry shortcuts, ranked by what they cost you
The most common follow-up question is how to do it faster. Fair enough — you waited months and there is flower hanging in a closet. The honest ranking, worst to least bad:
- The microwave. Don’t. It cooks the flower unevenly, drives off essentially all the aroma, and leaves you with something that smells like hot grass and smokes harshly.
- The oven. Also not drying — that is decarboxylation, a useful process aimed at a different goal. At oven temperatures you convert THCA to THC and boil off the monoterpenes, and the chlorophyll never gets time to break down, so the green harshness stays. If decarbing is what you actually want, do it deliberately: we have the decarb temperature and time for edibles.
- A food dehydrator or air fryer. Marginally more controllable, same fundamental problem. Even mildly warm drying — 85°F (30°C) — measurably costs you smell.
- The paper bag method. The least bad shortcut. Hang for three or four days, then finish in a loosely closed paper bag, turning the buds daily. You lose some aroma and the cure has to do more work, but you have not cooked anything.
- Freeze drying. The expensive one, and the most interesting. A freeze dryer sublimates the water out under vacuum in 24 to 48 hours and sidesteps mold risk entirely. What it does not do is preserve more aroma: a 2024 comparison found it kept the acid cannabinoids from decarboxylating but lost more of the volatile compounds than conventional tray drying. At $2,500–$5,000 a unit, it is a luxury purchase rather than an upgrade.
The unglamorous conclusion: no shortcut costs you nothing. The cheapest thing in this entire process is the week you spend waiting.
When drying goes wrong: mold, hay smell, and uneven dries
Mold
White or gray fuzz between buds, usually deep inside dense colas, with a sour or musty smell instead of a faintly sweet one. Caused by humidity sitting high for more than a day, no air movement, or dense flower with no internal ventilation.
Treat this as a health question, not a quality one. Do not cut the mold out and keep the rest — it runs further in than the patch you can see. Discard the affected bud and the ones touching it, lifting them gently so you do not shake spores across the room. The gray fuzz is usually Botrytis, not a major toxin producer, but a moldy bud rarely hosts only one organism: fungi documented on dried cannabis include Aspergillus species, which produce aflatoxins and ochratoxin A and have been associated with lung infections, most often in people whose immune systems are already compromised. If that describes you, there is no judgment call — discard it, and take health questions to your doctor rather than a grow blog.
Hay smell and a too-fast dry
Buds dry to the touch in four or five days, brittle, smelling like cut grass. Caused by humidity below 50% past day two, temperatures over 68°F, or a fan left on the flower. The lost terpenes are not coming back, but you can rescue most of the smoke quality: stop ventilation, move the buds somewhere smaller and more humid, and run a patient cure with 62% humidity packs for about a month.
Dry outside, wet inside
Stems snap, then the buds rehydrate in the jar within hours. Open the jars, let them breathe 6 to 12 hours, re-jar, and if they still read above 65% the next day, go back to hanging for another day or two.
An uneven harvest
Some branches finish in six days, others twelve. Usually a swinging environment — a space next to a window, an HVAC vent, or a basement with a big day-night shift. Stability beats precision: a steady 55% at 65°F beats a room bouncing between 45% and 70%. If your space swings both ways, a humidifier and a dehumidifier each on its own humidistat holds a line neither can hold alone.
Over-dried, crumbling flower
Into jars immediately, with 62% two-way humidity packs. Skip the old tricks — a slice of bread, a citrus peel, a damp towel against the flower. They add water unevenly and invite exactly the mold you just avoided.
One upstream note: a lot of drying trouble starts in the grow. Dense, under-ventilated canopies are harder to dry cleanly, and catching problems like nutrient burn early means fewer damaged leaves sitting against flower in the drying room.
Frequently asked questions about drying cannabis
How long does it take to dry cannabis?
Seven to fourteen days in a properly controlled space. Most flower is jar-ready around day 7; dense colas and whole-plant hangs can take the full two weeks. Under five days is too fast, and past about sixteen days you are gambling on mold.
Can I dry cannabis in my grow tent?
Yes. Unplug the light, keep the exhaust on low, add a hygrometer, and point any clip fan at the tent wall. The limitation is practical, not technical: the tent is out of commission for two weeks.
Do autoflowers dry differently?
No. Autoflower genetics change how long the plant takes to grow, not how it dries. Dry an autoflower harvest exactly like any other harvest of similar bud density.
Should I use a fan during drying?
Yes, aimed at a wall, not at the buds. Direct airflow dries the outside of a bud while the inside stays wet, which is the mechanism behind most hay-smelling flower. The one exception is a room above 60% RH during the first two days.
Does hanging plants upside down move resin into the buds?
No, that one is folklore. A cut plant has no circulation, so nothing travels down the stem. Hanging upside down is purely about keeping buds from flattening while they dry.
Final thoughts on how to dry cannabis
Drying is the least glamorous week of a grow and the one that most determines what the whole thing was worth. The good news is that how to dry cannabis well is the cheapest problem in the process to solve: a hygrometer, a fan pointed at the wall, a dark closet, and the willingness to wait longer than you want to.
If you remember three things, make them these. Hold the room near 50% humidity for the first two days, because that is when mold gets its one real chance. Weigh a branch instead of trusting the stem snap, because the snap can lie and 75% weight loss cannot. And when your drying room smells incredible, understand that you are smelling your terpenes leaving — turn the temperature down.
Planning a first grow rather than finishing one? Start with our walkthrough on how to grow cannabis indoors and our picks for beginner strains to grow indoors. And wherever you are: grow where it is legal, keep it to adults 21 and over, and check your own state and local rules first.
Before you go
Get the next explainer first
We publish a new one every day. The best of the week, plus what's new in the shop, lands in one short email.