How to Cure Cannabis the Right Way (and How to Tell If It’s Working)
If you’ve ever smoked a bud that crackled instead of burned, tasted like fresh-cut grass, or gave you a headache instead of a buzz, you already know what skipping the cure costs you. How to cure cannabis is a simple process on paper — dry it, jar it, burp it, wait — but the details between “properly cured” and “expensive hay” are where most home growers lose the plot. Here’s the honest version: what curing actually does, the exact humidity window that matters, how to tell if it’s working, and how long is actually long enough.
You’ll get a full arc here — from the moment your buds come off the drying rack to the jar sitting in your cabinet six months later — built around checkpoints, not just a single recipe. Cannabis grows differently in every room, so “day 14, done” isn’t useful advice. Knowing what right looks, feels, and smells like at each stage is.
How to cure cannabis: why it matters, the honest answer
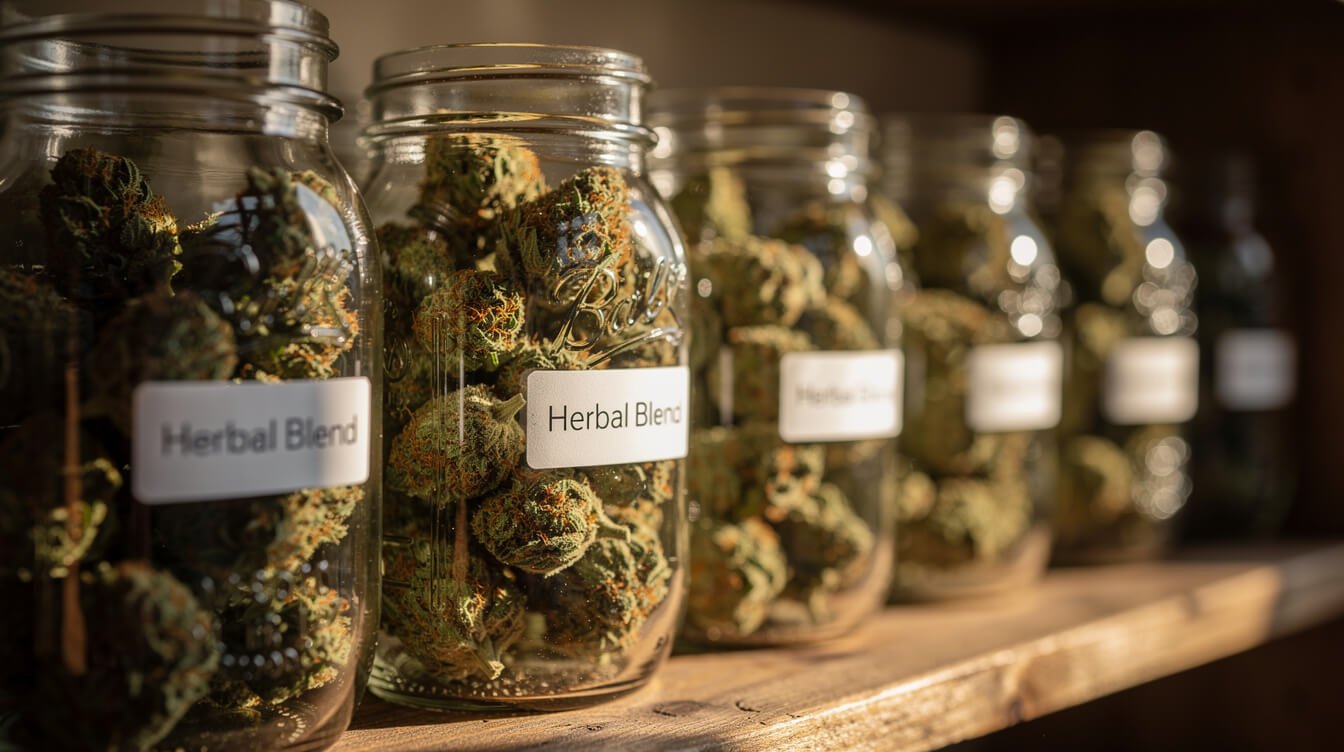
Curing is the slow, controlled dry-down that happens after your buds already feel dry to the touch. During this stage, trapped moisture inside the stems and inner bud migrates outward, chlorophyll continues to break down, and the plant’s own enzymes finish converting starches and sugars that would otherwise burn harsh. None of that happens fast, and none of it happens if you skip straight to a paper bag or an airtight tub for storage without the jar-and-burp stage in between.
Three concrete things curing buys you:
- Better flavor and smell. The “green,” grassy, hay-like smell of freshly dried weed fades as chlorophyll breaks down, letting the terpenes underneath actually come through.
- Smoother smoke. Harsh-tasting weed is usually under-cured, not just poorly grown. Uncured buds burn hotter and rougher because of residual sugars and chlorophyll.
- Better shelf life. A properly cured jar holds its potency and aroma for months to a year or more, stored right. A rushed dry-and-bag job degrades in weeks.
What curing does not do: make weak weed strong, or turn a bad grow into a great one. It’s a finishing step, not a fix. Reported cannabinoid and terpene preservation is well documented anecdotally among growers and in cultivation literature — this is a shelf-life and quality process, not a medical claim, and nothing here changes how the plant affects you.
One more distinction worth making up front: curing is not decarboxylation. Decarbing — heating cannabis to convert non-intoxicating THCA into active THC — matters for edibles and happens separately, usually right before cooking. Curing at room temperature doesn’t meaningfully decarb your flower; it’s a slow aromatic and quality process, not a heat-driven chemical conversion. If you’re headed toward edibles instead of smoking, that’s a different process with its own temperature and timing rules.
Getting the pre-cure dry point right
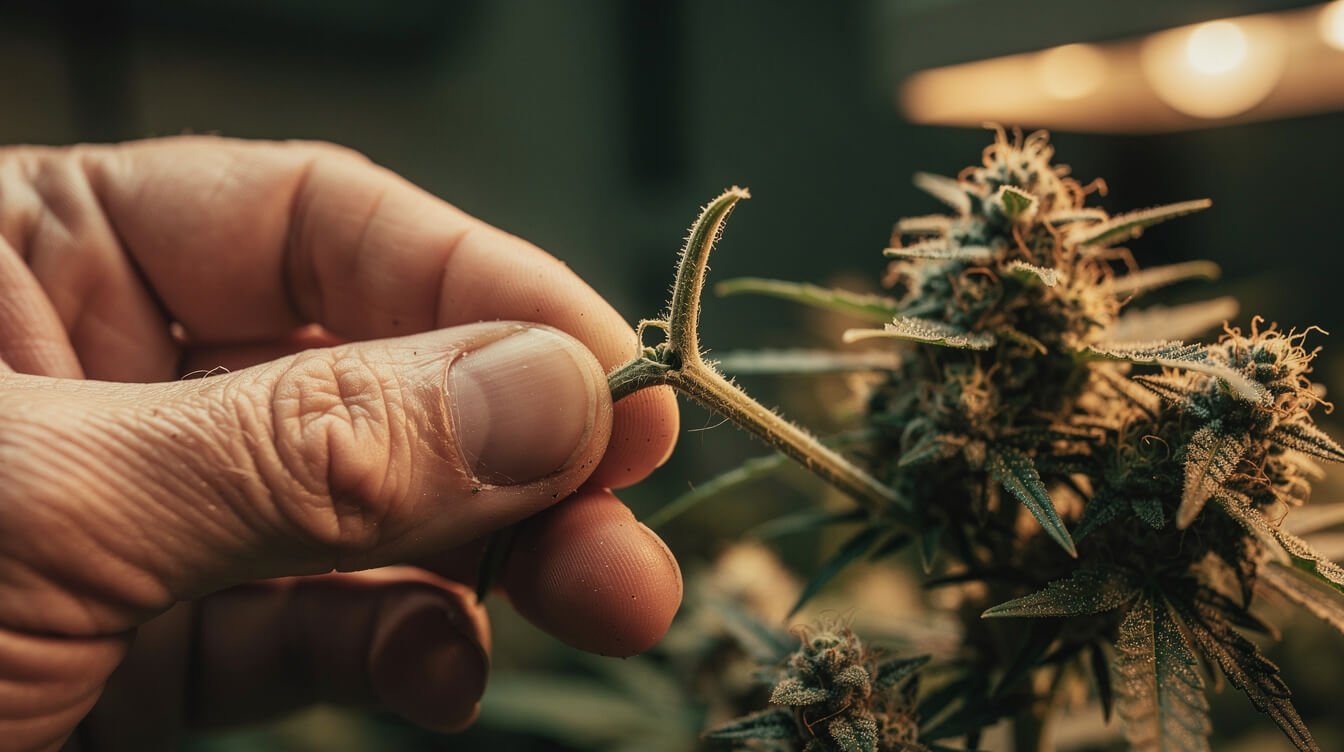
You can’t cure wet weed — you’ll just grow mold in a jar. And you can’t cure over-dried weed either — there’s no moisture left to redistribute, so the jar does nothing but sit there. The window you’re aiming for is narrow, and it’s judged by feel, not a calendar date.
The snap test
Bend a small stem, about pencil-width. If it bends like a green twig, it’s not ready. If it snaps cleanly with an audible crack, the outside is dry enough to move to jars. The inside of the bud — the dense core near the stem — will still be noticeably wetter than the outer leaves. That’s exactly what you want; that internal moisture is what the cure redistributes.
Typical drying timeline
Most home grows hit the snap-test point somewhere between 7 and 14 days in a dark space held around 60°F (15°C) and 55-62% relative humidity, with gentle air movement (a fan pointed at the wall, not directly at the buds). Dense, tightly-packed colas take longer than airy, popcorn-sized buds. Rushing this with heat or low humidity to “speed things up” dries the outside fast while trapping moisture in the core — a classic setup for mold once you jar it.
Why cultivar shape changes your timeline
Dense, resin-heavy indica-leaning colas hold moisture in their core far longer than the airy, fluffier buds typical of sativa-leaning cultivars, purely because there’s more mass for water to migrate out of. If you’re growing more than one cultivar at once, don’t jar them all on the same calendar day — check each by the snap test independently, and expect the dense ones to lag behind by several days. Jarring a dense cola before its core catches up to the outer leaves is one of the most common reasons a cure goes moldy despite the grower swearing the buds “felt dry.”
If you’re still dialing in your grow room, our first-grow walkthrough covers the harvest and dry-room setup in more detail before you get to this stage.
Step-by-step: burping jars and the humidity target
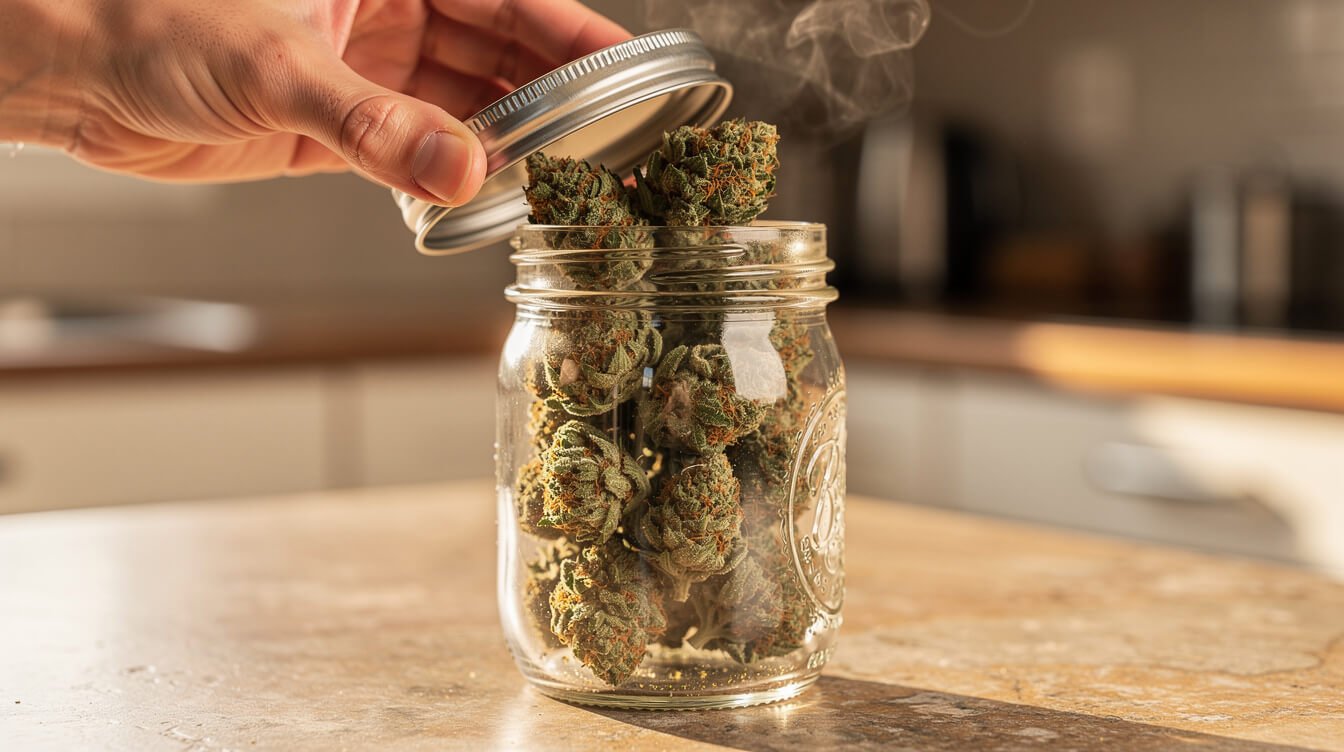
Once buds pass the snap test, here’s the actual process — the part most guides gloss over with “just burp the jars,” without saying what that means or how often.
- Fill jars loosely, about ⅔ to ¾ full. Wide-mouth glass mason jars are the standard for a reason — glass doesn’t absorb odor or off-gas the way plastic can, and a loose pack lets air actually circulate around each bud instead of compressing them.
- Add a humidity pack if you have one. A two-way pack set to 58-62% RH takes the guesswork out and actively pulls or releases moisture to hold the target. Not required, but it flattens the learning curve a lot.
- Burp daily for the first week. Open each jar for 10-15 minutes, once or twice a day. This releases trapped moisture and gases before mold has a chance to take hold, and it’s your first real look at how the buds are progressing.
- Watch the target: 58-62% relative humidity inside the jar. If you’re using a small hygrometer (cheap and worth it), that’s the number you’re chasing. Above 65% for more than a day or two, you’re in mold territory. Below 55%, you’re drying the buds out instead of curing them.
- Drop to every other day after week one, then every few days after week two. As the internal and external moisture equalize, the jar environment stabilizes and needs less intervention.
- If a jar reads too humid, leave the lid off longer or swap in dry humidity packs. If it reads too dry, a slightly damp (not wet) organic material like a small piece of orange peel for a few hours can help — remove it before it molds, and don’t rely on this as a long-term fix.
This is the step where patience actually pays off in a measurable way: buds cured with a consistent 58-62% RH window taste and smell noticeably different from buds jarred and forgotten at 70%+ humidity.
Troubleshooting checkpoints — normal vs. warning signs
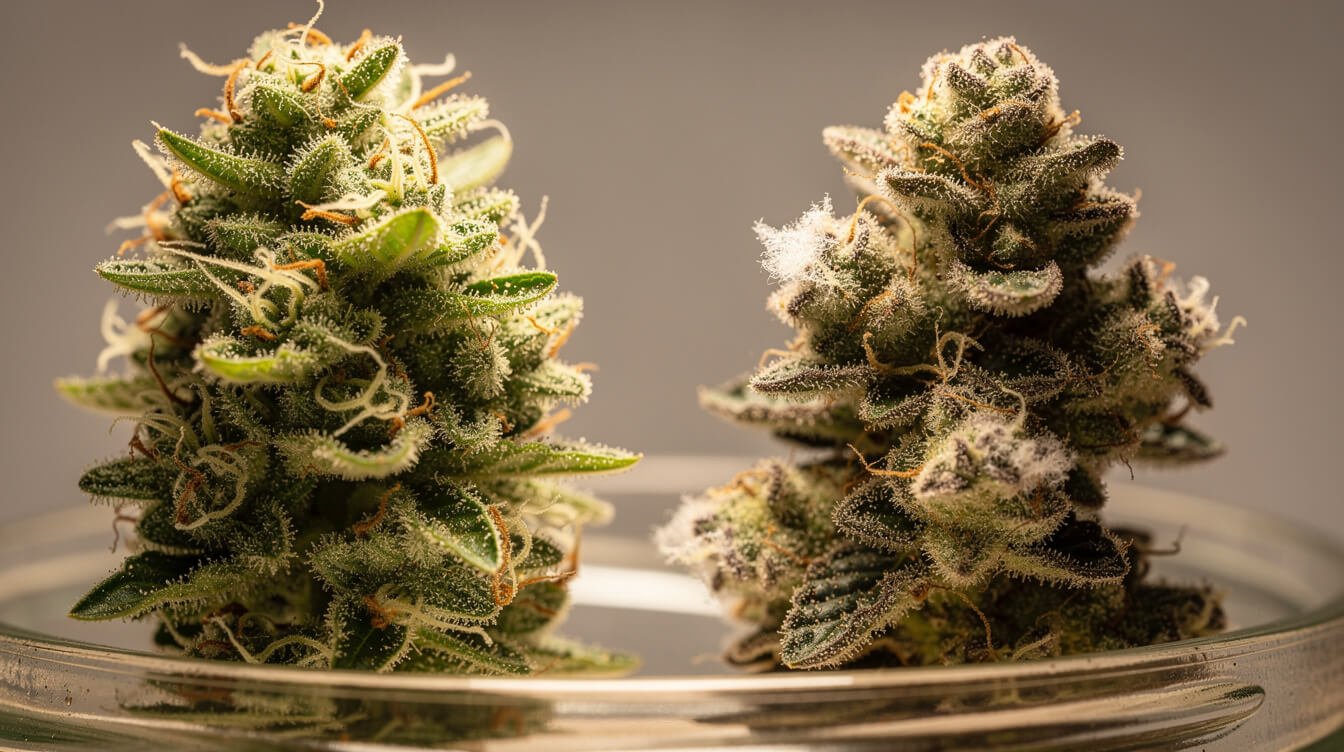
This is the section most curing guides skip, and it’s the one that actually saves your harvest. Every checkpoint below assumes you’re checking during a normal burp.
Normal, keep going
- A green, slightly grassy smell in week one that mellows by week two or three — expected as chlorophyll breaks down.
- Buds feeling slightly springy or “spongy” rather than crunchy-dry, especially near the stem.
- A small amount of condensation on the inside of the jar lid right after closing — normal in the first few days as moisture redistributes; it should stop appearing as the cure progresses.
Warning signs — act now
- Ammonia or wet-hay smell. This means anaerobic bacterial activity, usually from buds packed too wet or too tight. Pull the affected jar, spread the buds out to dry further in open air for a day, then rejar with more breathing room.
- White, powdery, or fuzzy spots — especially on inner stems. That’s mold, not “extra trichomes” (a dangerous excuse some new growers reach for). Trichomes are uniform, glassy, and don’t spread. Mold is patchy, fuzzy, and grows. Any moldy bud gets discarded — don’t try to salvage it, and check every other bud in that jar closely.
- Buds that feel bone-dry and crumbly by day three or four. You jarred them past the ideal window, or your room humidity was too low. Not dangerous, just a lost-potential situation — the cure has less to work with. A humidity pack can partially recover this; a full recovery usually isn’t possible.
When in doubt on a specific jar, the smell test wins: fresh, slightly earthy or sweet as it develops = fine. Sharp ammonia, sour, or musty = stop and intervene. Mold isn’t worth the risk to smoke through — when it’s present, throw the affected material out.
Mold vs. two common look-alikes
Two other issues get mistaken for curing mold, and telling them apart matters because the fix is different for each:
- Powdery mildew (carried over from the grow). If a bud already had a light dusting before harvest, it doesn’t go away in the jar — it spreads. Unlike a fresh curing mold that tends to start deep in dense inner stems, PM shows up on the outer surface first and looks more like a fine flour dusting than a fuzzy patch.
- Leftover spider mite webbing or frass. Fine webbing or small dark specks from a mite infestation during flowering can look alarming in a jar’s low light, but it’s dry, stringy, and doesn’t grow or spread the way mold does once jarred. It’s still not something you want to smoke through — discard visibly infested material — but it’s a pest-control issue from earlier in the grow, not a curing failure.
When genuinely unsure which one you’re looking at, treat it as mold: discard the affected bud rather than guess.
GanjaTech, weekly
Cannabis, explained. In your inbox.
One email a week: the clearest explainers, honest gear picks, and what the science actually says. 21+ only. No spam, unsubscribe anytime.
How long to cure — short cure vs. long cure, and is there a ceiling
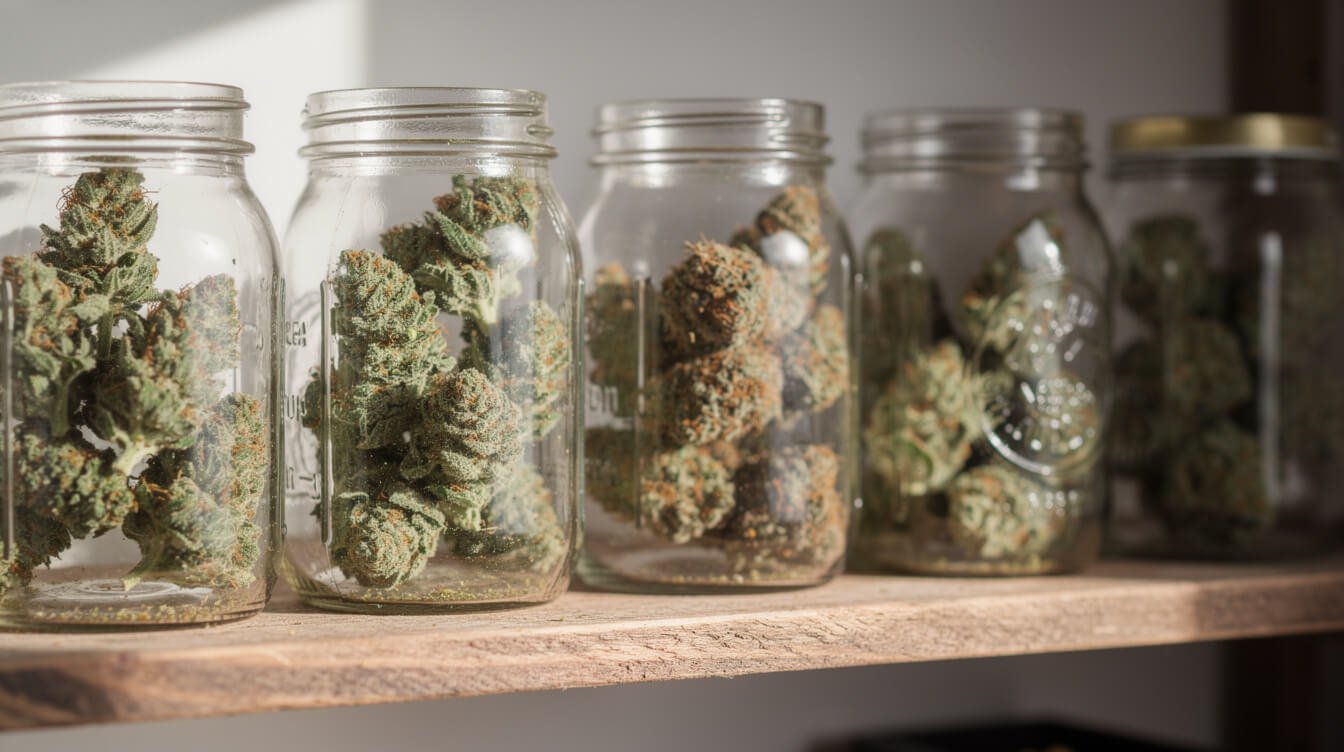
There’s no single correct cure length — it depends on what you’re optimizing for, and this is where most competing guides just say “2-4 weeks” without explaining the trade-off.
| Cure length | What you get | Best for |
|---|---|---|
| 1-2 weeks | Noticeably smoother than fresh-dried, still fairly green-tasting | When you need usable bud soon and can accept it’s not fully mature yet |
| 3-4 weeks | The sweet spot most experienced growers land on — full flavor development, smooth smoke | Standard home-grow cure for most cultivars |
| 2-3 months | Deeper, more complex flavor as subtler terpenes and esters develop | Growers chasing top-shelf flavor, patient enough to wait |
| 6+ months | Further mellowing, some connoisseurs report a smoother, less “sharp” smoke | Long-term stash jars, not your everyday supply |
Is there a ceiling — can you cure too long? Practically, yes, but it’s not about the curing process itself going bad. Terpenes are volatile compounds and slowly degrade over time regardless of how well a jar is sealed, so extremely long cures (a year or more) trade a little aromatic intensity for that extra mellowness. As long as jars stay properly sealed and stored (more on that next), you’re not going to “over-cure” into something harsh or moldy from age alone — the risk profile that matters is entirely in the first few weeks, not the tail end.
Storage after curing — jars, humidity packs, and the freezer myth
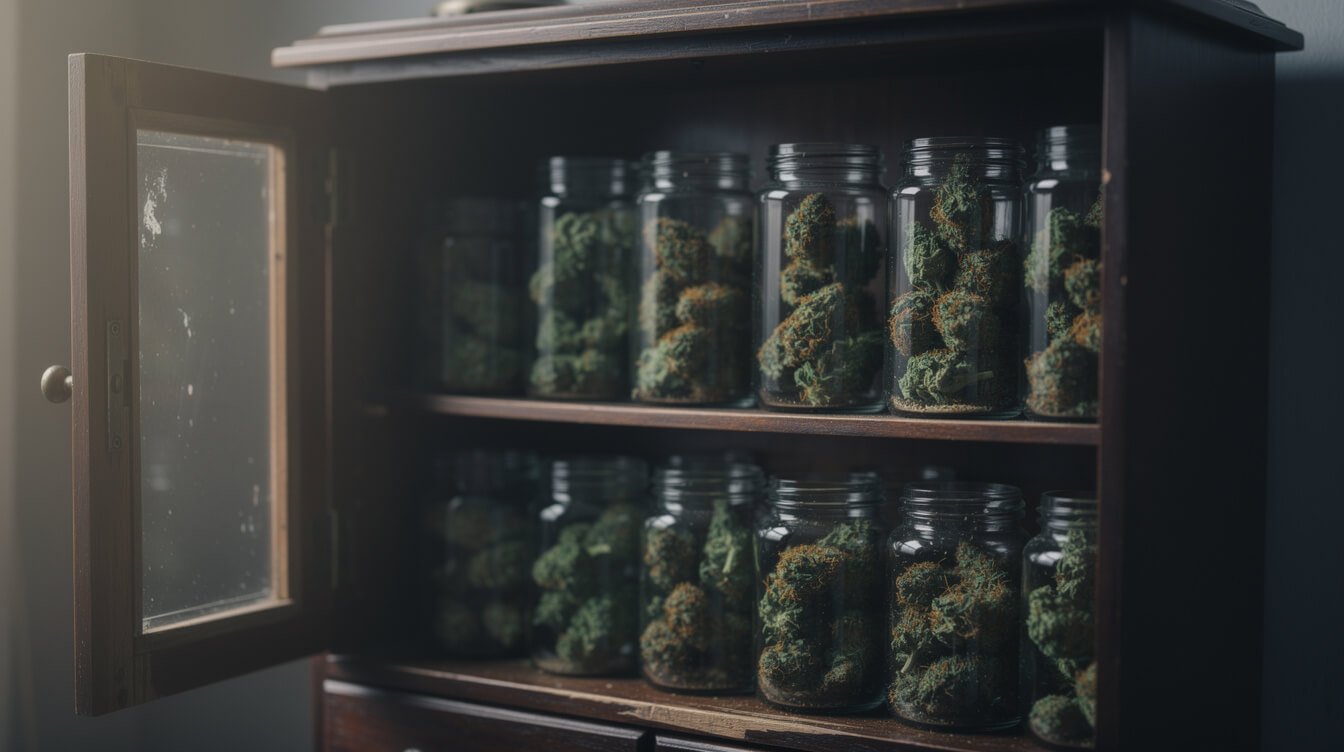
Once a jar has stabilized at your target humidity and stopped needing daily burps — usually two to four weeks in — you shift from “curing” to “storing.” The goal changes from active moisture management to protecting what you already built.
What actually protects cured bud long-term
- Glass jars, airtight, out of light. UV light degrades cannabinoids and terpenes faster than almost anything else. A dark cabinet or drawer beats a windowsill every time.
- Stable cool temperature. Room temperature is fine. Big daily temperature swings cause condensation cycles inside the jar, which reintroduce the mold risk you just spent weeks avoiding.
- A 62% humidity pack for long-term jars. Swap in a fresh one every few months for jars you’re not opening often — it holds the cure’s equilibrium instead of letting the jar slowly dry out every time you open it.
The freezing myth
Freezing cured bud for long-term storage is a popular idea online, but it’s a mixed bag in practice. Trichomes — the resin glands that carry most of the terpenes and cannabinoids — become brittle when frozen and can snap off if the buds are handled at all while cold, which is a real loss, not a hypothetical one. Freezing also risks moisture condensation on thawing if bags aren’t sealed properly, undoing your careful humidity work. If you do freeze for genuinely long-term storage (six months to a year-plus), use a vacuum-sealed, airtight container, thaw it slowly and unopened to room temperature before ever opening the bag, and handle the buds as little as possible once thawed. For anything you’ll use within a year, a cool, dark cabinet does the job with none of the risk.
Vacuum sealing vs. jars for the long haul
Vacuum-sealed bags remove oxygen almost entirely, which slows oxidative degradation of cannabinoids more effectively than a jar ever will — that’s a genuine advantage for a “put it away and forget it for a year” jar. The trade-off: vacuum sealing crushes buds flat, which damages trichomes on contact far more than a loosely packed jar does, and you lose the ability to burp or spot-check the way you can with glass. The practical split most experienced growers land on: cure and store your everyday jars in glass where you can see and smell what’s happening, and reserve vacuum sealing for bulk long-term stock you don’t plan to touch for months.
Frequently asked questions
Does water curing work?
Water curing — submerging trimmed buds in changes of fresh water for several days — does strip chlorophyll and produce a very smooth, mild smoke quickly. The trade-off is real: it also leaches out a meaningful amount of water-soluble terpenes and some cannabinoids along with the chlorophyll, so you’re trading flavor complexity for speed and smoothness. It’s a legitimate technique for a specific goal, not a shortcut that gives you everything the slow jar cure does.
Can you cure without jars?
You can use any airtight, food-safe, non-reactive container — some growers use turkey bags, vacuum-seal bags with periodic opening, or specialty curing containers designed with built-in humidity regulation. Glass is preferred because it’s inert (won’t absorb odor or leach anything) and lets you actually see what’s happening inside without opening it. Plastic bags work in a pinch but are harder to burp consistently and can pick up static that damages trichomes.
Does curing change potency?
Curing doesn’t add cannabinoids that weren’t already there from the grow — it can’t turn a low-THC harvest into a high-THC one. What it does is preserve more of what you already grew, since improperly dried or stored cannabis loses cannabinoids and terpenes to degradation faster than a well-cured, well-stored jar does. Reported potency differences between a rushed dry and a proper cure are usually about preservation and perceived smoothness, not new compound production.
My buds smell like ammonia — is it safe to smoke?
An ammonia smell means anaerobic decomposition is happening from excess trapped moisture, and it’s a sign to intervene, not to push through. Spread the affected buds out to dry further before rejarring. If the smell persists after redrying and reburping, or if you see any mold growth alongside it, don’t smoke that batch — when there’s real doubt about mold or bacterial contamination, it’s not worth the health risk to guess.
Do I need a humidity pack, or can I just wing it?
You don’t strictly need one — home growers cured cannabis long before two-way humidity packs existed, using only a hygrometer and careful daily burping. A pack just removes the guesswork and buffers against small mistakes, which makes it genuinely worth the low cost for a first cure or two while you’re still learning what 58-62% feels like by smell and touch alone. Once you’ve done a few cures and know your own room’s tendencies, plenty of experienced growers go back to jars and a hygrometer alone.
Why 58-62% specifically, and not a rounder number like 60% flat?
It’s a real range, not an arbitrary marketing number. Above roughly 65% relative humidity, cannabis buds become a viable environment for mold and bacterial growth within days. Below about 55%, the bud dries out faster than the slow chemical breakdown that produces better flavor can happen, effectively skipping the cure. The 58-62% window is the band where moisture migrates and chlorophyll breaks down slowly enough to build flavor, without staying wet enough to invite mold — narrow on purpose, not an arbitrary target.
Final thoughts on how to cure cannabis
The whole process boils down to patience and paying attention: dry to the snap-test point, not a calendar date. Jar loosely, burp daily at first, and chase 58-62% relative humidity rather than a fixed schedule. Learn the difference between a normal green smell easing off and an ammonia or moldy warning sign, because that distinction is the one that actually protects your harvest. Beyond that, how long you cure is a personal call between “usable soon” and “as good as it gets” — there’s no wrong answer as long as storage stays dark, cool, and sealed.
Laws around growing and curing your own cannabis vary significantly by state and country, so check your local regulations before you start a grow. None of this is medical advice — if you have questions about cannabis and your health, talk to a doctor.
Curious about the grow that gets you to this point? Our honest first-grow walkthrough and single-plant grow light guide cover the steps before harvest. Ran into stressed-looking leaves along the way? Our nutrient burn troubleshooting guide covers the most common look-alike issue growers run into before they even get to curing. Browse more explainers like this one on the GanjaTech desk, or check back tomorrow — we publish a new one daily.
Before you go
Get the next explainer first
We publish a new one every day. The best of the week, plus what's new in the shop, lands in one short email.