How to Fix Nutrient Burn on Cannabis (Without Losing the Plant)
How to fix nutrient burn on cannabis: the fast version
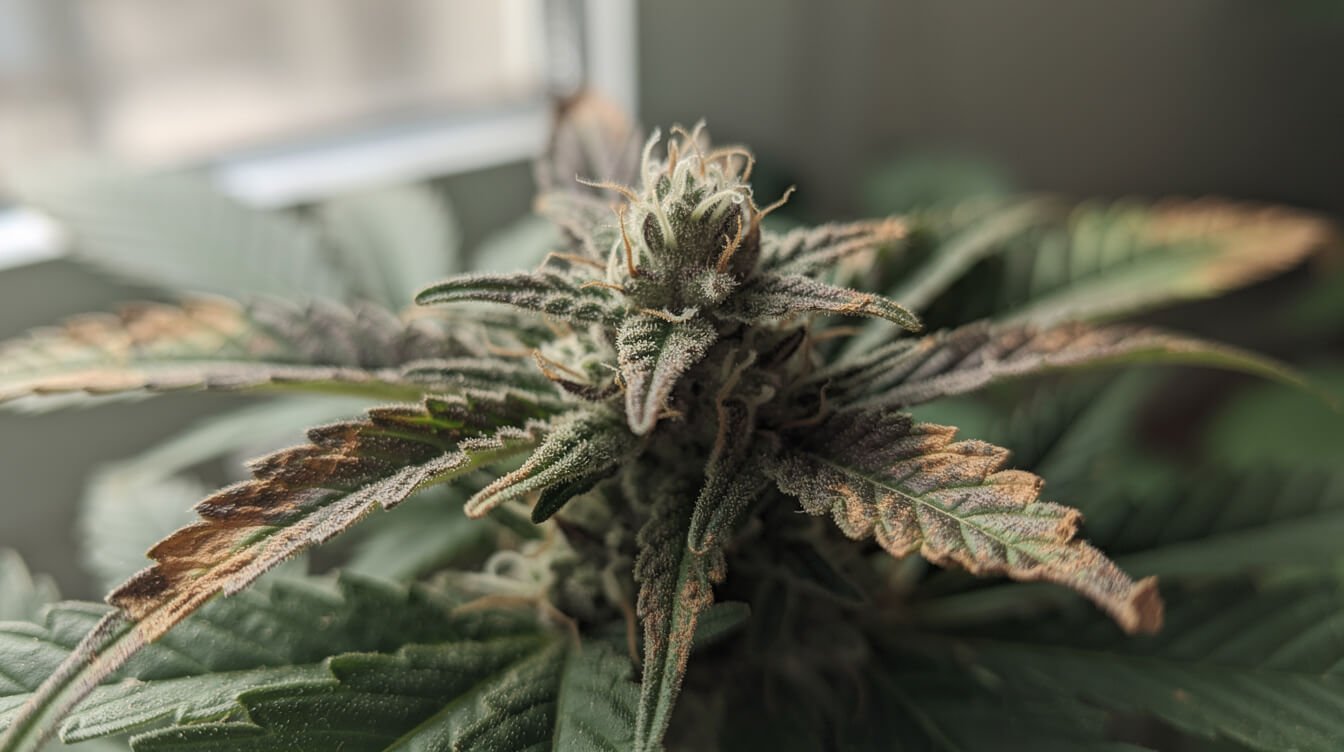
Here’s the honest answer, then the nuance most sites skip: to fix nutrient burn on cannabis, stop feeding, flush the growing medium with plain pH-balanced water, trim off the leaves that are already crispy (they won’t recover), and come back to feeding at three-quarter strength once the plant looks stable again. That’s the whole move. The details — how you flush depends heavily on whether you’re in soil, coco, or a hydro reservoir — are where growers usually get it wrong.
Nutrient burn (“nute burn” in grower slang) is one of the most common problems in a first or second grow, and it’s rarely fatal if you catch it early. It’s also one of the most over-treated problems, because a lot of what gets called nutrient burn is actually something else entirely — which means the “fix” people try doesn’t work, because they’re not actually fixing nutrient burn. We’ll cover both: how to know it’s really nutrient burn, and how to fix it correctly for your specific setup.
What nutrient burn actually is (and why it happens)
Nutrient burn happens when a plant’s roots take in more nutrient salts — usually nitrogen — than the plant can actually use. Think of nutrients less like food and more like a multivitamin: your plant’s real “food” is light, converted to energy through photosynthesis. Nutrients just support that process. Dose it like food and you overshoot fast.
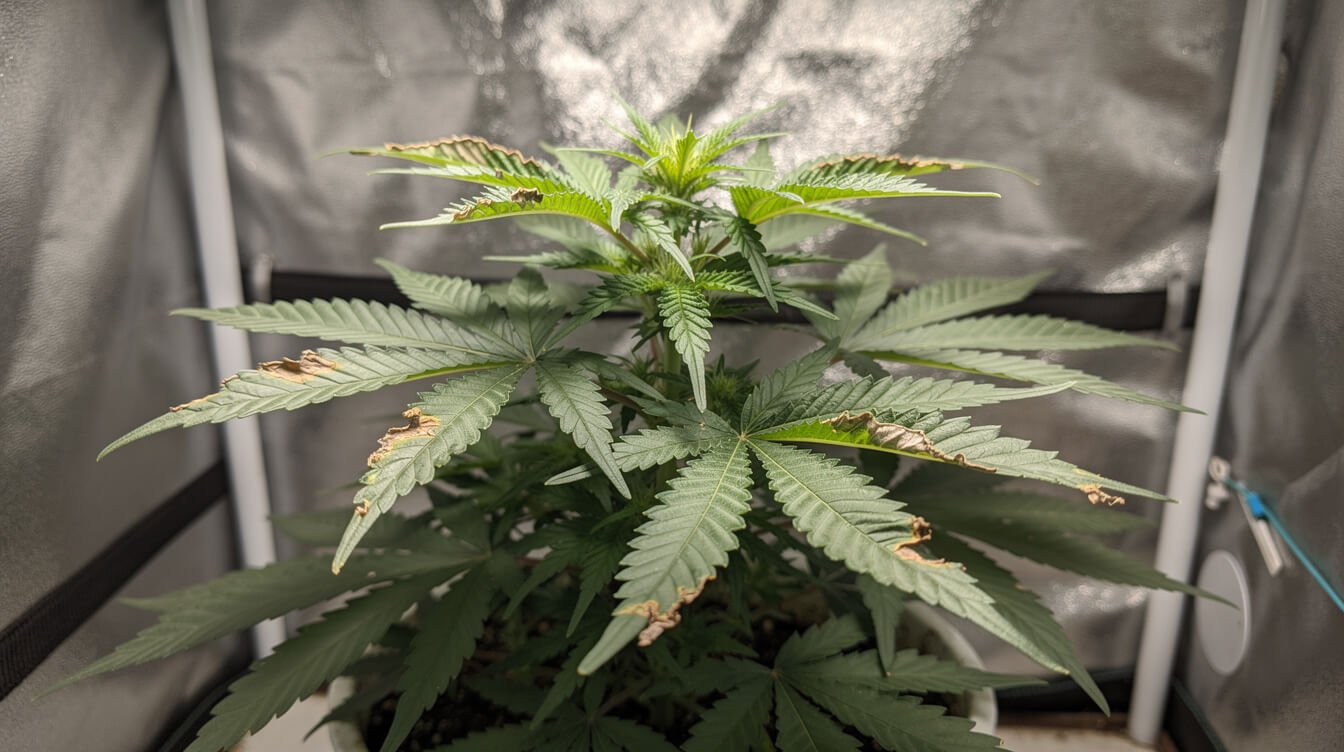
Once the roots are sitting in a nutrient concentration higher than the plant can process, it disrupts how water moves through the plant. That shows up first as burnt-looking tips — yellow, then tan, then rusty brown and crispy — usually starting at the very top of the plant where growth (and feeding demand) is most active. Left unaddressed, the burn creeps inward from the tips until the whole leaf is affected, and severely burned leaves can curl or “claw” downward, which is a classic sign of nitrogen specifically running too hot.
A few things make it more likely:
- Overfeeding — following a bottle’s feeding chart at full strength instead of treating it as a ceiling, not a target.
- Nutrient buildup — salts accumulating in soil or coco over several feedings without a flush in between.
- “Hot” soil — starting seedlings in soil that’s pre-loaded with compost, manure, or amendments meant for a mature plant, not a seedling.
- Low light, high feed — a plant under weak or distant light needs less of everything; feeding it like it’s under a full-strength LED will burn it faster.
- Hydro drift — reservoir concentrations creeping up as water evaporates faster than nutrients get used, especially in warm rooms.
Every plant is a little different, too. It’s completely normal for one plant in a tent of four to show burn while the others look fine at the exact same feed schedule.
Severity matters for how aggressively you need to react:
- Mild: only the very tips are yellow-to-tan, on a handful of leaves. A reduced-strength feed at the next watering is often enough — no full flush required.
- Moderate: browning has spread past the tips onto a noticeable portion of several leaves, sometimes with a white or crusty mineral buildup visible on the soil surface (a sign of accumulated salts). This is where a full flush, as covered below, is worth doing.
- Severe: curling, clawing leaves across most of the plant, with burn reaching well into the leaf body rather than just the tips. Flush immediately and expect a longer recovery — likely one to two weeks of reduced vigor even after you’ve corrected the feed.
Is it actually nutrient burn? Four things that get mistaken for it
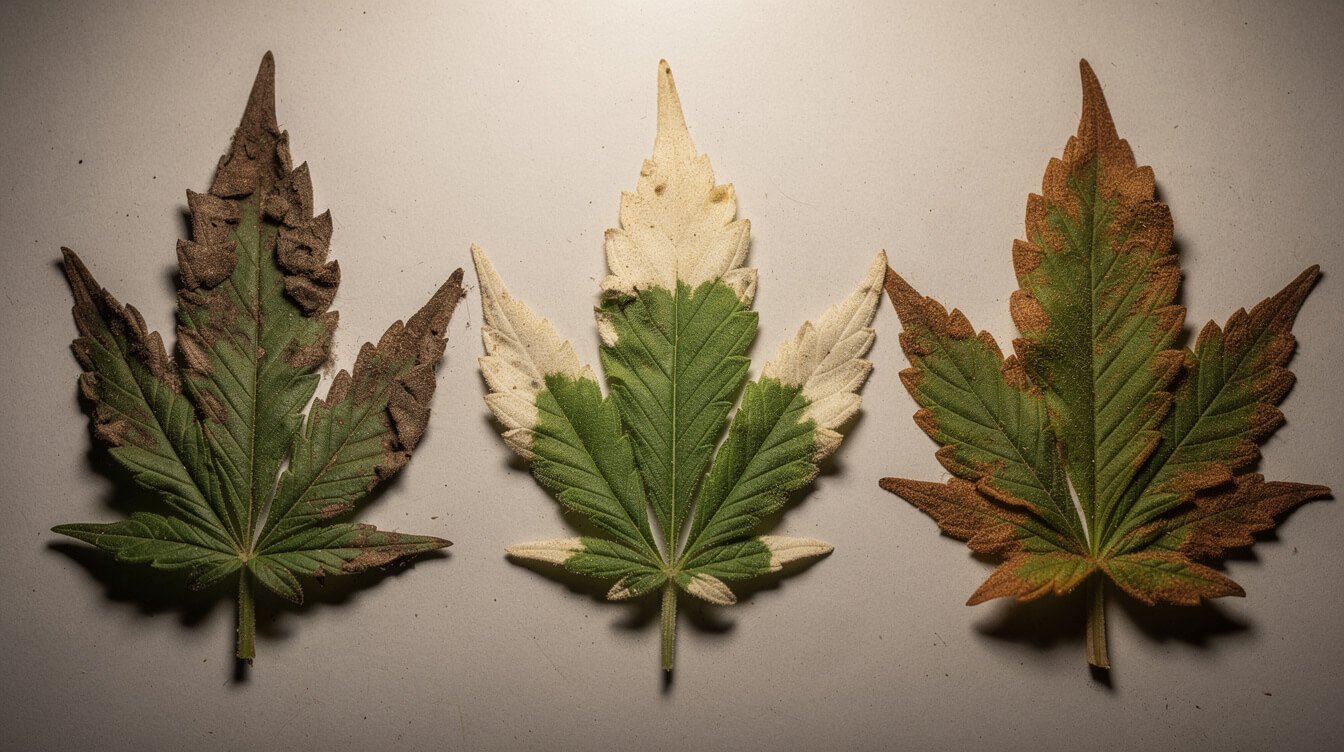
Before you change anything, confirm you’re treating the right problem. These four look-alikes send growers chasing a flush that won’t fix anything:
- Light stress (light burn). Yellow or bleached tips from a grow light sitting too close look a lot like nute burn, but only on the side of the plant facing the light, and there’s no crispy texture at first — just bleaching. Move the light up before you touch the feed schedule.
- Potassium deficiency. Yellow or brown edges (not just tips) with a slightly different pattern — often described as looking “rusty” along the leaf margin. This needs more potassium, the opposite of what a flush does.
- pH fluctuation (“lockout”). When your medium’s pH drifts outside roughly 6.0–7.0 in soil or 5.5–6.5 in coco/hydro, the plant can’t absorb nutrients that are physically present in the medium — so you get deficiency-looking symptoms even though the nutrient levels (or EC/PPM reading) are fine or even high. Check pH before you assume it’s burn.
- Cal-mag deficiency. Rust-colored spotting scattered across the leaf, not concentrated at the tips, is more often a calcium or magnesium shortfall than an excess of anything.
The tell that it’s genuinely nutrient burn: tip-first, symmetric across the plant (not just the light-facing side), and it correlates with a recent feeding — you fed heavier or skipped a flush, and a few days later the tips went crispy. If your EC/PPM meter reading is above the target range for your plant’s stage, that’s your confirmation.
Fixing it in soil
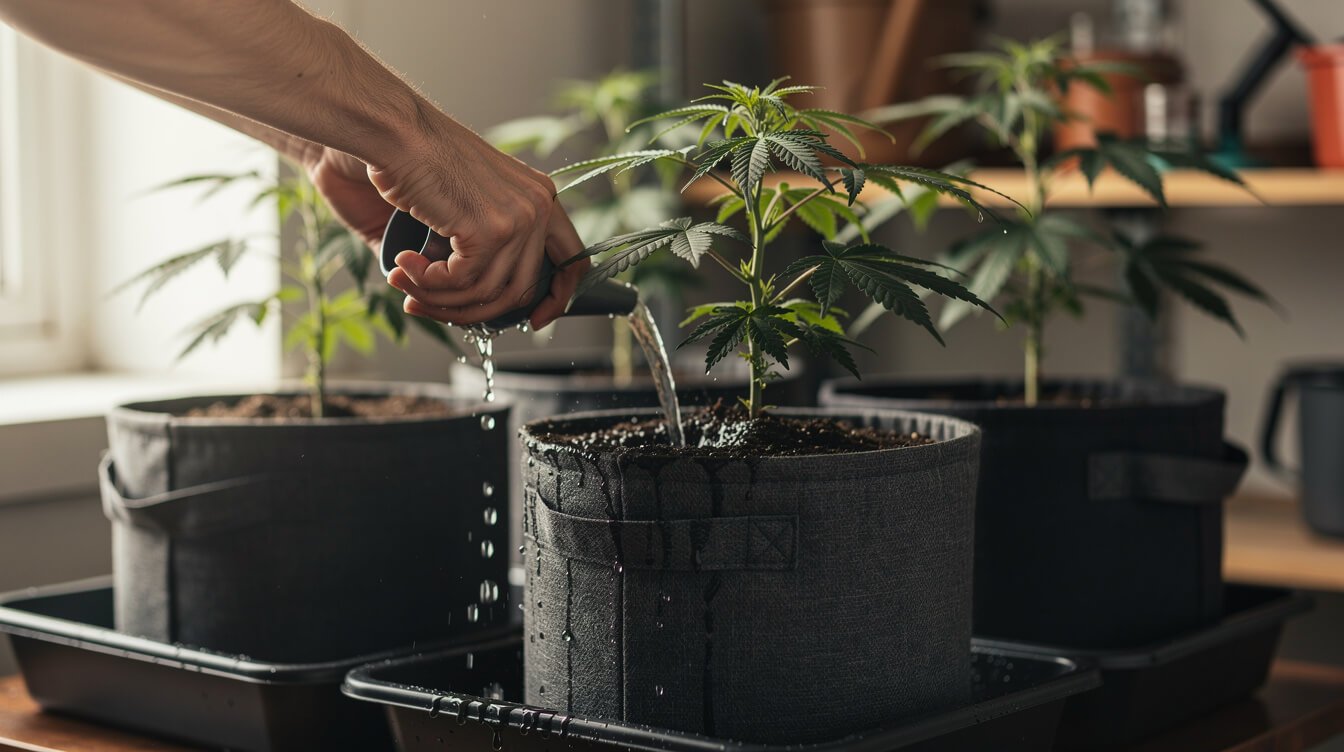
Soil holds onto nutrient salts longer than any other medium, which is exactly why the flush matters here:
- Stop feeding immediately. No more nutrient solution until the plant recovers.
- Remove the damaged material. Snip off leaves that are already crispy — they won’t turn green again, and holding onto them just wastes the plant’s energy. If a whole cluster of leaves near a bud site is badly burned, trace it back to the branch and remove the floret; dead plant matter left in place can rot.
- Flush with plain, pH-balanced water. Run roughly 2–3 times the pot’s volume through the soil (so a 3-gallon pot gets 6–9 gallons) and let it drain fully out the bottom. This pushes the excess salts out of the root zone instead of just diluting them in place.
- Let it dry out normally, then water plain for one full cycle. No nutrients yet — just plain, pH’d water until you see clear signs of new, healthy growth.
- Ease back in at three-quarter strength. When you resume feeding, use about 75% of whatever dose caused the burn, not the full bottle recommendation.
Recovery is usually visible within a week: new growth comes in green and healthy even though the burned leaves stay damaged. That’s expected — you’re not un-burning old tissue, you’re preventing new tissue from getting burned.
GanjaTech, weekly
Cannabis, explained. In your inbox.
One email a week: the clearest explainers, honest gear picks, and what the science actually says. 21+ only. No spam, unsubscribe anytime.
Fixing it in coco coir
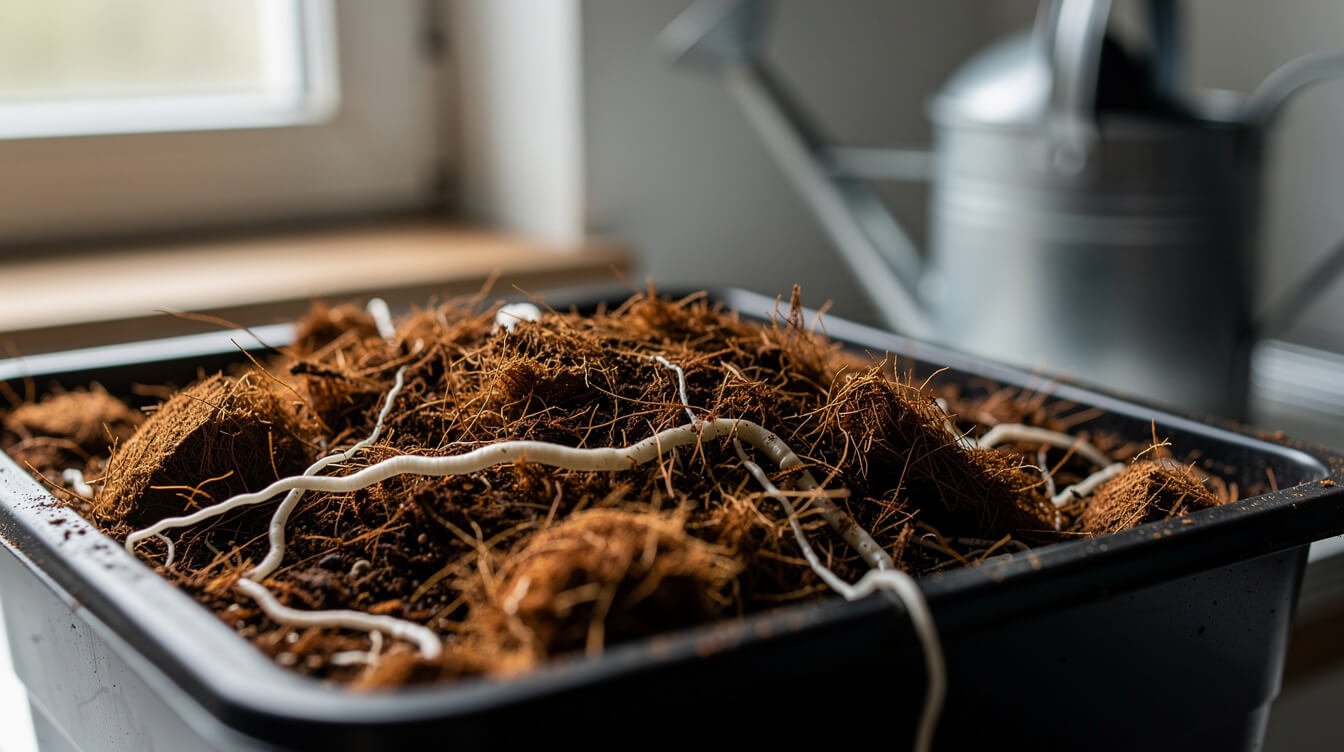
Coco behaves differently from soil in a way that catches a lot of people who learned to grow in soil first: it’s an inert medium with very little natural buffering capacity, so nutrient salts don’t get “absorbed” the way they do in living soil — they just sit in the coco fiber until water moves them. That makes coco burn faster than soil, but it also flushes clean faster, which is the upside.
The steps are the same as soil — stop feeding, remove damaged leaves, flush, resume at reduced strength — but two coco-specific details matter:
- Flush more generously. Coco’s low buffering capacity means residual salts cling to the fiber more stubbornly than people expect; aim for 3x pot volume rather than 2x.
- Check your runoff EC, not just your input EC. Measure the runoff water coming out the bottom of the pot after flushing. If it’s still reading noticeably higher than your flush water went in, the medium isn’t clean yet — flush again before resuming any feed.
Because coco holds so little nutrient reserve on its own, growers in coco typically feed every watering at a lower, more consistent strength rather than the “feed, then plain water” cycle common in soil. If nutrient burn keeps recurring in coco, that’s usually the real fix: smaller, steadier doses instead of periodic heavy feedings.
Fixing it in hydro and DWC
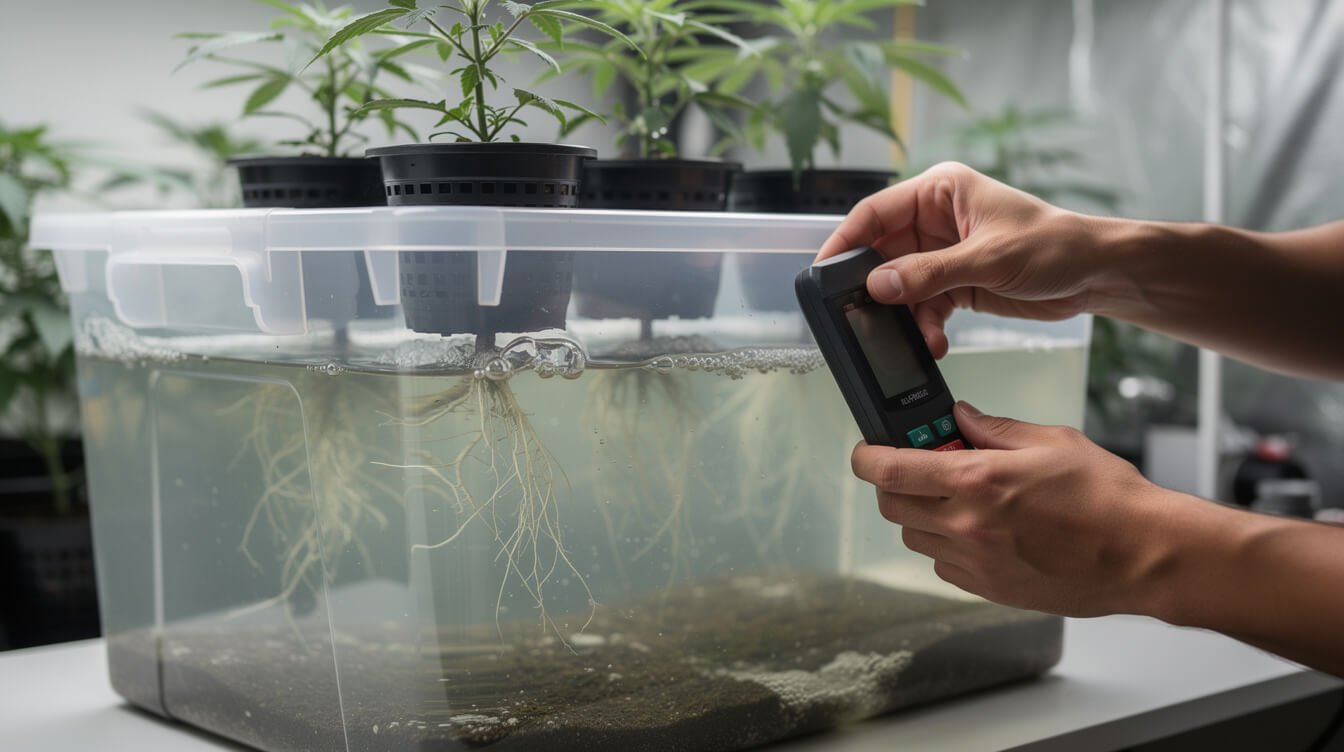
Hydro and deep water culture (DWC) growers actually have the easiest fix of the three, because there’s no medium holding onto anything — the roots sit directly in the nutrient solution, so changing the solution changes the plant’s environment immediately:
- Drain the reservoir completely. Don’t just top it off — empty it out.
- Refill with fresh, pH-balanced water and a lighter nutrient mix. If you know the EC/PPM reading that caused the burn, mix the new batch to roughly half that concentration.
- Recheck EC/PPM and pH daily for the next few days. Reservoirs in warm rooms concentrate as water evaporates faster than nutrients get taken up — what starts correct can drift upward within 24–48 hours.
You should see the burn stop spreading almost immediately once the reservoir is corrected — hydro plants respond to solution changes faster than soil or coco plants respond to a flush, since there’s no lag time for water to move through a solid medium.
Getting back to a normal feeding schedule without burning it again
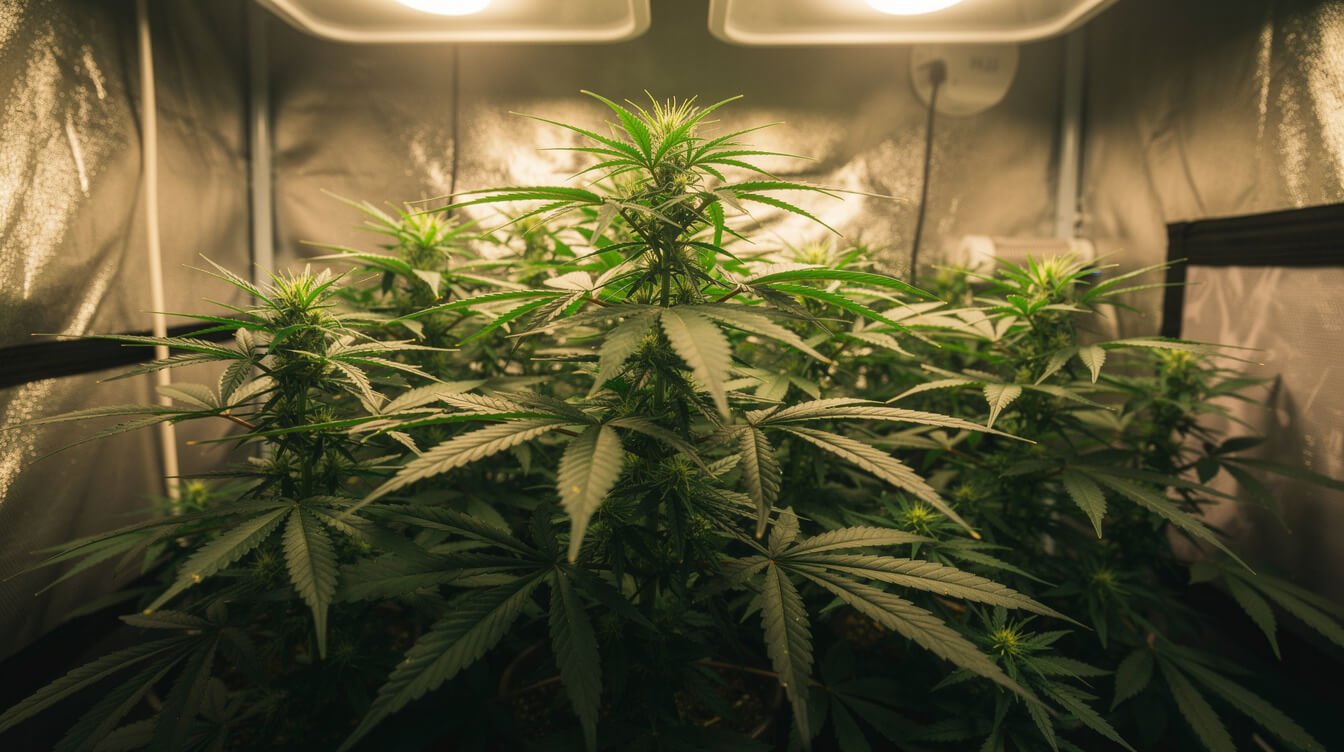
The mistake growers make after a flush is going straight back to the same dose that caused the problem. A few numbers to work from as you ease back in:
- General EC targets: seedlings and clones roughly 0.4–0.8 EC (200–400 ppm), vegetative growth roughly 1.0–1.6 EC (500–800 ppm), and flowering roughly 1.4–2.2 EC (700–1,100 ppm) — treat these as a starting range to dial in against your specific cultivar, not a fixed rule.
- Start at 50–75% of label strength and work up gradually over one to two weeks, watching the newest growth (not the old burned leaves) for how it responds.
- Use a tonic or plain water for one cycle before resuming nutrients, especially after a bad burn — a light dose of kelp or a root-support tonic helps the plant recover without adding more salt load right away.
- Give it time. A plant recovering from nutrient burn needs an extra week or two of vegetative growth to make up for the setback. That’s a better trade than rushing it into flowering while it’s still stressed — if the burn happened during flowering or on an autoflower (where you can’t extend veg time), accept the lower yield rather than compounding the stress by overfeeding again.
Different growth stages want different ratios, too — plants lean on nitrogen hardest during vegetative growth and shift toward phosphorus and potassium in flowering. Dumping a nitrogen-heavy veg feed into a flowering plant is a common way growers reintroduce the exact burn they just fixed.
A few mistakes growers make specifically while trying to fix nutrient burn, on top of just getting the flush steps right:
- Assuming tap water is “plain.” Many municipal water supplies already carry a baseline EC/PPM before you add anything — sometimes 150–300 ppm on their own. If your flush water isn’t reading close to zero on your meter, you’re not flushing with truly plain water, and hard or heavily treated tap water can slow recovery. A cheap filter or a day of letting water sit out (for chlorine, not hardness) helps.
- Overcorrecting into a deficiency. Panicked growers sometimes cut nutrients entirely for two or three weeks “just to be safe.” Cannabis genuinely needs food to grow — a prolonged zero-nutrient stretch just trades one problem (burn) for another (deficiency and stunted growth). Ease back in on the timeline above instead of staying at zero indefinitely.
- Flushing with cold water. A sudden temperature swing at the roots is its own stressor. Use water close to room temperature, not straight from a cold tap, especially for a full-volume soil or coco flush.
- Over-trimming in a panic. Remove leaves that are genuinely crispy and beyond recovery, but don’t strip healthy green tissue “just in case.” The plant needs its remaining leaf surface to photosynthesize its way back to health.
Preventing nutrient burn for good
Prevention is genuinely easier than the fix:
- Treat the bottle’s feeding chart as a ceiling, not a target. Manufacturer charts often run hot to make their product look effective fast. Start at half of what’s listed and build up only if the plant asks for it.
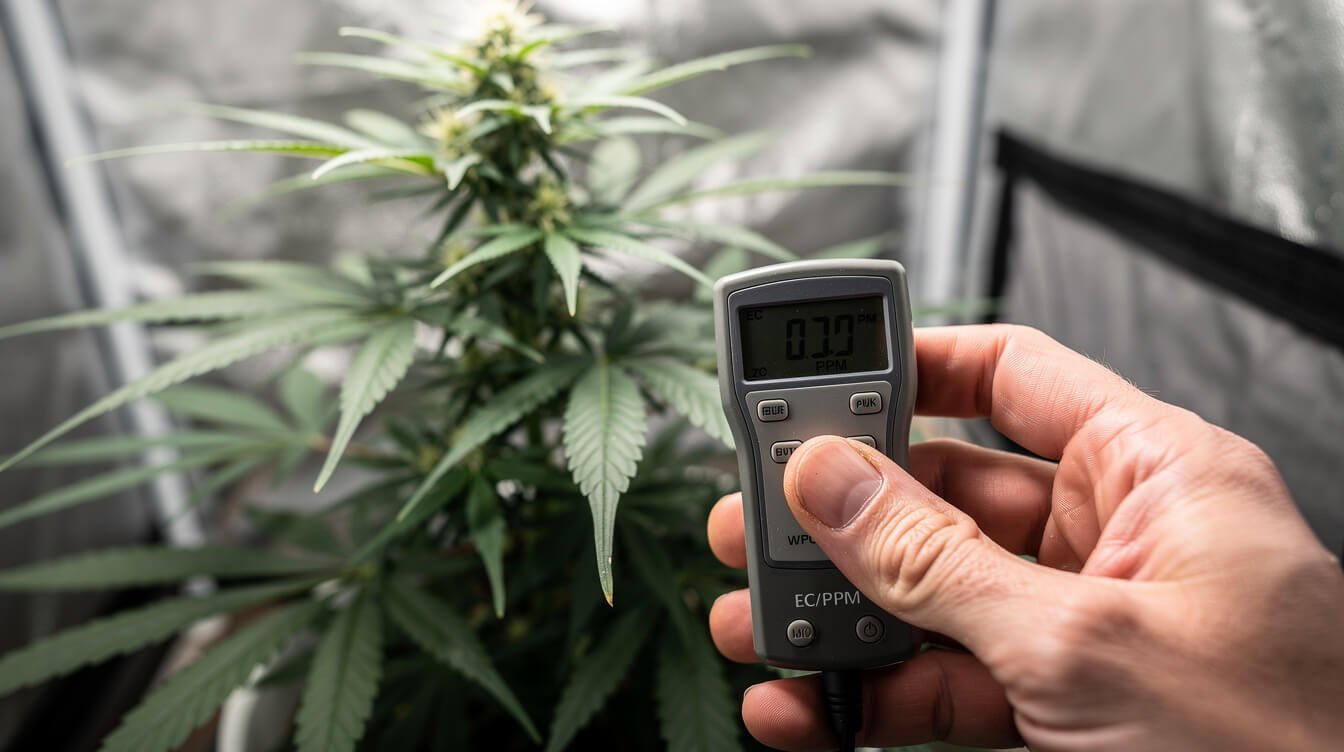
- Get an EC/PPM meter and a pH meter. This is the single highest-value $20–40 you can spend as a grower — it turns “I think I fed too much” into an actual number you can track.
- Match nutrients to the stage. Higher nitrogen in veg, higher phosphorus/potassium in flower — using a cannabis-specific feeding schedule instead of a generic one-size-fits-all fertilizer avoids most of the stage-mismatch burns.
- Flush on a schedule, not just when something looks wrong. A plain-water flush every third or fourth feeding (more often in coco) keeps salts from building up in the first place.
- Watch the plant, not just the calendar. Slightly under-feeding a healthy-looking plant costs you almost nothing. Overfeeding costs you leaf mass and, if it happens close to harvest, can leave a harsh, chemical edge in the smoke from unflushed salts in the buds.
Frequently asked questions
Will the burned leaf tips turn green again?
No. Once tissue is burned, that specific leaf area stays damaged. The goal of the fix isn’t to reverse existing damage — it’s to stop new growth from getting burned. Trim off leaves that are more than about 30% damaged; a plant with a few crispy tips is fine to leave as-is while it recovers.
How long until I see improvement?
Hydro growers often see the burn stop spreading within a day or two of a reservoir change. Soil and coco growers typically see new, healthy growth within a week of flushing and resuming at reduced strength.
Can I just add plain water forever and skip nutrients?
For a few days during recovery, yes — and plenty of growers get solid results using much less nutrient than they assume they need. But cannabis does need a real feeding schedule to finish a full flowering cycle well; the fix here is reducing the dose, not eliminating feeding long-term.
Is nutrient burn different indoors vs. outdoors?
The mechanism is identical, but outdoor plants in native soil usually have more buffering capacity and rainfall doing natural flushing, so severe nutrient burn is less common outdoors unless you’re hand-feeding a container plant. Laws on growing cannabis at home vary a lot by state and country, so check your local rules before planting outdoors or indoors.
Can nutrient burn actually kill the plant?
Rarely on its own. Mild-to-moderate burn mainly costs you leaf mass and some growth momentum. Severe, repeated burn without correction can seriously stunt a plant or, in extreme and prolonged cases, kill it — but most home-grow nutrient burn is fixable within one to two weeks once you flush and reduce the dose.
Does organic feeding cause nutrient burn the same way as synthetic nutrients?
It’s less common but not impossible. Organic amendments release nutrients more slowly through microbial activity, so spikes are gentler and rarer than with fast-acting synthetic salts. Over-amending a soil mix with fresh compost or manure, though, can still produce the same tip-burn symptoms — it just tends to build up over days rather than showing up within one feeding.
Final thoughts on how to fix nutrient burn on cannabis
Nutrient burn looks alarming the first time you see it, but it’s one of the most fixable problems in home growing: stop feeding, flush appropriately for your medium, trim the damage, and come back in low. The growers who keep running into it usually aren’t under-informed — they’re just trusting the bottle’s label more than the plant in front of them. Start low, go slow, and let an EC meter do the guessing for you instead of a feeding chart written to sell more nutrient concentrate.
If you’re setting up a grow from scratch, our honest first-grow walkthrough covers the full timeline this fits into, and our single-plant grow light guide is a good next stop if under- or over-powered lighting is part of what’s pushing your feed schedule out of range. And remember: cannabis cultivation laws vary significantly by state and country — always confirm what’s legal where you live before you grow.
Before you go
Get the next explainer first
We publish a new one every day. The best of the week, plus what's new in the shop, lands in one short email.