How to Grow Cannabis Indoors: An Honest First-Grow Walkthrough
So you want to grow cannabis indoors. Good call — it’s one of the more satisfying plants you’ll ever grow, and it doesn’t require a greenhouse, a rural zip code, or a green thumb you don’t already have. What it does require is a plan, because the “toss a seed in some dirt and hope” version of this hobby produces a lot of disappointment and not much bud.
This is the honest version of how to grow cannabis indoors: what it actually costs, how long it actually takes (longer than you think), and where first-time growers actually go wrong. No mystique, no “trust the process” hand-waving — just a straight walkthrough from seed to jar.
One thing before any of that: check your local laws. Home cultivation is legal for adults 21+ in a lot of U.S. states, but plant-count limits, indoor-only rules, and licensing requirements vary a lot by state — and in some places it’s not legal at all. This guide is educational, not a green light to ignore local law.
How to grow cannabis indoors legally: check this first
Before you spend a dollar on gear, spend ten minutes confirming three things: whether home cultivation is legal in your state or country, how many plants you’re allowed (many legal states cap it at 6 per adult, some at 3, some allow none), and whether it has to be grown indoors, in a locked space, or out of public view. Some states that allow possession still don’t allow home grows — those aren’t the same law, and mixing them up is the single most common legal mistake new growers make.
If you’re renting, check your lease. A lot of standard leases prohibit cultivation regardless of state law, and “the plant was legal” doesn’t override “the lease said no.” For a broader rundown of how cultivation, possession, and sale laws differ by state, our plain-English legality guide is a good next stop.
Then there’s the practical version of “is this legal”: smell. A flowering cannabis plant is loud, odor-wise — loud enough that neighbors notice and loud enough that “I didn’t think anyone would smell it” is a sentence every experienced grower has regretted. A carbon filter on your exhaust fan isn’t optional gear, it’s the difference between a quiet grow and an awkward conversation with your landlord or your neighbors.
Space reality check
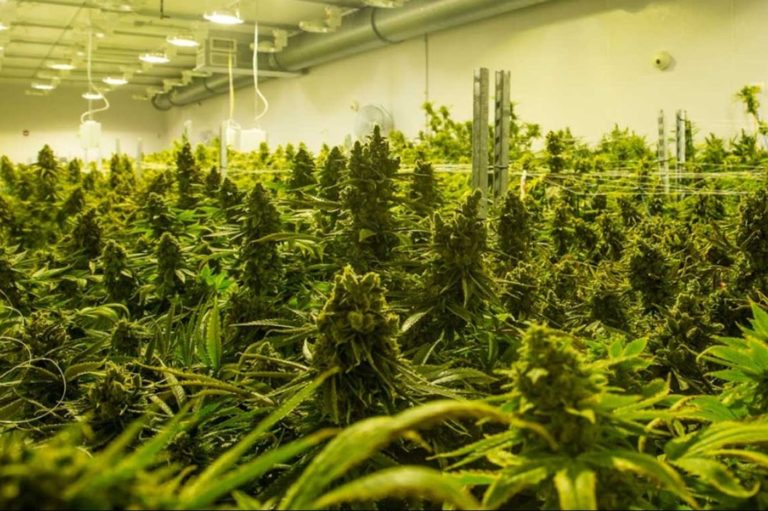
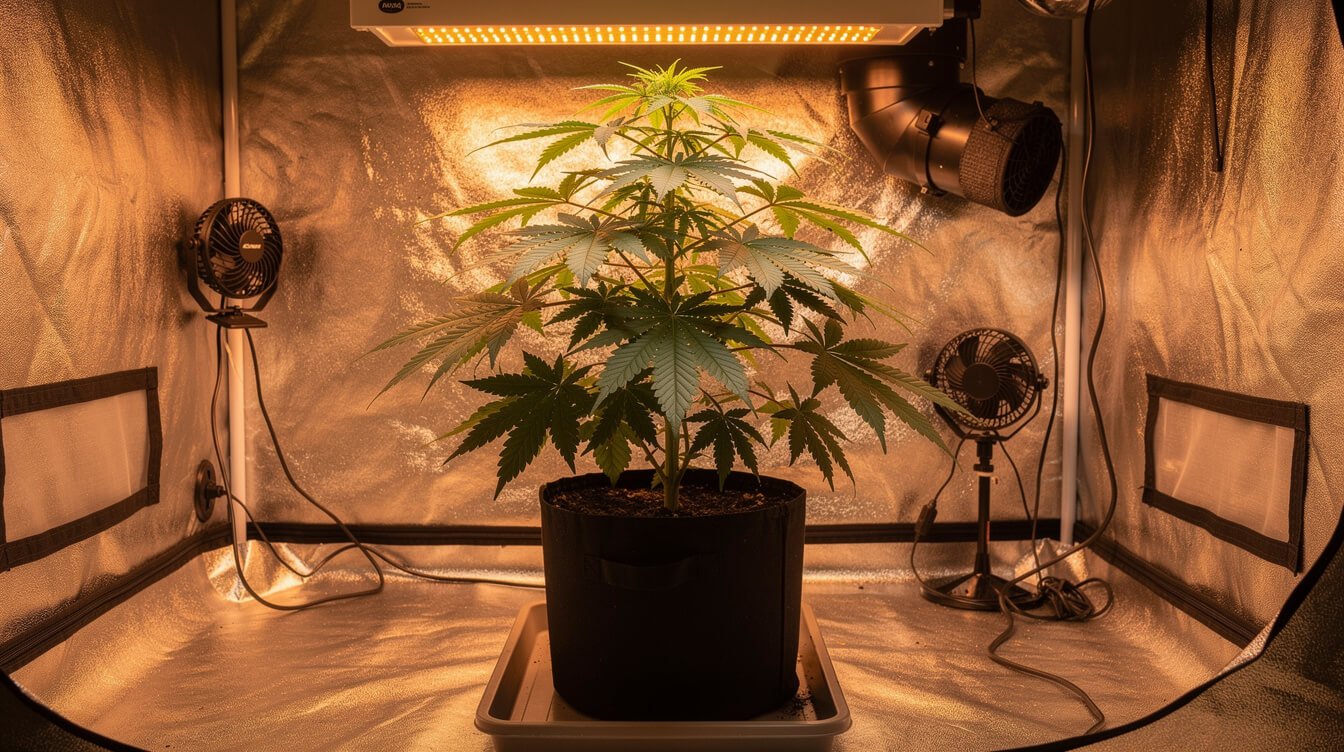
You don’t need a spare room. A single plant grows comfortably in a 2×2-foot or 2×4-foot tent, a closet, or even a large cabinet, as long as you can control light leaks and airflow. What you can’t do is grow it on a windowsill and expect a real harvest — cannabis needs far more light intensity than a window provides, which is why every serious indoor grow uses a dedicated grow light, not sunlight.
If you’re outside the U.S., the same three-part check applies — possession, purchase, and home cultivation are frequently governed by separate rules, and “legal to use” doesn’t automatically mean “legal to grow.” Your country’s or province’s health or agriculture authority is a more reliable source than a forum thread, and it’s worth the ten minutes before you buy a seed.
What it actually costs and how long it takes
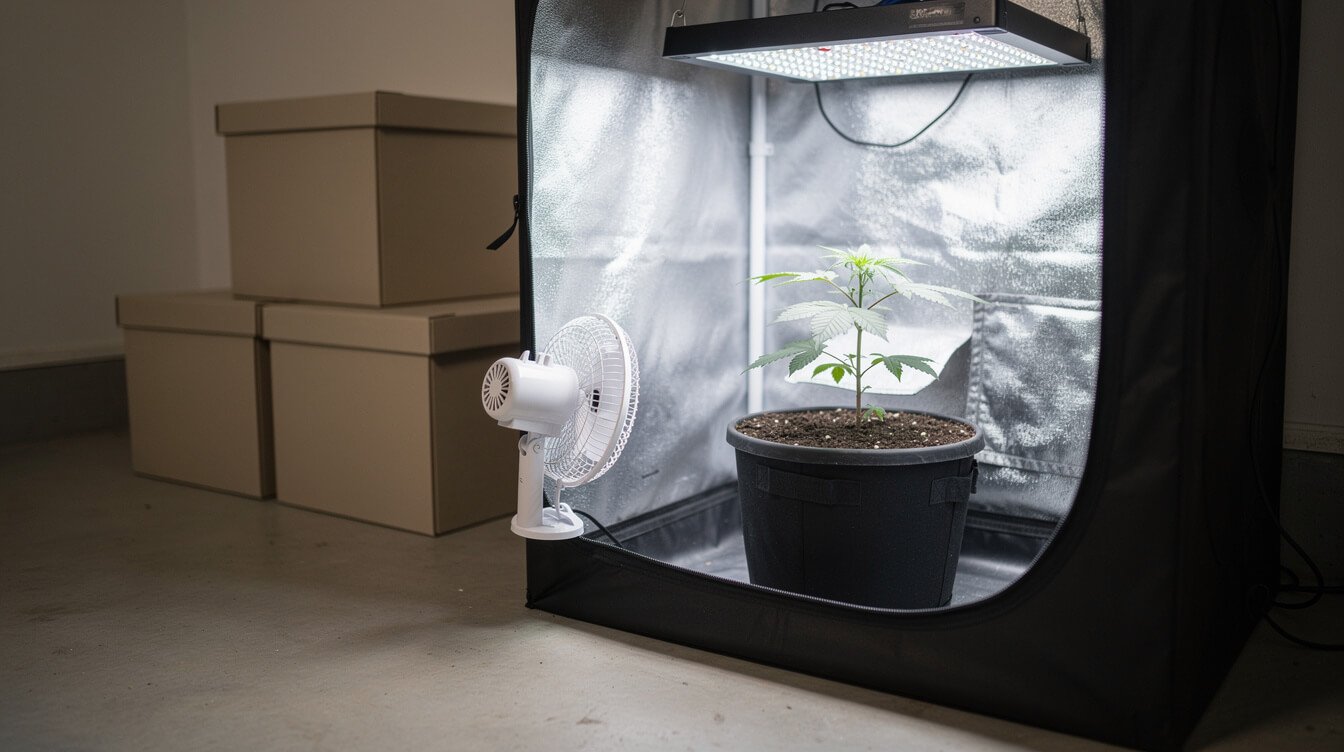
Real numbers, not the lowest possible number someone found once on a clearance sale:
- Budget setup (one plant, bare essentials): $150–$300 — a small tent, an entry-level LED light, a clip fan, a carbon filter, basic soil and nutrients.
- Mid-range setup (one to two plants, room to grow into): $400–$800 — better light coverage, a proper inline exhaust fan, a humidity/temperature monitor, quality soil.
- Ongoing costs: electricity (a decent LED pulls 100–240 watts for a small tent, running 18 hours a day in veg), nutrients, and replacement filters. Budget $15–$40 a month depending on your local electricity rate and light size.
If you’re shopping for the light specifically, we’ve written a full breakdown of how to actually pick one instead of just chasing a brand name.
Timeline: seed to harvest typically runs 8 to 16 weeks, depending on whether you grow an autoflowering strain (faster, less input needed, roughly 8–10 weeks total) or a photoperiod strain (you control the light schedule, more yield potential, 12–16+ weeks total including a longer vegetative stage). Add another 2–3 weeks for drying and curing before it’s actually smokable — that part isn’t optional, and skipping it is the second most common first-grow regret after the smell issue.
One decision that affects both cost and timeline: soil versus a soilless/hydro medium like coco coir. Soil is more forgiving of small watering and feeding mistakes and is the better starting point for a first grow — it buffers pH and nutrient swings naturally. Coco coir and hydro setups grow faster and can push slightly higher yields, but they need more precise, more frequent feeding and punish inattention faster. Unless you already have a reason to want the extra speed, start in soil.
Seeds themselves are a small line item most first-timers forget to budget: feminized photoperiod seeds typically run $8–$15 each from a reputable breeder, autoflower seeds similarly. Buying two or three instead of one gives you a backup if germination fails, which happens even with quality seeds often enough to plan for it.
Germination and seedling stage
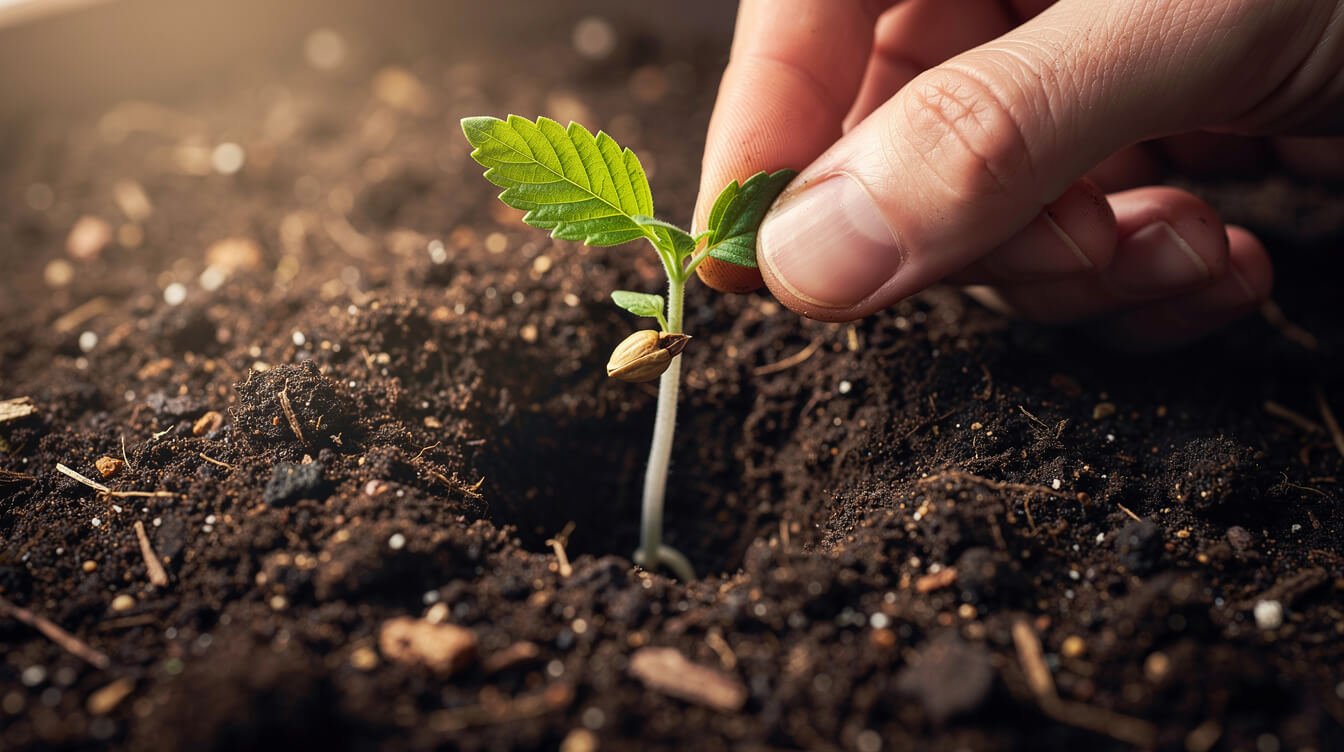
Germination is the easiest part, and also the part new growers overthink. The paper towel method works fine: dampen (not soak) a paper towel, fold a seed inside it, keep it between two plates in a warm, dark spot, and check daily. Most viable seeds crack and show a taproot within 2–5 days. Once you see a taproot about a quarter-inch long, move it — gently, taproot down — into a small pot of light, well-draining soil, about a half-inch deep.
For the next one to two weeks, the seedling needs warmth (70–80°F), high humidity (a clear cup or humidity dome over the pot helps), and light that isn’t too intense yet — an 18–24 inch distance from an LED, or the lowest-intensity setting your light offers. Keep the soil moist but never soggy; seedling stage is where overwatering kills more plants than anything else. You’ll know it’s moving into the vegetative stage when the first true fan leaves (the serrated, multi-fingered leaves, not the small rounded first leaves) unfurl.
If you’d rather skip germination entirely, some growers plant seeds directly into their final soil about half an inch deep and let them sprout in place — it works fine and avoids a transplant, though it makes it harder to spot a dud seed early. Whichever method you use, buy seeds from a reputable, known source; unlabeled or unknown-origin seeds have a meaningfully higher failure rate, and there’s no way to tell a viable seed from a dud just by looking at it.
Vegetative stage essentials: light, water, and nutrients
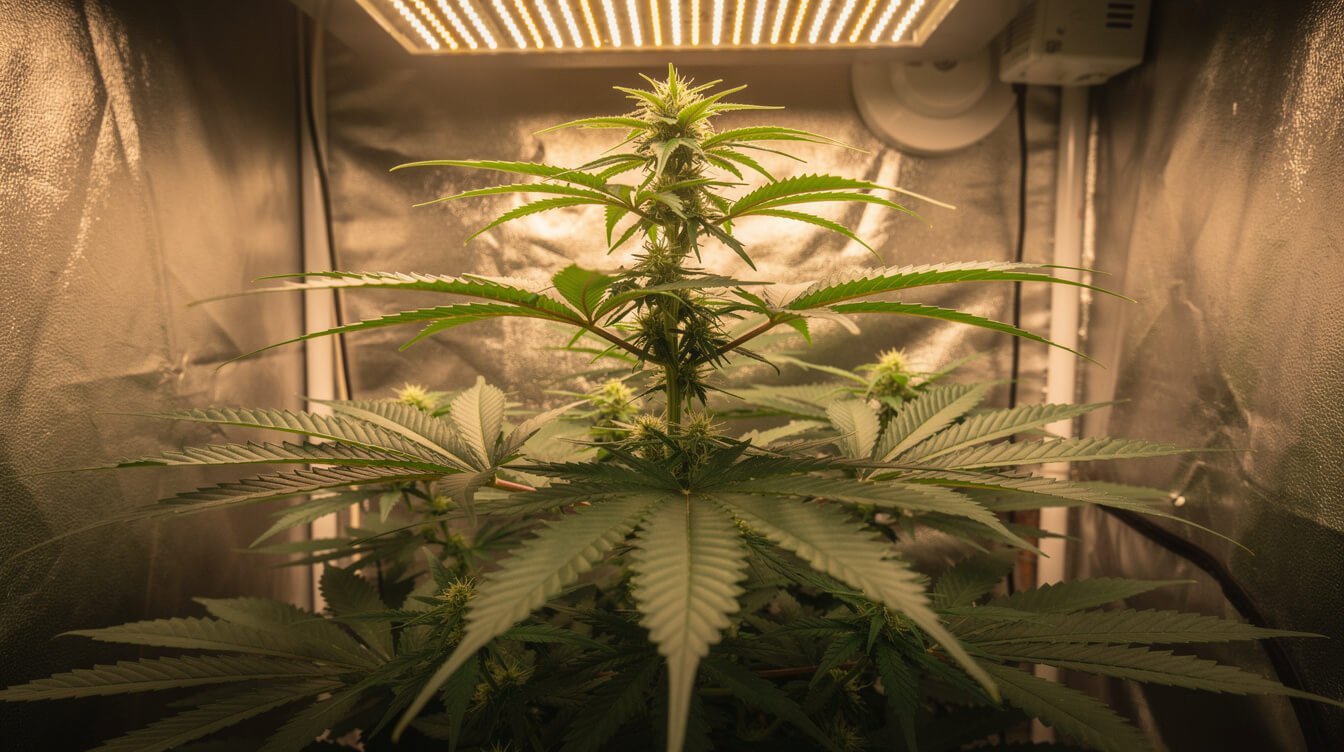
Vegetative growth is where the plant builds the structure it’ll flower on, and it’s the stage most forgiving of small mistakes — which makes it the right place to build good habits before flowering punishes you for bad ones.
Light
Photoperiod plants want 18 hours of light and 6 hours of uninterrupted darkness during veg (autoflowers don’t care about schedule and can run 18–20 hours straight through to harvest). “Uninterrupted” matters — even a hallway light leaking into the tent during the dark period can stress a photoperiod plant. Distance the light per the manufacturer’s PPFD chart rather than guessing; too close causes light bleaching, too far causes stretchy, weak growth.
Water
Water when the top inch or two of soil is dry, not on a fixed daily schedule — pot size, humidity, and plant size all change how fast soil dries out. Water until you see 10–20% runoff from the drainage holes, then let it dry back down before the next watering. Yellowing, drooping leaves are almost always overwatering, not underwatering, and it’s the single most common vegetative-stage mistake.
Nutrients
Seedlings need almost nothing. Once true leaves are established, a basic vegetative nutrient line (higher nitrogen relative to phosphorus and potassium) fed at half the bottle’s recommended strength is plenty to start — cannabis is more often over-fed than under-fed by first-timers, and nutrient burn (crispy, dark leaf tips) is easier to cause than to fix. Start light, watch the plant’s response over a week, and adjust from there.
Training (optional, but worth knowing about)
You don’t need to train a plant to get a decent harvest, but two simple techniques help a lot in a small indoor space. Low-stress training (LST) means gently bending and tying down the main stem as it grows, spreading the canopy wider and flatter so more bud sites get even light instead of one tall central cola hogging it all. Topping — snipping off the very top growth tip once the plant has 4–6 nodes — encourages it to grow two main colas instead of one. Both are simple, low-risk, and especially useful when your tent is wider than it is tall.
Pot size
Start seedlings in a small pot (roughly 1 gallon) and size up as roots fill it — a 3 to 5 gallon pot is typically the final size for a single indoor plant. Jumping straight to a huge final pot doesn’t speed anything up; it just means more soil holding water the small root system can’t use yet, which raises overwatering risk.
GanjaTech, weekly
Cannabis, explained. In your inbox.
One email a week: the clearest explainers, honest gear picks, and what the science actually says. 21+ only. No spam, unsubscribe anytime.
Flowering stage and knowing when to harvest
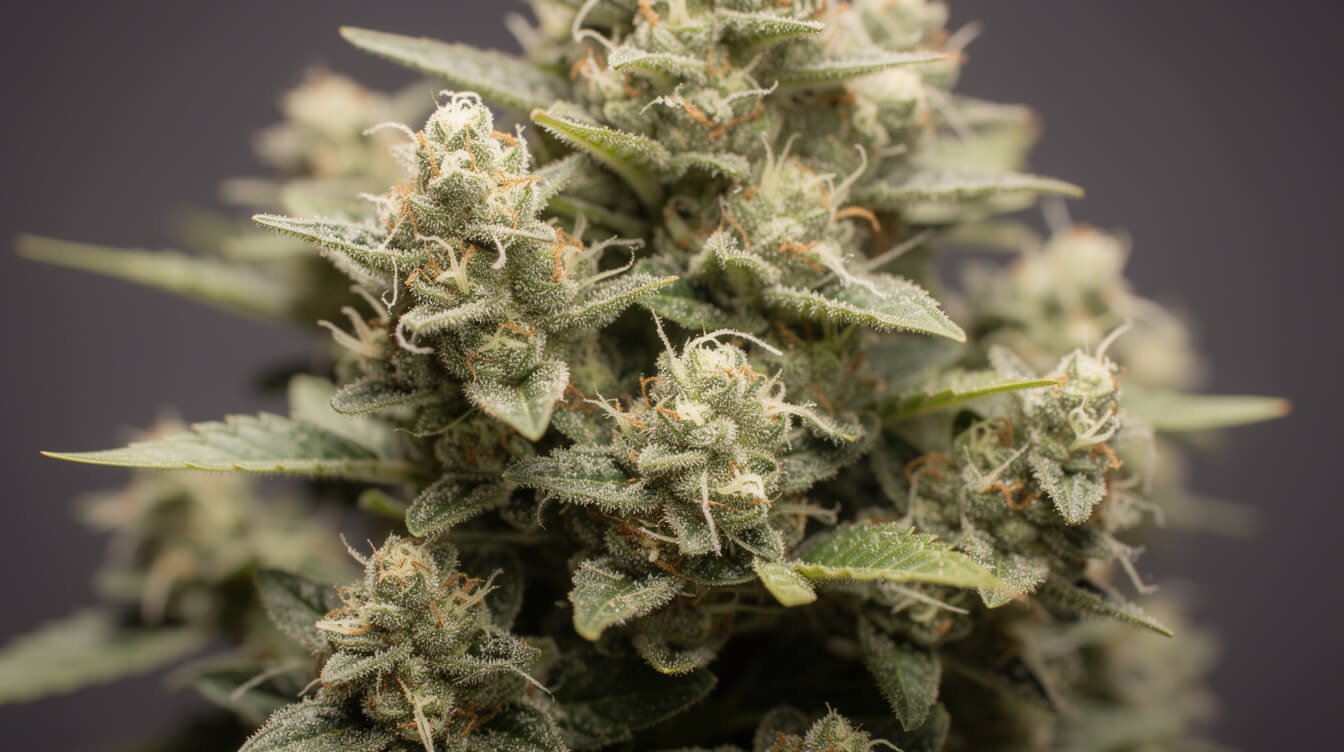
To flip a photoperiod plant into flowering, switch the light schedule to 12 hours on, 12 hours off — that light change is the trigger, not the plant’s age. Within one to two weeks you’ll see pistils (the small white hairs) appear at the branch nodes, confirming it’s flowering. Autoflowers transition on their own timeline regardless of light schedule.
Flowering typically runs 8–10 weeks depending on strain, and this is where most of the plant’s smell, size, and resin production happens — which means it’s also where your carbon filter earns its keep. The plant will roughly double in height during the first few weeks of flowering (“the stretch”), so give it room before you flip the switch.
How to actually know when to harvest
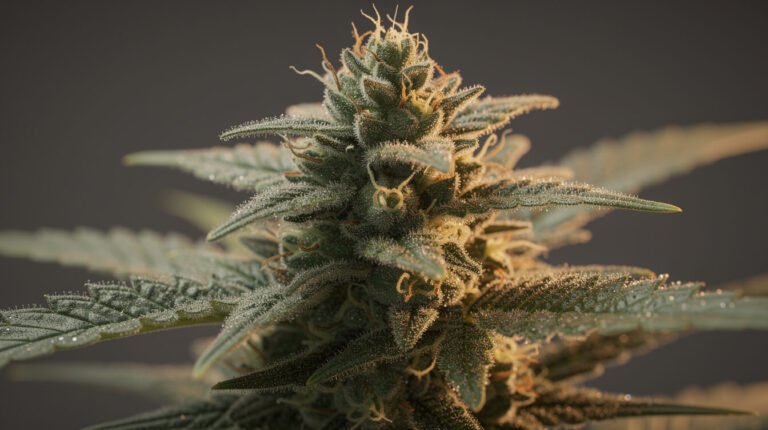
Pistil color is a rough guide (harvest when 60–70% have darkened and curled in), but trichomes are the real answer. A cheap 60x jeweler’s loupe or a USB microscope shows the resin glands on the buds: clear trichomes mean too early, a milky-white, cloudy look means peak potency for most people, and amber trichomes mean a more sedative, mellower effect as THC starts to degrade. There’s no universally “correct” ratio — it’s a preference call once you’re in the milky-to-light-amber window.
Environment during flower
Keep temperature around 65–80°F and relative humidity in the 40–50% range through most of flowering, dropping toward 30–40% in the final couple of weeks as buds get denser and more mold-prone. A basic hygrometer costs a few dollars and removes the guesswork — dense, tightly packed buds in a humid, poorly ventilated tent are exactly where bud rot (a grey, fuzzy mold that can ruin a cola from the inside out) shows up, and by the time you can see it from outside, you’ve usually lost more than what’s visible. Good airflow from a small clip fan matters as much here as light does.
Drying and curing: don’t skip this part
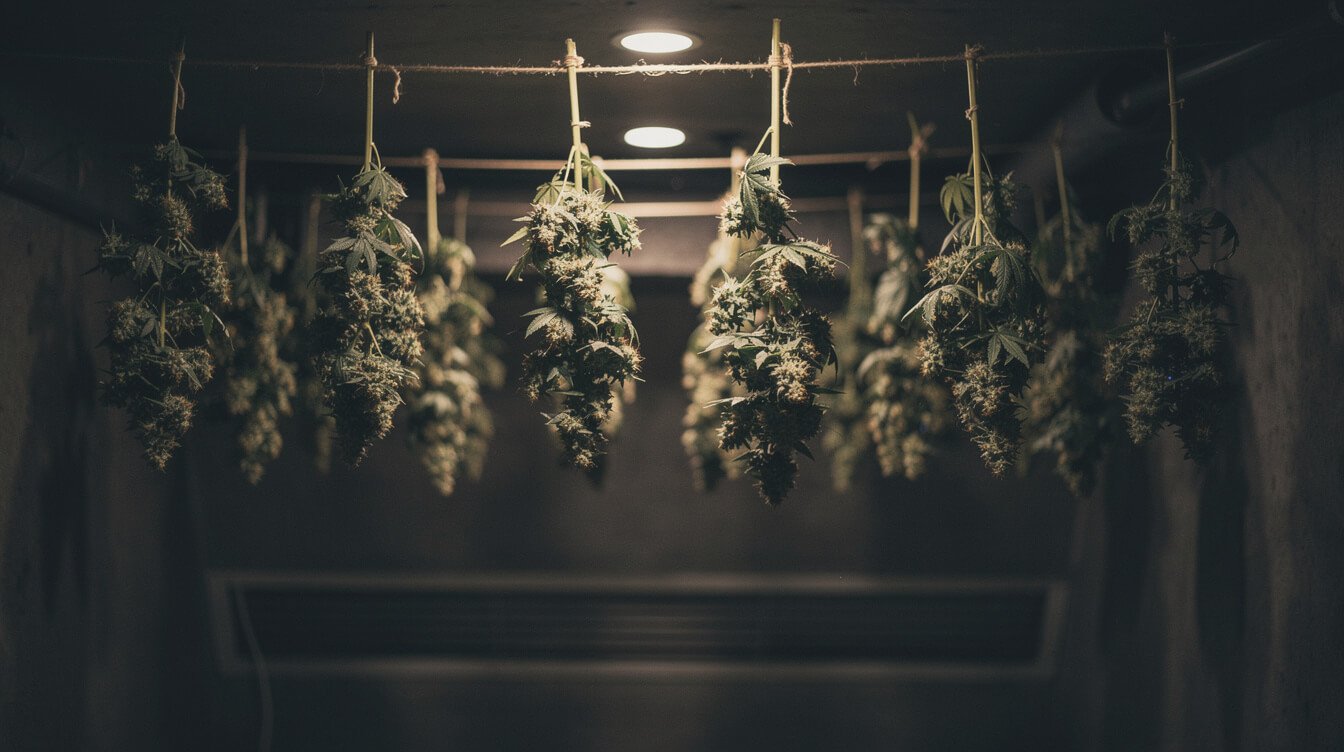
Harvested buds are not ready to smoke — drying and curing convert harsh, chlorophyll-heavy plant material into something smooth, and rushing this step is a fixable regret every new grower has once. Hang trimmed branches upside down in a dark space at 60–70°F and 50–60% humidity for 10–14 days, with gentle airflow that isn’t blowing directly on the buds. They’re dry enough when small stems snap rather than bend.
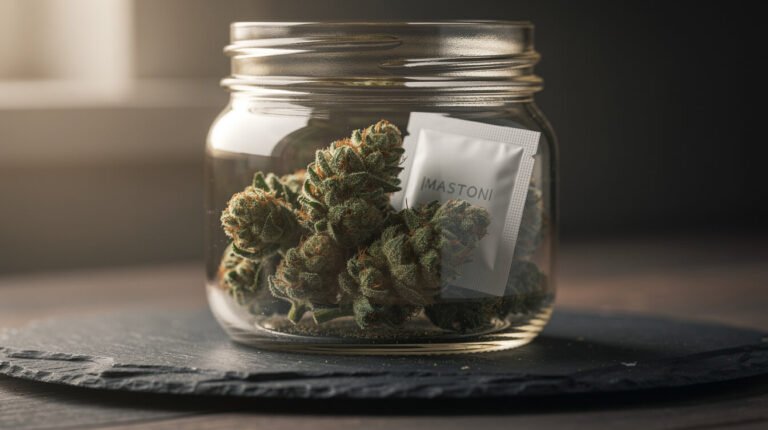
After drying, move buds into glass jars, filled about two-thirds full, and “burp” them — open the lid for a few minutes once or twice a day — for the first one to two weeks to let trapped moisture escape gradually. After that, a weekly burp for another few weeks continues to improve smoothness and flavor. Buds cured for three to four weeks taste and smoke noticeably better than buds smoked straight off a two-week dry — patience is genuinely the ingredient here, not a technique.
A cheap humidity pack (the small two-way packets sold for cigars and instruments, calibrated to 58–62% RH) dropped into each jar takes most of the guesswork out of curing — it actively pulls moisture out of buds that are too wet and releases it back if they get too dry, instead of you having to judge it by feel and smell alone. Once cured, store jars somewhere cool, dark, and out of direct light; a closet shelf works better than a sunny windowsill, since UV and heat both degrade potency and flavor over time.
Common first-grow mistakes (and quick fixes)
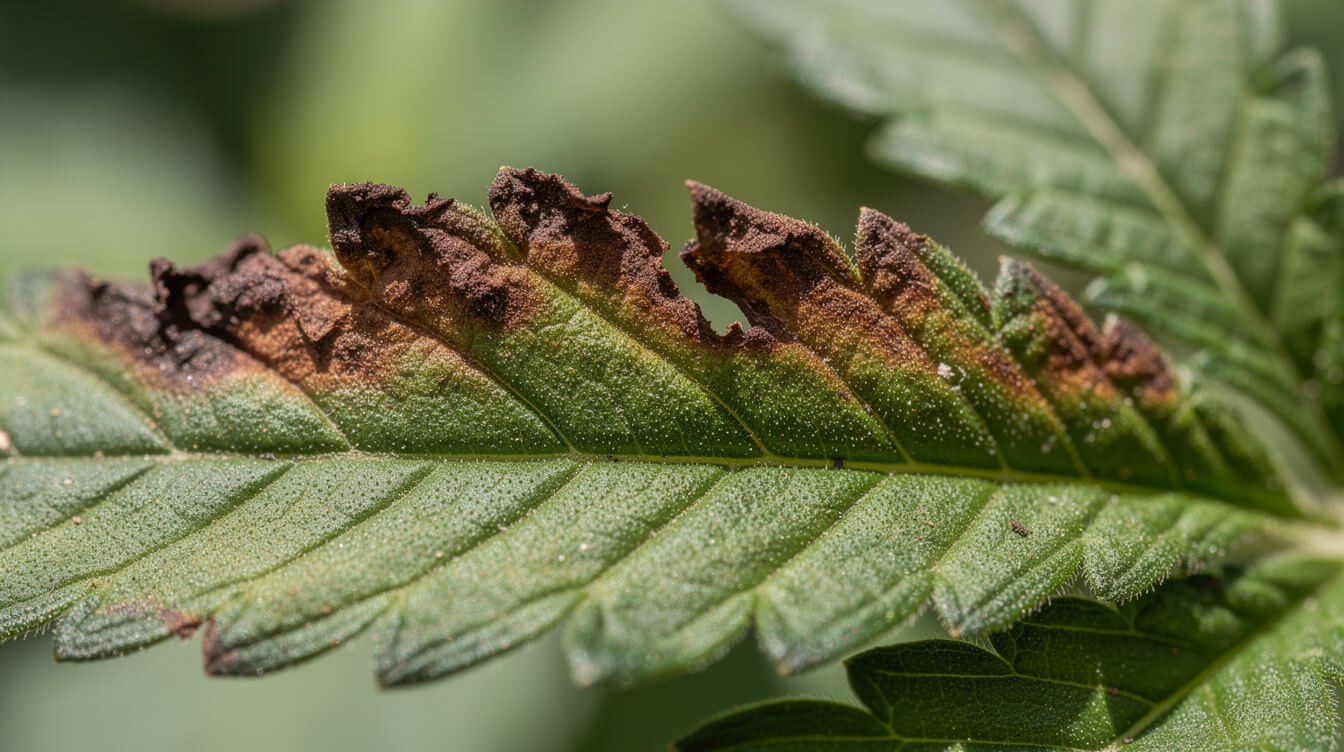
Every experienced grower made these on their first run. Knowing them in advance saves you the plant.
- Overwatering. By far the most common mistake. Fix: water less often, and only when the top inch or two of soil is actually dry.
- Overfeeding. Nutrient burn shows up as crispy, dark leaf tips. Fix: start nutrients at half strength, flush with plain water if you see burn, and increase slowly from there.
- Light too close or too far. Too close bleaches and stresses the top of the plant; too far causes tall, weak, stretchy growth reaching for light. Fix: follow your light’s PPFD/distance chart instead of copying someone else’s setup.
- Light leaks during the dark period. Confuses photoperiod plants into stress or premature re-vegetating. Fix: check your tent for light leaks at night with the room lights off.
- Harvesting too early. Impatience is real, but an early harvest means lower potency and a harsher smoke. Fix: get a cheap loupe and actually check trichome color instead of guessing by pistils alone.
- Skipping the cure. Smoking bud straight off a quick dry is harsh and less flavorful. Fix: commit to at least two to three weeks of jar curing before judging the final product.
- Ignoring pH. Soil that’s too acidic or too alkaline locks out nutrients even when you’re feeding correctly, showing up as odd, patchy discoloration that looks like a deficiency but isn’t. Fix: a cheap pH meter or drops kit for your water, aiming for roughly 6.0–7.0 in soil, catches this before it becomes a mystery problem.
- Not checking for pests early. Spider mites and fungus gnats are the two most common indoor pests, and both are far easier to deal with caught early than after they’ve spread across the canopy. Fix: check the undersides of leaves weekly, especially once the plant is dense enough that airflow gets harder to maintain.
Quick FAQ
Do I need a special room or ventilation setup to grow indoors?
No — a closet, cabinet, or small tent with a basic exhaust fan and carbon filter covers most single-plant setups. The filter matters more than the room size.
How much yield can I expect from one plant?
It varies a lot by strain, light, and grower experience, but a well-grown single indoor plant commonly produces somewhere in the range of 1 to 4 ounces of dried bud. Treat any more specific promise with skepticism — genetics and grower skill both move that number a lot.
Is growing cannabis indoors legal where I live?
It depends entirely on your state or country, and on whether you mean possession, purchase, or home cultivation specifically — those are often three different sets of rules. Check local law directly before you start; don’t assume adult-use legality automatically includes a right to grow at home.
Final thoughts on how to grow cannabis indoors your first time
Growing cannabis indoors for the first time is genuinely doable in a closet or small tent, on a modest budget, without any special expertise going in — but “doable” isn’t the same as “instant.” Expect 8 to 16 weeks depending on your strain, expect to make at least one watering or feeding mistake along the way, and expect the cure at the end to matter more than you think it will. Start with one plant, keep your setup simple, and let the plant teach you the rest.
If you’re still deciding whether this is the right hobby for you, our plain-language intro to what cannabis actually is is a good place to start before you buy anything. And if you want more honest, no-hype explainers like this one as they publish, browsing the rest of the GanjaTech desk — or subscribing — is the easiest way to keep up.
Before you go
Get the next explainer first
We publish a new one every day. The best of the week, plus what's new in the shop, lands in one short email.