Best led grow light: how to actually pick one (not just a brand list)
If you’ve spent ten minutes shopping for a best led grow light, you’ve probably noticed the problem: every listing claims to be the best one, the wattage numbers don’t agree with each other, and half the reviews are written by people who’ve never actually flowered a plant under the thing. So here’s the honest version — not a ranked list of brand names, but the actual framework growers use to figure out which light is right for their space, their budget, and their one plant in the corner of a spare room.
You don’t need to overspend to grow one good plant. You do need to understand a handful of specs that actually matter, ignore the ones that don’t, and match the fixture to your space instead of buying whatever’s trending. That’s what this guide walks through — plus honest picks by use case, the mistakes that cost people a whole harvest, and the running costs nobody mentions until the electric bill shows up.
How to find the best led grow light for your space
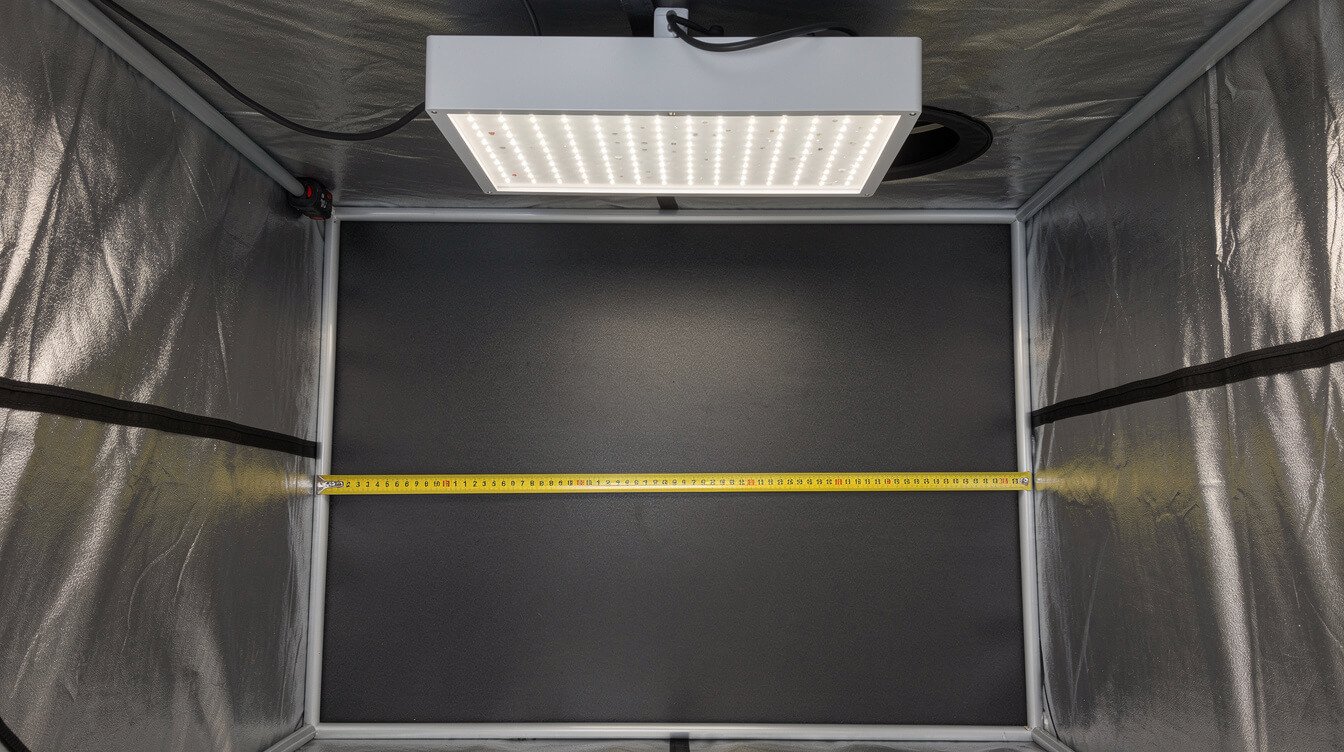
Before you look at a single fixture, measure your space. Grow light shopping should start with square footage, not with a brand you saw on YouTube. A 2×2-foot tent, a 2×4, and a 4×4 each need a genuinely different light — not a bigger version of the same one, and not “whatever’s on sale.”
The rule of thumb growers actually use: figure out your canopy area in square feet, then shop for a light rated to cover that footprint at flowering intensity, not vegetative intensity. Most manufacturers list two coverage numbers — a larger “veg coverage” area and a smaller “flower coverage” area — because plants need roughly double the light intensity once they start budding. If a listing only gives you one coverage number, assume it’s the more generous veg figure and size down.
For a single plant in a 2×2 or 3×3 tent, you’re looking at a compact fixture in the 100–150 watt actual-draw range. For a 4×4 tent running two to four plants, you’re in 240–320 watt territory. Bigger commercial setups scale from there, but most home growers never need to go past a 4×4.
Don’t forget height
Coverage numbers assume a specific hang height, usually 18–24 inches above the canopy. A light that covers a 3×3 area at 24 inches covers less at 12 inches and more — but weaker — at 36 inches. If your tent is short, factor that into which fixture you buy, not just which one you hang.
Tent shape matters too, and it’s a detail most buying guides skip entirely. A wide, shallow tent spreads a fixture’s light thinner across the canopy than a narrower, deeper one of the same square footage — because more of that footprint sits at the edges, where PPFD naturally drops off. If your space is unusually wide relative to its depth, size up one tier from what the raw square footage suggests, or plan on a light with a wider beam angle.
One more space consideration: ceiling height above the tent itself. You need room for the fixture’s hanging hardware, a few inches of adjustment range as the plant grows, and clearance for any exhaust ducting running out the top. A grow room with 7 feet of ceiling and a 6.5-foot tent doesn’t leave much room to work with — measure the full stack, not just the tent’s listed height.
The specs that actually matter (PPFD, watts per square foot, diodes, dimmable driver)
Grow light marketing loves to throw numbers at you. Here’s which ones to actually read.
PPFD (Photosynthetic Photon Flux Density) measures how much usable light is actually landing on your canopy, measured in micromoles per square meter per second (µmol/m²/s). This is the single most useful spec on a spec sheet, and it’s also the one most listings bury or omit — because a low PPFD number doesn’t sell as well as a big wattage number. For seedlings, 200–400 PPFD is plenty. Vegetative growth wants 400–600. Flowering wants 600–900, with more experienced growers pushing higher when they’re also managing CO2 and temperature.
Watts per square foot is a rough proxy when a light doesn’t publish PPFD data. As a starting point, budget 30–50 actual watts per square foot of canopy for flowering — not the inflated “equivalent wattage” some brands print on the box, but the real power draw from the wall.
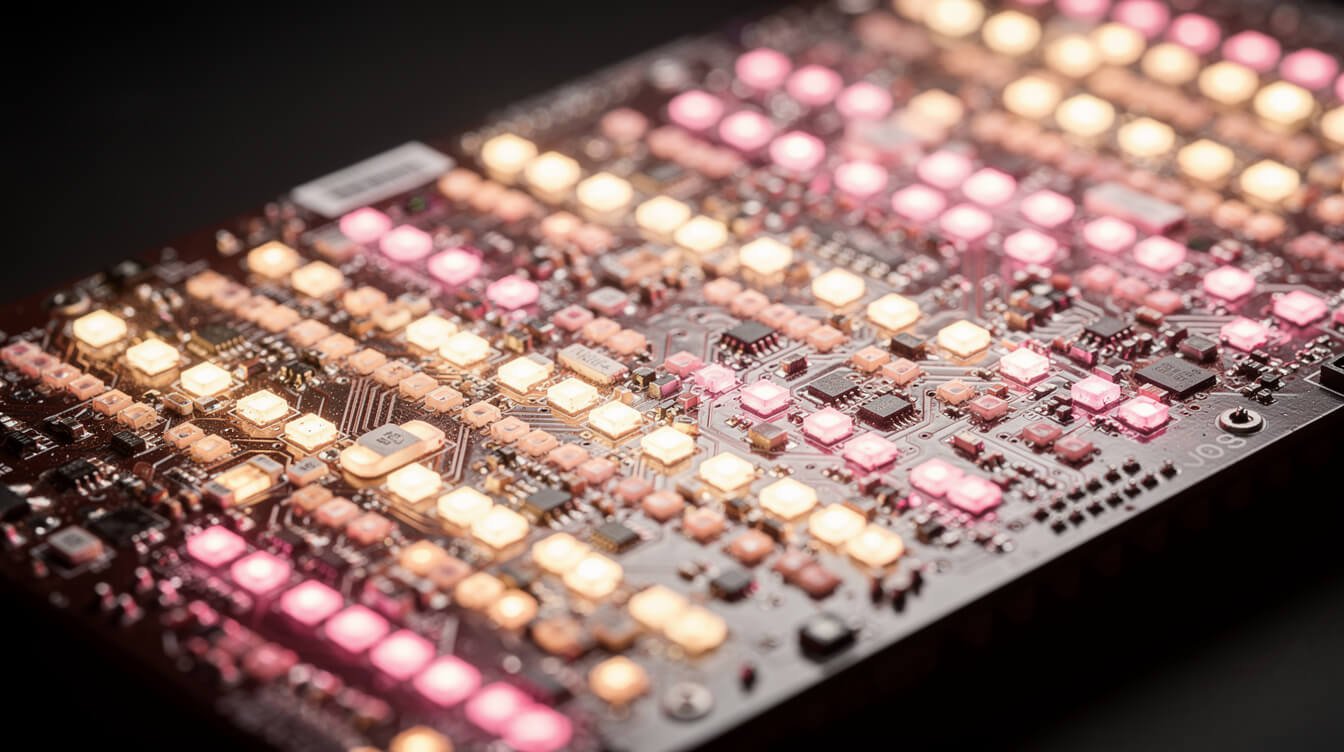
Diodes matter more than most buyers realize. Full-spectrum white diodes (often built on Samsung or similar horticultural-grade chips) produce a more balanced light than the old-school red-and-blue “blurple” panels, and they run cooler for the same output. If a listing doesn’t say what diode it uses, that’s usually a sign it’s using cheaper, less efficient chips.
A dimmable driver is one of the most underrated features on any fixture. It lets you run seedlings at low intensity, ramp up through veg, and dial back if your canopy starts showing stress — without buying a second light. If a fixture doesn’t have this and you’re shopping in the mid-range or above, keep looking.
Color temperature (CCT), measured in Kelvin, tells you roughly how “blue” or “warm” the light looks — not how strong it is. Cooler, bluer light (around 5000–6500K) tends to suit vegetative growth, while warmer light (around 3000K) is often marketed for flowering, mimicking the shift in natural daylight through a growing season. Modern full-spectrum fixtures blend both ranges into one panel, so you’re not swapping bulbs between stages the way growers did a decade ago — but it’s still worth knowing what the number means when you see it on a spec sheet.
Finally, DLI (Daily Light Integral) is PPFD’s less-famous cousin: it accounts for how long your light runs each day, not just how intense it is at any given moment. A moderate PPFD run for 18 hours can deliver a similar total light dose as a higher PPFD run for 12. Most home growers never need to calculate DLI precisely, but understanding that intensity and duration trade off against each other explains why two very different-looking setups can both grow a healthy plant.
Budget vs. premium — what you’re actually paying for
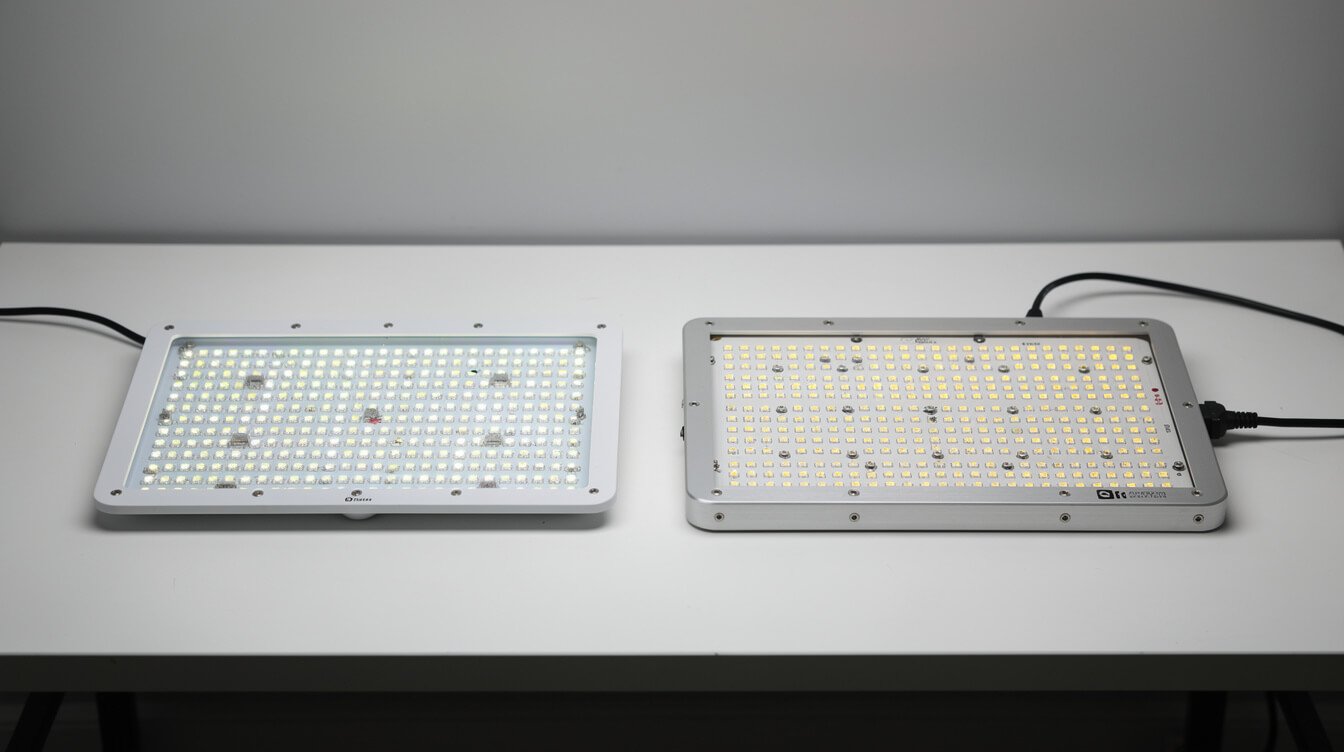
The $300 fixture and the $90 one can grow the same plant to the same finish line. The difference isn’t magic — it’s efficiency, consistency, and how long the thing lasts.
Premium fixtures typically use higher-efficacy diodes (more usable light per watt of electricity), better thermal management (so the diodes don’t degrade as fast), and driver components rated for years of daily use. That translates to a slightly smaller electric bill over the life of the light and a fixture that still performs the same in year three as it did in year one.
Budget fixtures cut corners in exactly those places — cheaper diodes, simpler drivers, less thermal engineering — but for a beginner growing one or two plants a year, that tradeoff is often fine. You’ll pay a bit more per kilowatt-hour of light produced, and the fixture may dim slightly faster over a few years, but it will still grow a healthy plant.
Where budget lights genuinely fall short: multi-plant commercial-style setups running year-round, where the efficiency gap compounds over thousands of hours, and setups in hot climates, where cheaper thermal management means more heat dumped into your tent. If either describes you, the premium tier earns its price. If you’re growing one plant a couple of times a year in a temperate room, it usually doesn’t.
Warranty length is a decent shortcut for judging build quality without opening the fixture yourself. Budget lights commonly ship with one- to two-year coverage; mid-range and premium fixtures frequently offer three to five years, sometimes longer. A manufacturer willing to stand behind a light for half a decade is telling you something real about how it’s built, regardless of price tier.
Certifications are worth a glance too, particularly if you’re running a fixture unattended for 12-18 hours a day. Look for basic electrical safety marks (UL, ETL, or CE, depending on your region) rather than taking a seller’s safety claims at face value — an unlisted device left running in an enclosed tent is a real fire-risk consideration, not a hypothetical one.
The best led grow light picks, by use case
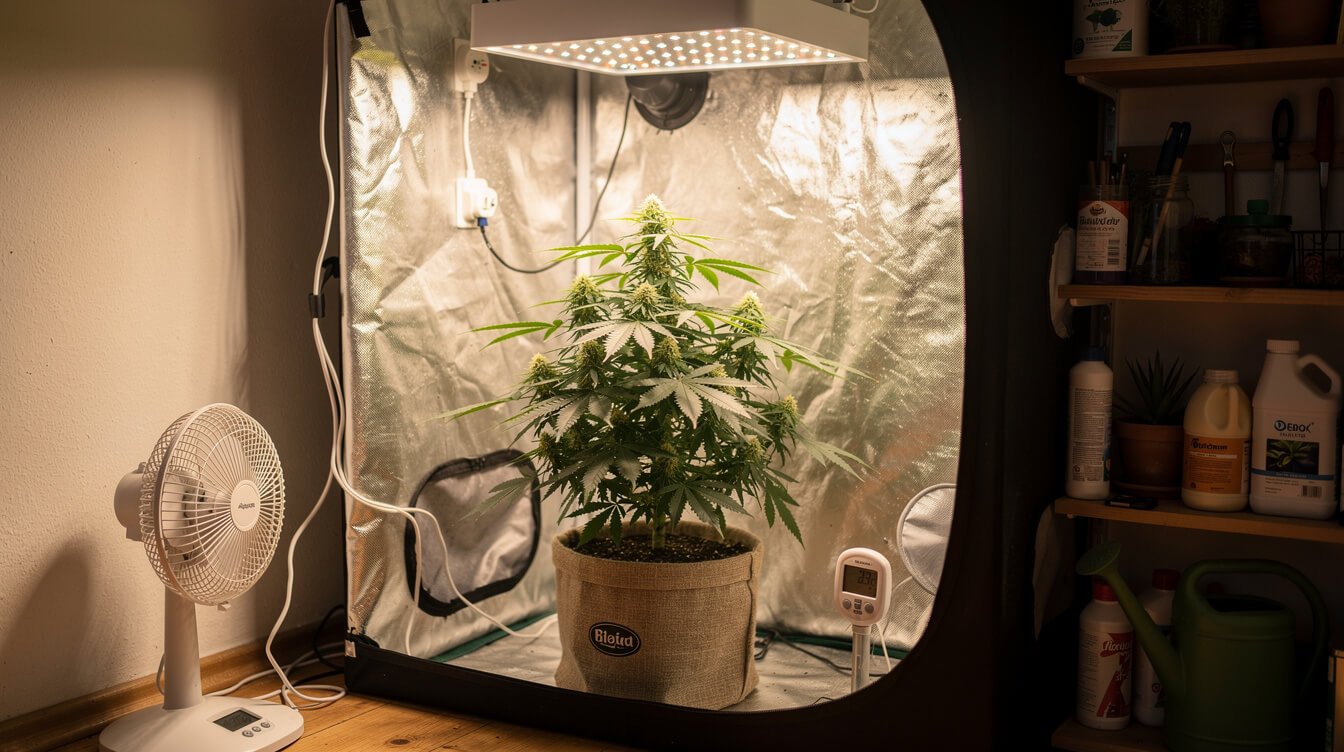
Instead of naming one “winner” — which almost always means “whichever brand paid for the placement” — here’s how to shop each use case with the framework above.
Best for a single plant, no tent
Look for a compact quantum-board style fixture in the 100–150 actual-watt range with a dimmable driver. You don’t need veg-and-flower coverage for a 4×4 canopy you’ll never grow into — buying that “for future expansion” is the single most common overspend in this category.
Best value for a first tent (2×2 to 3×3)
This is where the budget-to-mid-range tier does its best work. A 150–200 actual-watt full-spectrum fixture with published PPFD numbers and a dimmer will comfortably flower one to two plants without the premium price tag.
Best for a 4×4 tent running multiple plants
Step up to 240–320 actual watts, prioritize even PPFD distribution across the canopy (check for a manufacturer PPFD map, not just a single center-point number), and lean toward the premium tier if you’re running the tent most of the year — the efficiency gap pays for itself over enough grow cycles.
Best for stealth or discreet setups
Look for fixtures with a lower-profile design and a fan-free or near-silent cooling system. You’ll trade a bit of raw efficiency for a fixture that doesn’t hum or take up half a closet shelf.
Best for autoflower strains
Autoflowering plants move through their life cycle on their own internal clock rather than responding to a light-schedule switch, and they tend to stay smaller than photoperiod strains. A compact, lower-wattage fixture with a tight, even coverage pattern usually suits them better than a larger light bought “for headroom” — the smaller footprint concentrates intensity right where a compact autoflower plant actually needs it.
Best for hot climates or poorly ventilated rooms
If your grow space already runs warm, prioritize a fixture with a larger surface area and passive heat sinking over a smaller, more compact design putting out the same wattage — a bigger fixture dissipates heat more gradually, which matters more in a room you can’t easily cool.
GanjaTech, weekly
Cannabis, explained. In your inbox.
One email a week: the clearest explainers, honest gear picks, and what the science actually says. 21+ only. No spam, unsubscribe anytime.
Common buying mistakes (and how to avoid them)
These are the mistakes that turn a best led grow light purchase into a wasted one — and every single one is avoidable once you know what to check.
Buying by “equivalent wattage.” A light advertised as “1000W equivalent” might draw 150 real watts from the wall. That’s not necessarily bad — it just means the number on the box is marketing, not a spec. Always ask for actual power draw and PPFD before comparing two lights.
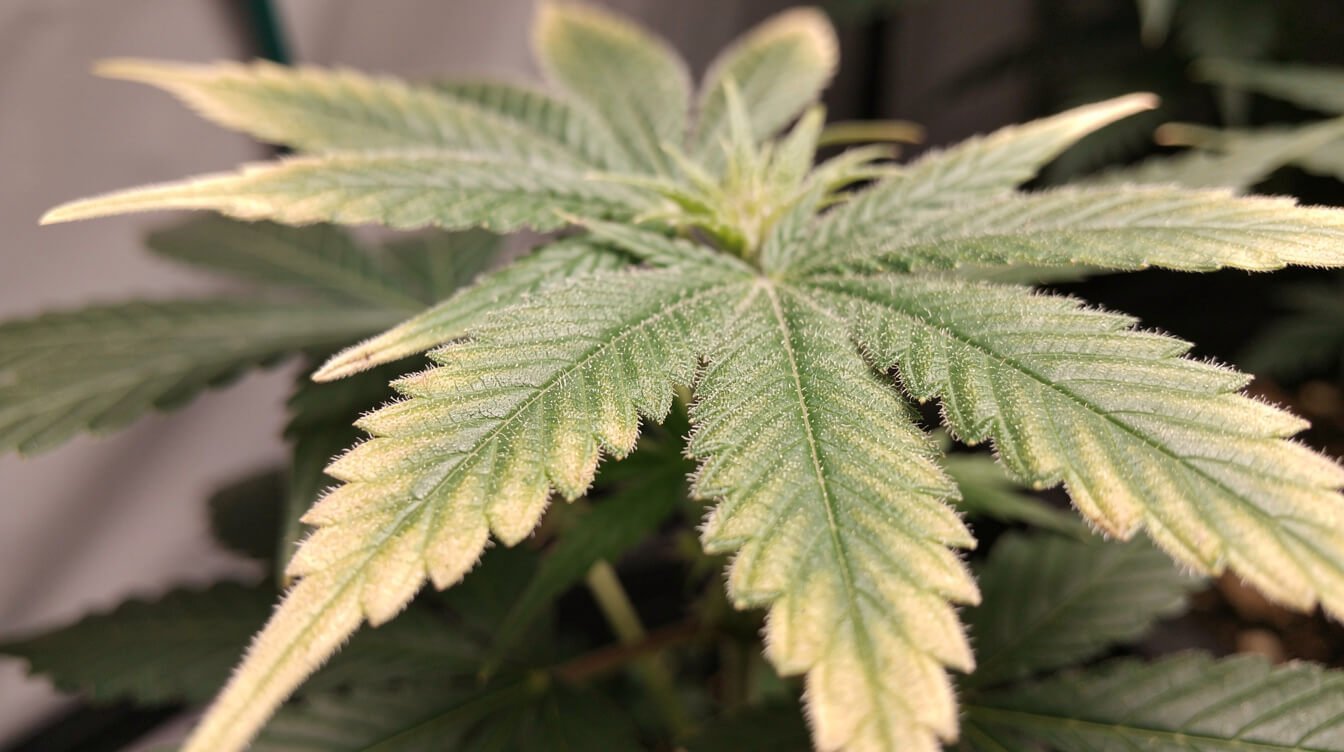
Buying for a tent size you don’t have yet. Oversized lights for undersized spaces waste money on unused coverage and make it far easier to accidentally hang the fixture too close, which is the most common way growers cause light stress — bleached, curling leaf tips near the top of the canopy, like the damage shown above.
Skipping the dimmer. Seedlings and clones can be damaged by full-intensity light from day one. A dimmable driver isn’t a luxury feature — it’s how you avoid frying your first two weeks of growth.
Ignoring spectrum for the sake of a cheap price. Old-style red-and-blue “blurple” panels are usually the least efficient, least even option on the market today. Full-spectrum white LED has become the standard for a reason: better plant response, less visible strain on your eyes when you’re checking on the tent, and better resale value if you ever upgrade.
Assuming more light is always better. Beyond a certain intensity, extra PPFD stops helping and starts hurting — the plant simply can’t process light faster than its other limiting factors (CO2 availability, temperature, nutrient uptake) allow. Cranking a dimmer to maximum because “more must be more” is a common way growers cause the exact same bleaching and leaf curl as hanging a fixture too close.
Forgetting that fixtures age. LED output degrades gradually over thousands of hours of use, even on quality diodes. A three-year-old fixture running at what used to be a comfortable hang height may now be under-delivering PPFD to the canopy. If your plants seem to be growing slower than a previous cycle with no other changes, a slowly fading light is worth ruling out.
Setup and running costs — heat, hang height, and electricity
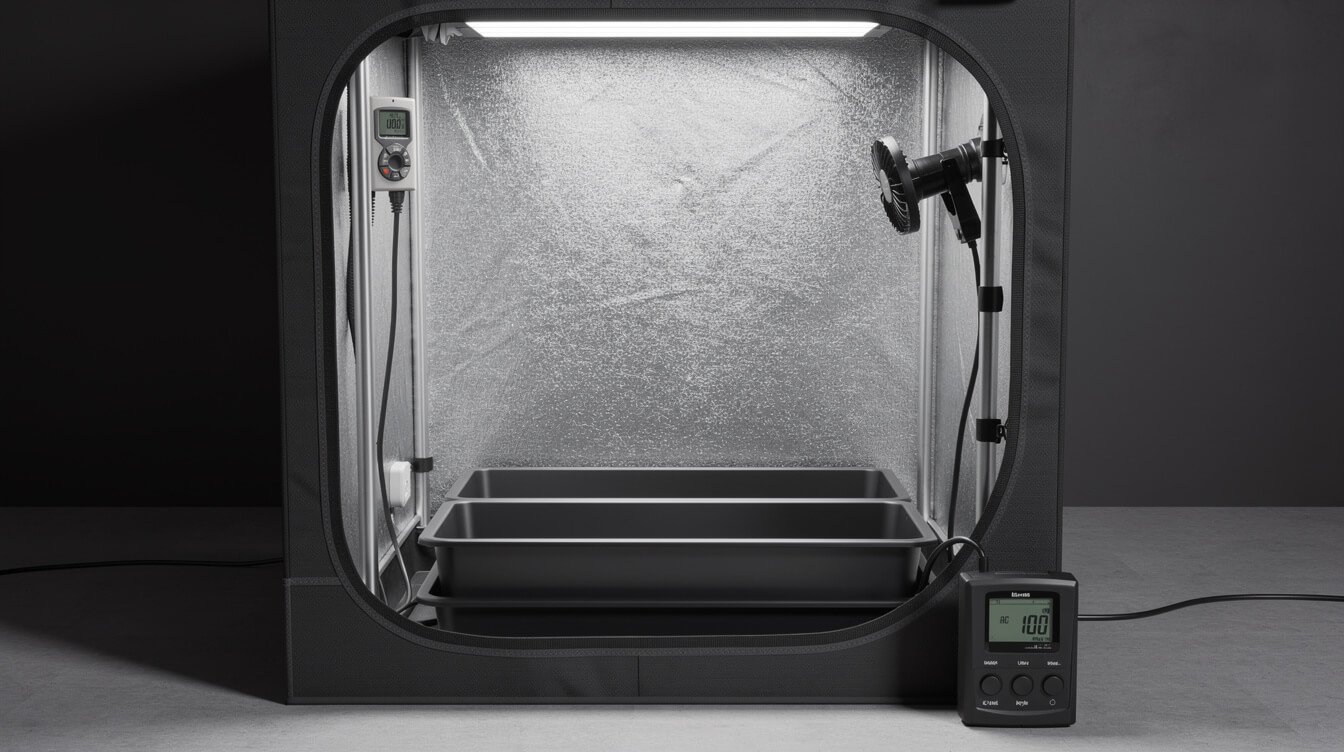
An LED fixture is only half the setup. Budget for a simple digital timer (an 18/6 light schedule for veg, 12/12 for flower is standard), a small clip fan for air movement — even LEDs generate enough heat to create stagnant air pockets that invite mold — and, if your tent runs warm, basic passive or active exhaust.
On electricity: a 150-watt fixture running 18 hours a day in veg costs roughly $0.30–$0.60 a day depending on your local rate, dropping to about $0.20–$0.40 a day once you switch to a 12-hour flower schedule. Over a full grow cycle, that’s usually somewhere between $15 and $40 in electricity for a single-plant setup — a number worth knowing before you assume LED means “basically free to run.”
Rehang your light every couple of weeks as the plant grows, keeping to the manufacturer’s recommended distance for your growth stage. Too close causes the bleaching and curling mentioned above; too far wastes the light you paid for and slows growth. When in doubt, hold the back of your hand at canopy height — if it’s uncomfortably warm, so is your plant.
Humidity is the other running cost people forget to budget for. LED fixtures run cooler than old high-intensity discharge lights, but a sealed tent with a healthy plant and standing water in a saucer can still climb into mold-friendly humidity ranges, especially late in flowering when dense buds trap moisture. A basic hygrometer costs a few dollars and tells you far more than guessing — aim for roughly 40-50% relative humidity during flower, and add a small dehumidifier or extra airflow if you’re consistently running higher than that.
Total setup cost, beyond the light itself, typically lands in the $50–$150 range for a single-plant tent: timer, clip fan, hygrometer, and a way to mount and adjust the fixture’s hang height. It’s a modest add-on next to the light itself, but skipping it is how growers end up with a $200 fixture and a mold problem three weeks before harvest.
Grow legally — laws vary, and this is 21+ only

This entire guide assumes you’re an adult growing where it’s legal to do so — and that’s a real assumption to check, not a formality. Home cultivation laws vary enormously by state and country, and even within states that allow adult-use cannabis, home-grow rules differ: some cap you at a certain number of plants, some require the grow to be out of public view, and some don’t allow home cultivation at all even where purchase is legal. Nothing in this guide is legal advice, and it’s on you to confirm your local rules before you buy a tent or a light.
A quick FAQ on the buying side, since these come up constantly:
Do I need a special outlet or wiring for a grow light?
Most home setups (under 300 actual watts) run fine on a standard household outlet. Multiple lights or larger commercial setups may need a dedicated circuit — check your fixture’s amperage draw against your circuit’s rating if you’re combining several devices.
Can I use a cannabis grow light for other plants?
Yes. A full-spectrum LED grow light works for herbs, vegetable seedlings, and houseplants just as well. The PPFD and spectrum principles in this guide apply regardless of what’s under the light.
How long do LED grow lights actually last?
Most quality fixtures are rated for 50,000+ hours before output drops meaningfully — at 12-18 hours a day, that’s well over a decade of home use. Budget fixtures with weaker thermal management may degrade faster, which is another reason the warranty length mentioned earlier is a useful shortcut when comparing two similarly priced options.
Will growing indoors under an LED show up on a utility bill in a way that raises questions?
A single-plant setup draws roughly as much power as a couple of extra lamps or a small space heater — it’s not the dramatic spike people sometimes assume. That said, this is exactly the kind of specific-circumstance question a straightforward household-electrical or local-legal resource can answer better than a grow-light buying guide can, so check locally rather than relying on a rule of thumb.
If you want the deeper legal picture beyond grow lights specifically, our breakdown of how legal marijuana actually is, state by state, is the place to start before you set up anything.
Final thoughts
The best led grow light isn’t a specific brand — it’s whichever fixture matches your actual square footage, gives you real PPFD numbers instead of marketing wattage, and comes with a dimmer so you’re not guessing your way through week one. Buy for the plant you’re growing now, not the tent you might build someday, and you’ll save money without sacrificing a single gram of yield.
New to the plant itself, not just the gear? start with our plain-language explainer on what cannabis actually is before you commit to a full grow setup — it’ll make every spec in this guide make a lot more sense.
Before you go
Get the next explainer first
We publish a new one every day. The best of the week, plus what's new in the shop, lands in one short email.