What Are Trichomes? How to Read Them and Know When to Harvest
Every grow guide tells you to “wait until the trichomes are ready.” Almost none of them answer the more basic question first: what are trichomes, exactly? They’re the tiny, mushroom-shaped resin glands covering your buds — and they’re the only reliable signal for when to harvest, not the hairs every new grower stares at instead. Here’s the honest answer: what trichomes actually are, how to read them without guessing, and how to pick the right harvest window for the effect you actually want.
This isn’t a “harvest at 80% cloudy, done” post. That number changes depending on whether you want an energetic daytime smoke or something that puts you to sleep — and almost no beginner guide tells you that part.
What are trichomes, exactly?
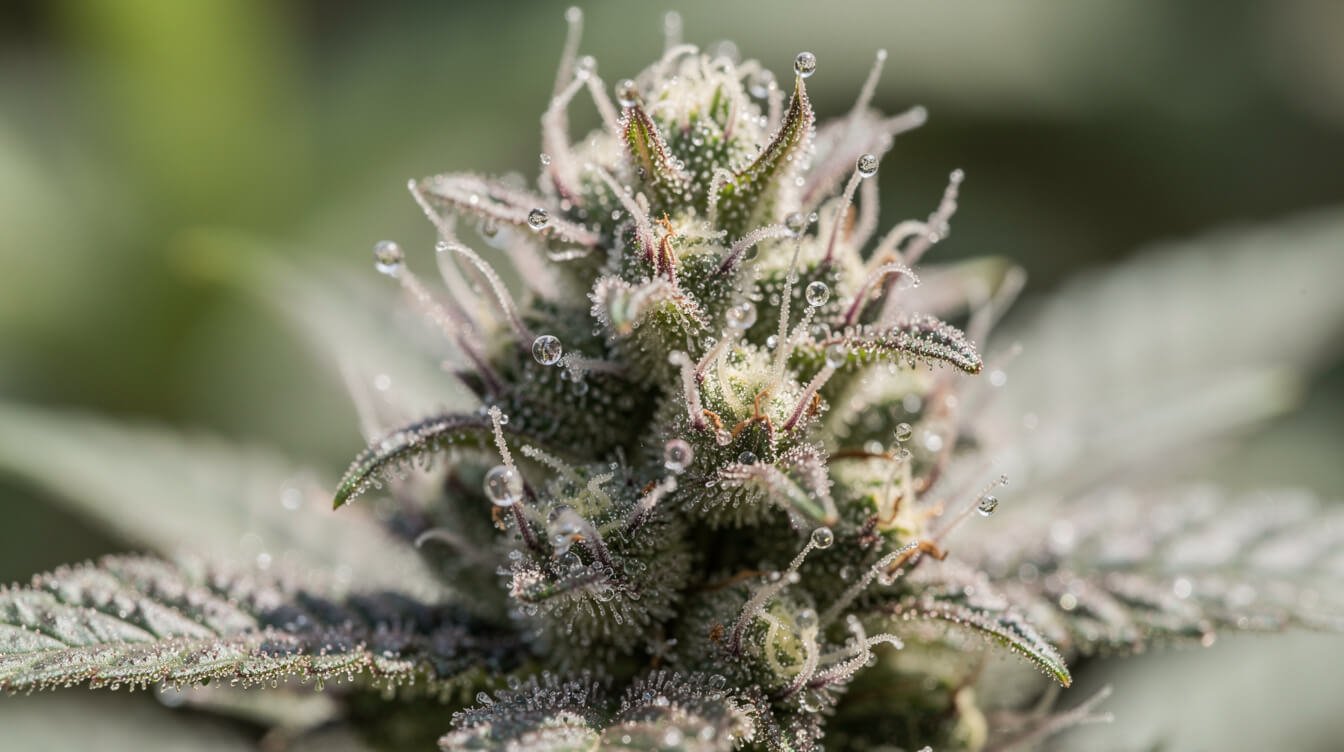
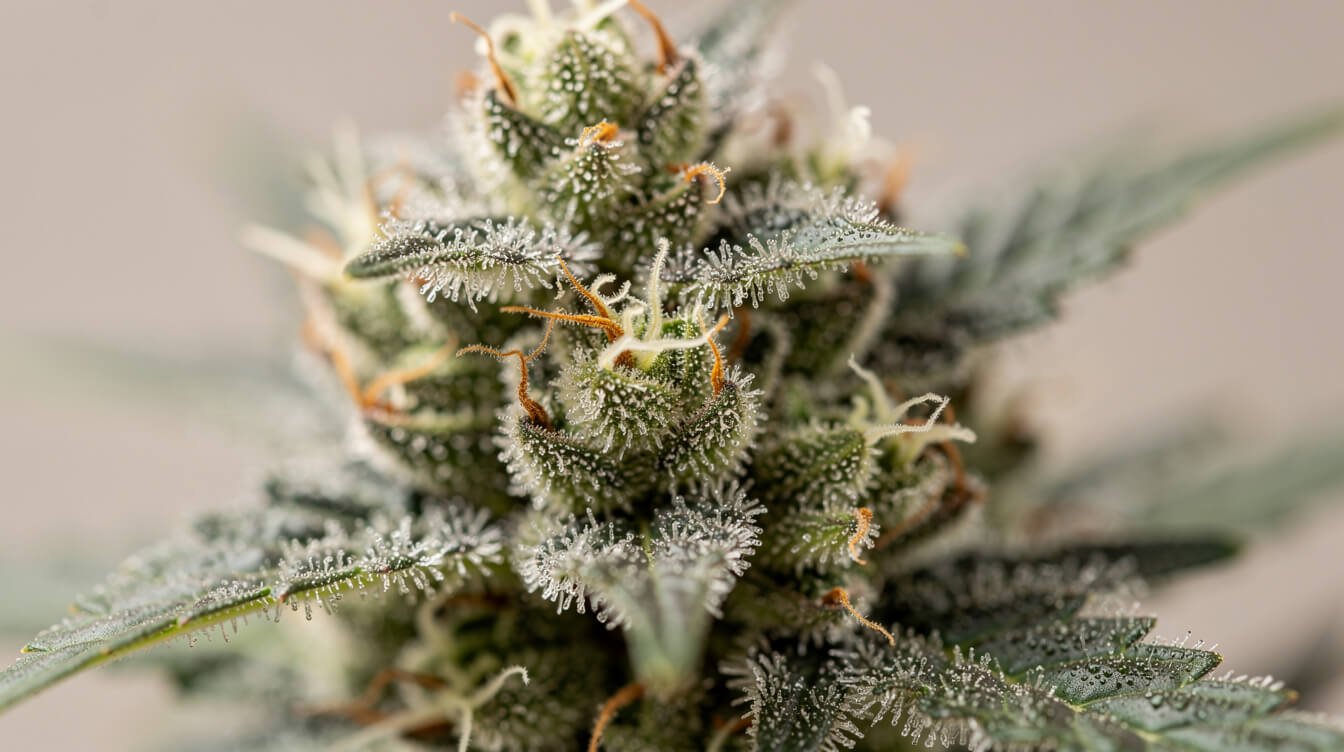
Trichomes are the frosty, crystal-like coating you see on a healthy cannabis bud — the reason well-grown flower looks like it’s been dusted with sugar. Under magnification, they look less like sugar and more like tiny stalked glass mushrooms: a thin stem topped with a round, bulbous head.
That head is where the plant actually manufactures and stores THC, CBD, and the terpenes responsible for smell and flavor. Trichomes exist on cannabis as a defense mechanism — the resin is sticky and bitter enough to deter grazing insects and animals — but for growers, they’ve become the single most useful ripeness indicator the plant offers. Their color shifts in a clean, predictable progression as the plant matures, and that progression is what you’re actually reading when someone tells you to “check your trichomes.”
You’ll find trichomes across the whole plant — stems, leaves, sugar leaves — but the ones that matter for harvest timing are the ones on the calyxes, the individual bud sites clustered along the cola. Sugar-leaf trichomes mature faster and less reliably, so if you’re basing your harvest call on a sugar leaf you trimmed off out of curiosity, you’re reading the wrong signal.
Botanically, cannabis actually grows three types of trichomes, and it’s worth knowing the difference so you’re not accidentally judging the wrong structure. Non-glandular trichomes are simple hair-like outgrowths with no resin — they don’t produce cannabinoids and aren’t part of the ripeness picture at all. Capitate-sessile trichomes are small glandular heads that sit almost flush against the leaf surface, common on young growth. The ones that actually matter for your harvest call are capitate-stalked trichomes — the larger, stalked, mushroom-shaped glands that dominate the calyxes on mature buds and hold the bulk of a plant’s cannabinoids and terpenes. When any guide (including this one) tells you to “check your trichomes,” this is the structure it means.
Why trichomes, not pistils, are the real harvest signal
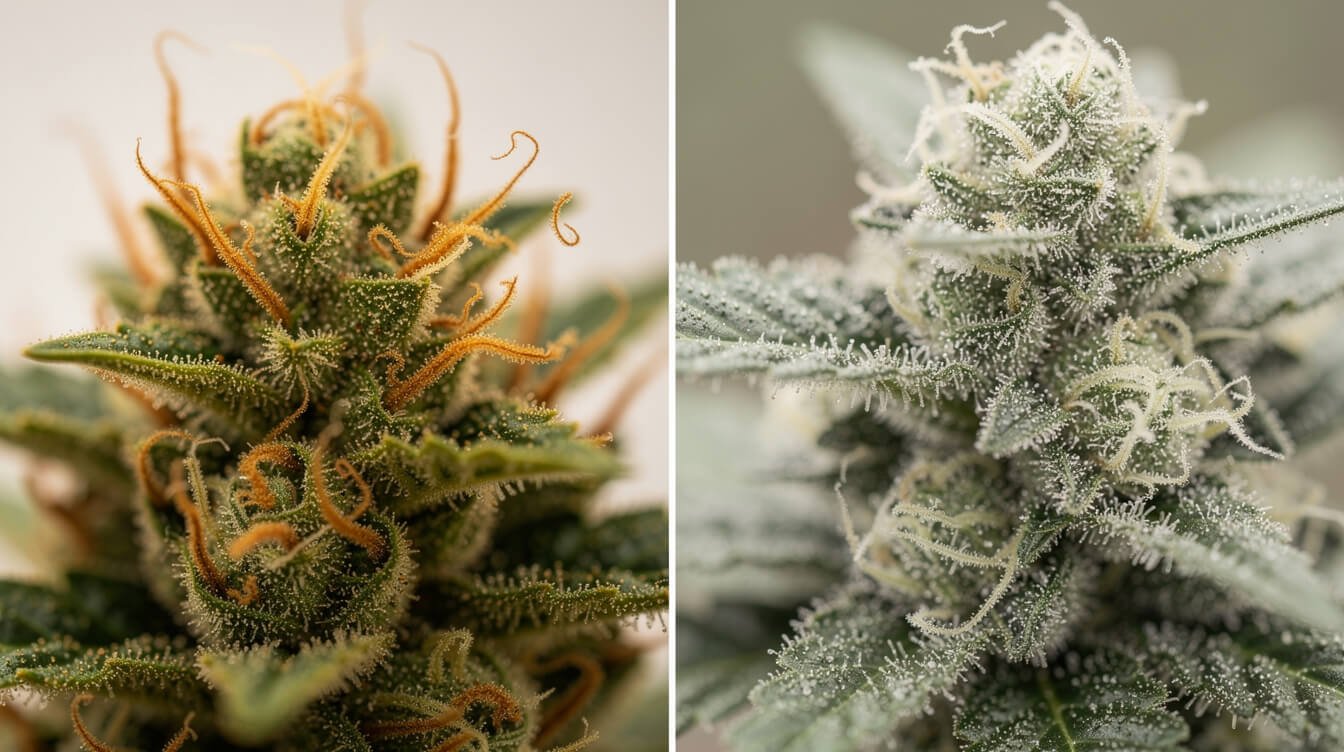
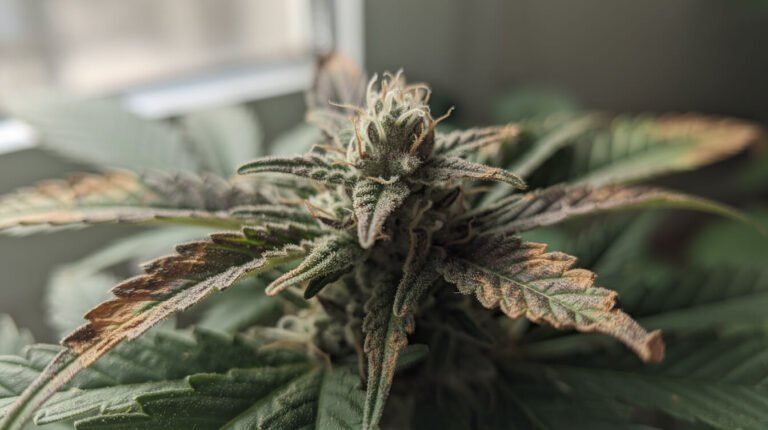
The hairs covering your buds — technically pistils — are what most new growers watch, mostly because you can see them without any tools. The common wisdom is “harvest when 70–80% of pistils have darkened and curled inward,” and it’s not wrong, exactly. It’s just unreliable on its own.
Pistils respond to more than just plant maturity. Light intensity, handling, and general environmental stress all influence how fast they change color, so it’s entirely possible for pistils to look harvest-ready while the actual cannabinoid content is still a week or two from peak. Some strains take this further and finish with pistils that barely darken at all, leaving you waiting on a signal that isn’t coming.
Trichomes don’t have that problem. Their color shift — clear, to cloudy, to amber — tracks cannabinoid maturity directly, because that’s literally where the cannabinoids are being produced and stored. Use pistils as a rough, early heads-up that harvest season is approaching. Use trichomes to make the actual call.
The three trichome stages, plainly
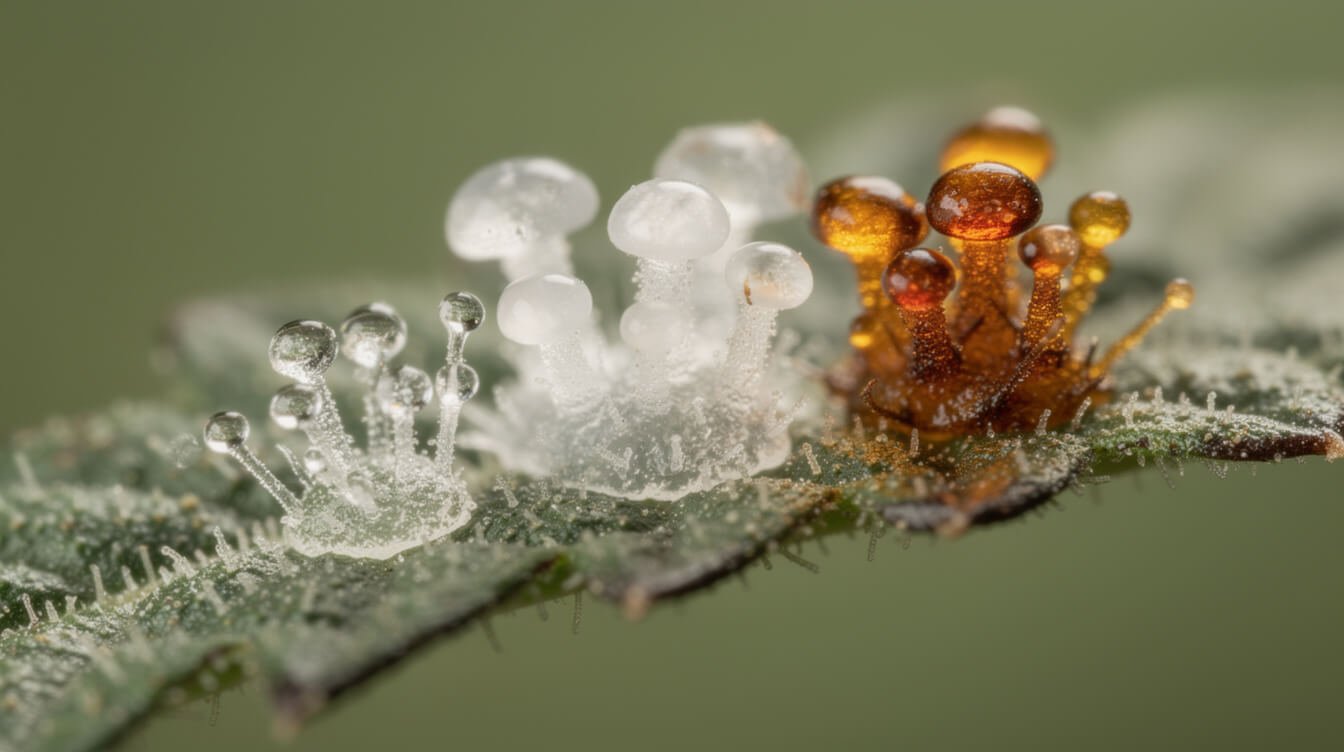
Under a loupe or a cheap digital microscope, mature trichomes move through three visual stages. Each one tells you something specific:
- Clear / translucent — the heads look like tiny drops of glass. Cannabinoid production is still ramping up. Harvest now and you’ll get thin, harsh, hay-tasting flower — the plant simply isn’t done yet.
- Cloudy / milky white — the heads turn opaque, like small pearls. This is peak THC: cannabinoids are at their maximum before any real degradation has started. Most people describe the effect at this stage as more clear-headed and energetic.
- Amber / golden — the heads take on a warm, honey color as THC slowly converts into CBN. Reported effects shift toward heavier and more sedating as amber increases. Some amber is normal and even desirable; a lot of amber means you’ve drifted well past peak.
One timing quirk worth knowing: the shift from clear to cloudy is slow, often a couple of weeks. The shift from cloudy to amber moves much faster, sometimes just days once it starts. The moment you spot your first cloudy heads, start checking daily — things move quickly from there.
Choosing your ratio: match the harvest window to the effect you want
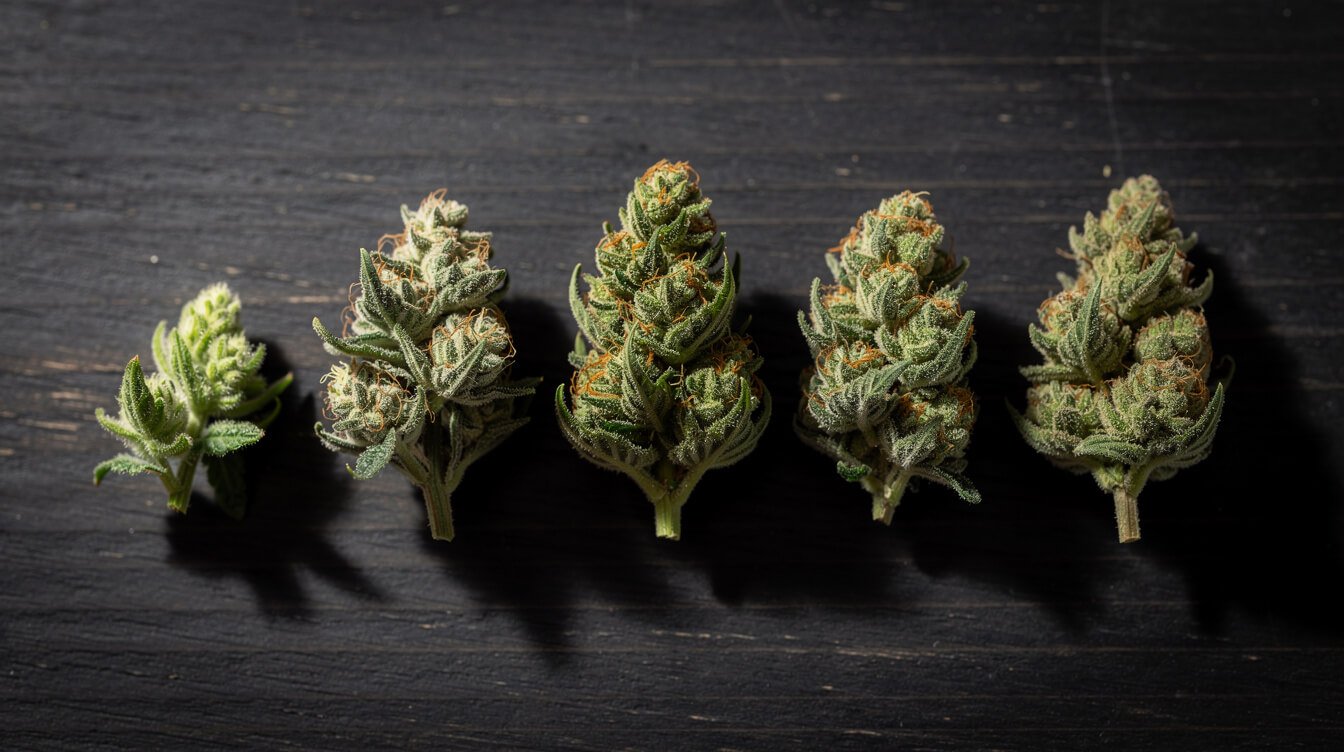
Here’s the part most guides skip: there isn’t one correct cloudy-to-amber ratio. The ratio you pick shapes the character of the high, so the right answer depends on what you’re actually growing for.
- Energetic, head-focused effect: harvest around 80–90% cloudy, 5–10% amber, the rest still clear. This captures peak THC before meaningful degradation and tends to suit sativa-leaning cultivars and daytime use.
- Balanced effect (where most home growers land): around 70–80% cloudy, 10–20% amber. Potent but with a bit of body weight to it — a reasonable default if you’re not chasing a specific effect.
- Heavier, more sedating effect: 20–30%+ amber, harvested later. This suits indica-leaning cultivars grown specifically for evening or sleep use, though pushing amber too far trades potency for a duller, more one-note high.
None of this is about one strain type being “better” than another — it’s about matching the chop to the outcome you want from your own harvest, which is a more useful mental model than chasing a single universal number.
If you don’t know your plant’s lineage, or you’re growing a hybrid with no strong lean either way, the balanced 70–80% cloudy window is the safest default — it’s the middle of the range every cultivar can reasonably hit, and it’s easy to nudge a few days earlier or later next time once you’ve seen how your specific plant and setup actually finishes.
GanjaTech, weekly
Cannabis, explained. In your inbox.
One email a week: the clearest explainers, honest gear picks, and what the science actually says. 21+ only. No spam, unsubscribe anytime.
How to actually look at trichomes
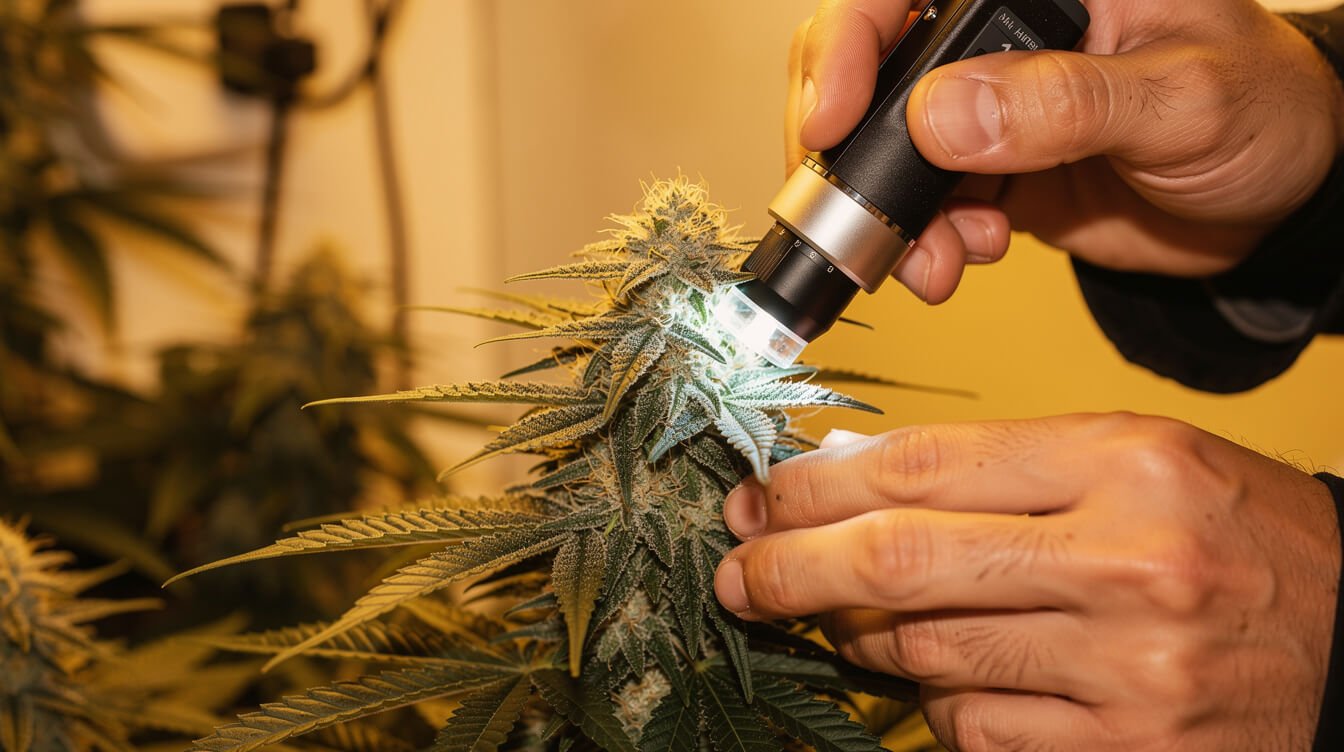
Trichome heads are roughly a third of a millimeter across — invisible to the naked eye and genuinely hard to judge from a phone photo, no matter how good the camera is. You need magnification, and there are two realistic options.
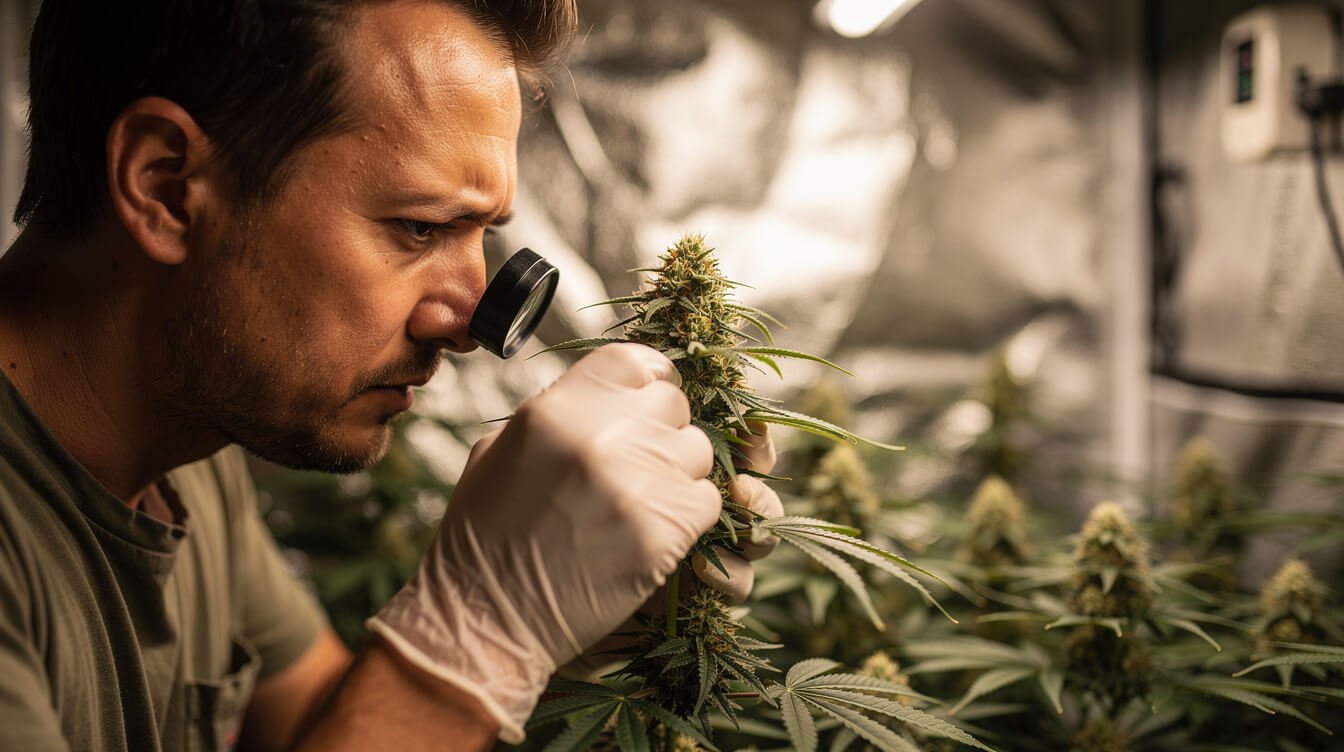
A jeweler’s loupe (30–60x) is cheap and pocket-sized, but most growers misread it: it’s handheld, the focus is finicky, and it’s easy to convince yourself you’re seeing “mostly cloudy” when you’re really looking at a mix you haven’t focused on properly. A USB digital microscope (60–100x, plugged into a phone or laptop) is a better investment for the price — a stable, magnified, well-lit image is much easier to read honestly than a loupe held an inch from your eye.
Whichever tool you use, check multiple calyxes from different parts of the plant — top cola, mid-canopy, lower buds — not just one spot. Light and airflow vary across a plant, so the top cola often ripens ahead of the lower buds. If you’re chasing one harvest date for the whole plant, judge by the average across several sites, not the single most-advanced bud you can find.
On cost: a basic 30x loupe runs somewhere around $8–15, while a decent USB digital microscope is closer to $25–40. That’s a small enough gap that, for the price of maybe two coffees, you get a stable, well-lit, phone-screen-sized image instead of a wobbly close-up view you’re squinting through — worth the upgrade the first time you find yourself arguing with your own eyes about whether a head is cloudy or just caught the light wrong.
A simple check routine that avoids most reading errors: pull one small calyx sample each from the top, middle, and lower third of the plant. Look at each under magnification in consistent lighting — natural daylight or a neutral white LED, not the purple-tinted light of a grow lamp, which distorts color and will make everything look hazier than it is. Note the rough percentage of clear, cloudy, and amber heads on each sample, then average across all three before making the call.
Common mistakes and myths
A few habits and myths cause more bad harvests than genuinely difficult trichomes do:
- Cutting early out of nerves. By far the most common mistake. Buds gain real weight and potency in the final one to two weeks of flower, and most first-time growers second-guess themselves into chopping a week early. If you’re unsure, the safer move is almost always to wait three to five more days and check again.
- “Three days of darkness boosts potency.” A long-running myth with no real evidence behind it. Withholding light before harvest doesn’t meaningfully change cannabinoid content — it mostly just stresses the plant right before you cut it.
- Judging by sugar leaves alone. Sugar-leaf trichomes mature on a different, faster timeline than the trichomes on the actual calyxes. Always check the bud sites themselves.
- Ignoring strain differences. Some cultivars naturally show more amber, faster, without actually being “overripe.” If a strain’s usual reports describe it finishing with heavier amber, that’s normal for its genetics — not a sign something went wrong.
Purple trichomes and other color myths
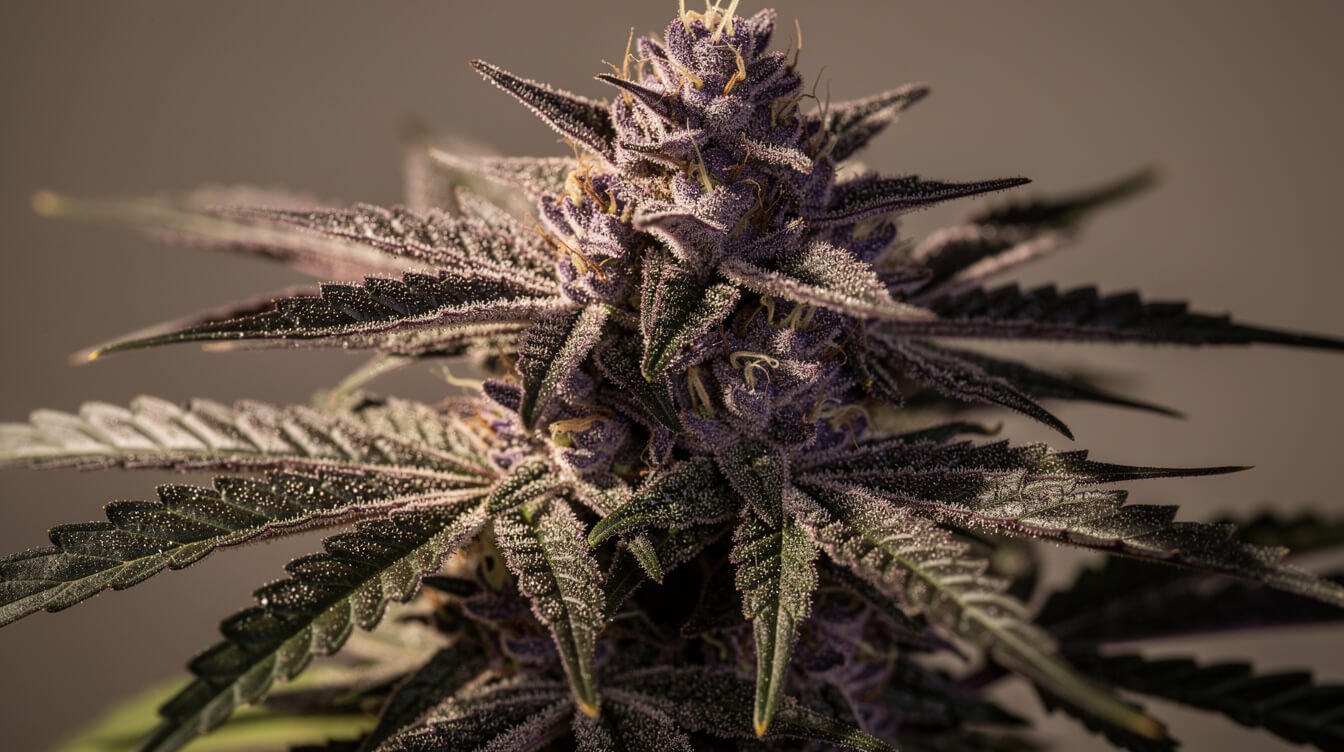
Every harvest season, someone asks whether purple or pink trichomes mean a bud is riper, stronger, or somehow special. They don’t. Purple coloring in trichomes and leaves comes from anthocyanins, the same pigment family behind purple cabbage and red autumn leaves, and it shows up in response to genetics and cooler nighttime temperatures late in flower — not cannabinoid maturity. A cultivar with anthocyanin-heavy genetics can turn deep purple while its trichomes are still mostly clear, and a cultivar without that genetic trait will never turn purple no matter how ripe it gets.
The practical takeaway: purple is a genetics-and-temperature story, and it looks striking in photos, but treat it as separate information from your clear-cloudy-amber read. Judge ripeness by trichome color and stage, not by how photogenic the plant has become.
FAQ: trichomes and harvest timing

Do autoflowers follow the same trichome timeline?
Mostly yes, the clear-to-cloudy-to-amber progression is the same biology. The difference is timing pressure: autoflowers move through their whole lifecycle on an internal clock, so the window between “not ready” and “past peak” can close faster than on a photoperiod plant. Check more frequently in the last two weeks.
Does outdoor vs. indoor change anything?
The stages themselves don’t change, but outdoor plants are more exposed to temperature swings and natural light changes, which can accelerate or stagger ripening across a single plant more than a controlled indoor tent would. Check multiple sites even more diligently outdoors.
What if my trichomes never seem to turn amber?
Some cultivars genuinely finish mostly cloudy with very little amber, even at full maturity — that’s a genetic trait, not a sign you’re doing something wrong. If cloudy percentage has plateaued and pistils have mostly darkened, it’s reasonable to treat that as ready rather than waiting indefinitely for amber that isn’t coming.
Can I just use my phone’s camera instead of a microscope?
Not reliably. Even good phone cameras can’t resolve trichome heads clearly enough at native zoom — you’ll end up guessing at colors in a blurry crop. A clip-on macro lens helps a little; a cheap USB microscope is a genuinely better fix.
Does trichome color affect flavor as well as potency?
Yes, indirectly. Terpenes — the compounds behind smell and flavor — are stored in the same trichome heads as cannabinoids, and they degrade and shift on a similar timeline. Buds harvested too early tend to taste thin and grassy because the terpene profile hasn’t finished developing; buds left well past peak amber can lose some of the brighter top notes as compounds break down. The window that’s good for potency is generally good for flavor, too.
How long can I leave a plant once it hits full amber before it’s a problem?
There’s no hard cutoff, but the returns turn negative quickly. A week or so past your target ratio mostly just shifts the effect further toward sedating without much upside. Multiple weeks past that risks trichomes degrading, breaking down, or breaking off the bud entirely — at that point you’re losing potency you already had, not gaining anything.
Final thoughts
Trichomes aren’t a mysterious growers’-only skill — they’re just the plant telling you, in a language you can learn to read, exactly where it is in its own timeline. Get a real magnification tool, check several bud sites instead of one, and pick your target ratio based on the effect you’re actually growing for, not just a single number you saw once. And when you’re not sure, remember the honest bias: waiting a few extra days almost never hurts, and cutting a week early almost always does. As always, cannabis cultivation laws vary significantly by state and country — confirm what’s legal where you live before you grow.
If you’re just getting your first grow going, start with our honest first-grow walkthrough, and once harvest day arrives, don’t skip curing it properly — it matters as much as harvest timing for how the final flower actually smells and smokes. Curious about the terpenes trichomes are busy producing while you wait? Here’s the practical, honest reference. And if you’d rather skip germination next time, cloning a plant you already have gets you back to this exact harvest decision faster.
Want more honest, no-hype grow guides and gear breakdowns like this one? Check out the culture merch shop, or keep browsing — that’s what we’re here for.
Before you go
Get the next explainer first
We publish a new one every day. The best of the week, plus what's new in the shop, lands in one short email.